You don’t want your wedding invitation to be forgettable. You want it to pull people in, whisper your love story, and maybe make Aunt Linda cry (happy tears, obviously). Enter 3D wedding invitations—part keepsake, part mini theater production, and 100% your vibe.
These aren’t just invites; they’re tiny storytellers that set the tone before your guests even check their calendars.
Why 3D Invitations Make People Stop and Stare
We all get too much mail. But a 3D invite? That’s the kind of thing guests prop on their mantle like art.
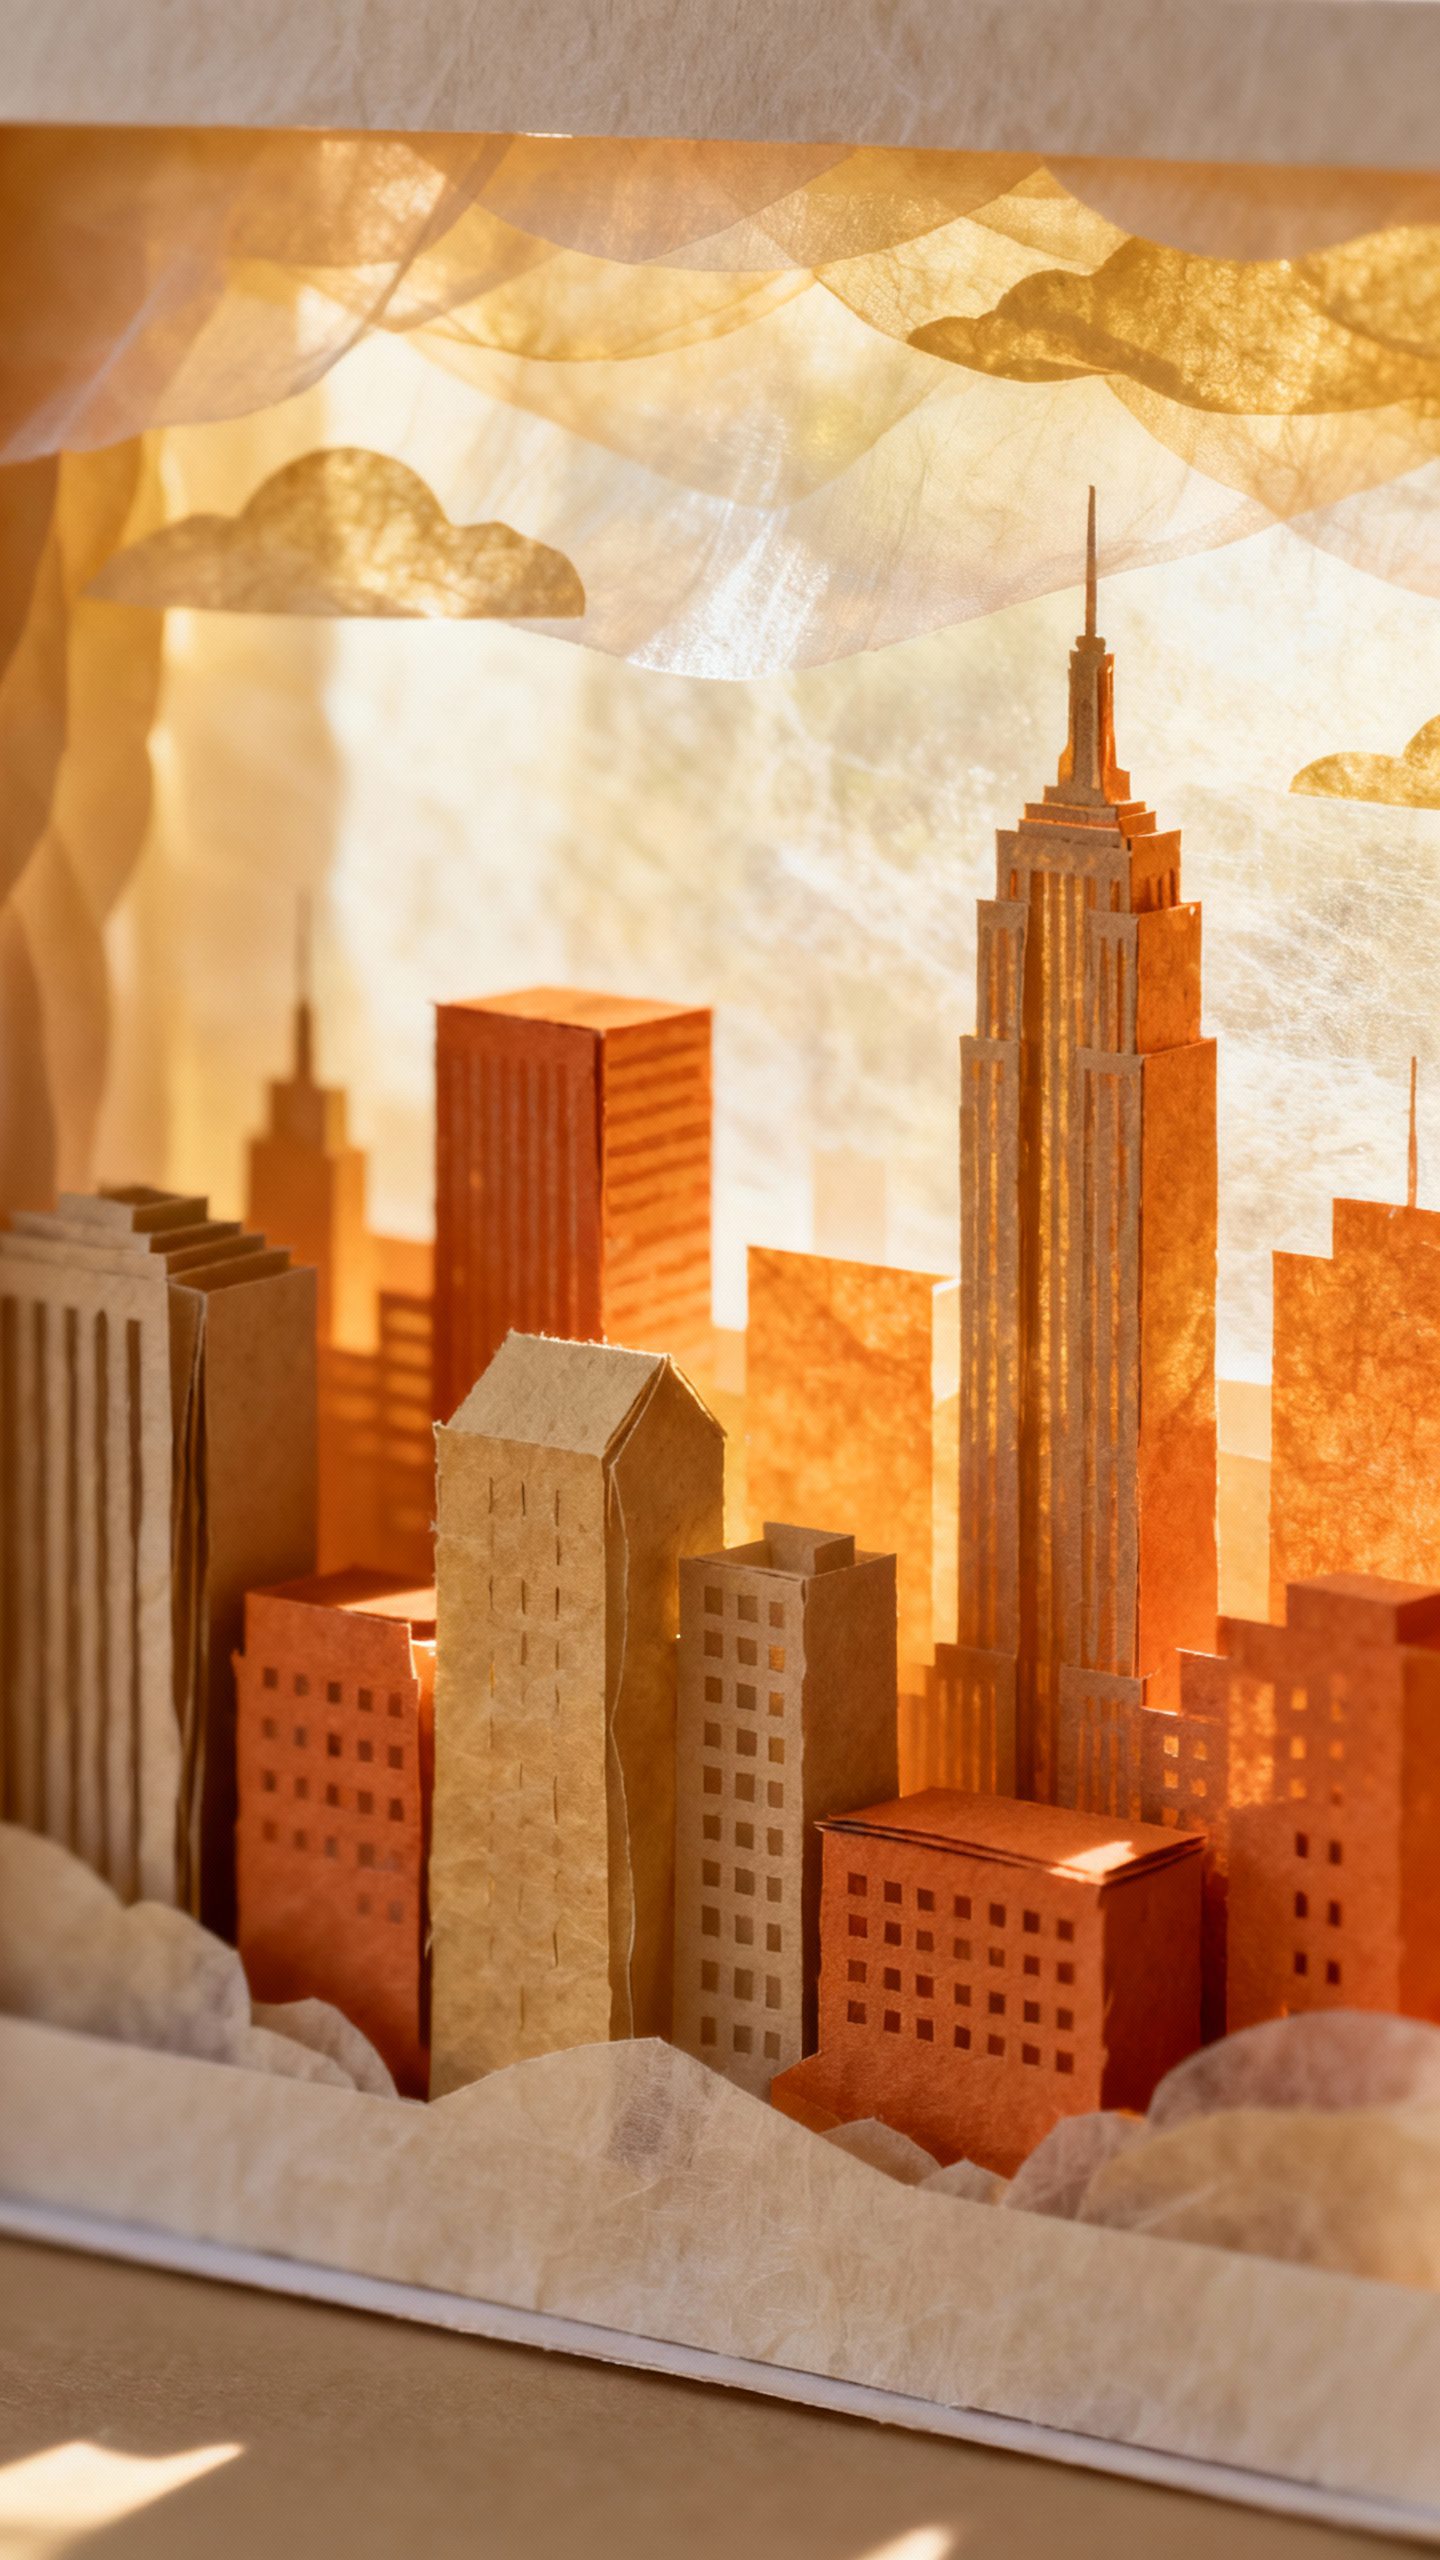
You’re not just delivering details; you’re delivering a moment. 3D designs add layers—literally and emotionally. They can show the place you met, your favorite city skyline, or the ring of trees where you’ll say “I do.” And the texture? A tactile piece makes people pause, touch, and connect. It’s basically nostalgia and anticipation in paper form.
Ways to Tell Your Love Story in 3D
You’ve got options.
Lots of them. Pick one that fits your vibe, or mix and match for something totally you.
- Pop-up scenes: Think mini diorama. The café where you met.The beach at sunset. The big oak tree. When your guests open the card—boom—a scene that matters to you pops up.
- Layered shadow boxes: Multiple layers of cut paper create depth.Add a quote on one layer and your date on another. Dimensional, dreamy, and frame-worthy.
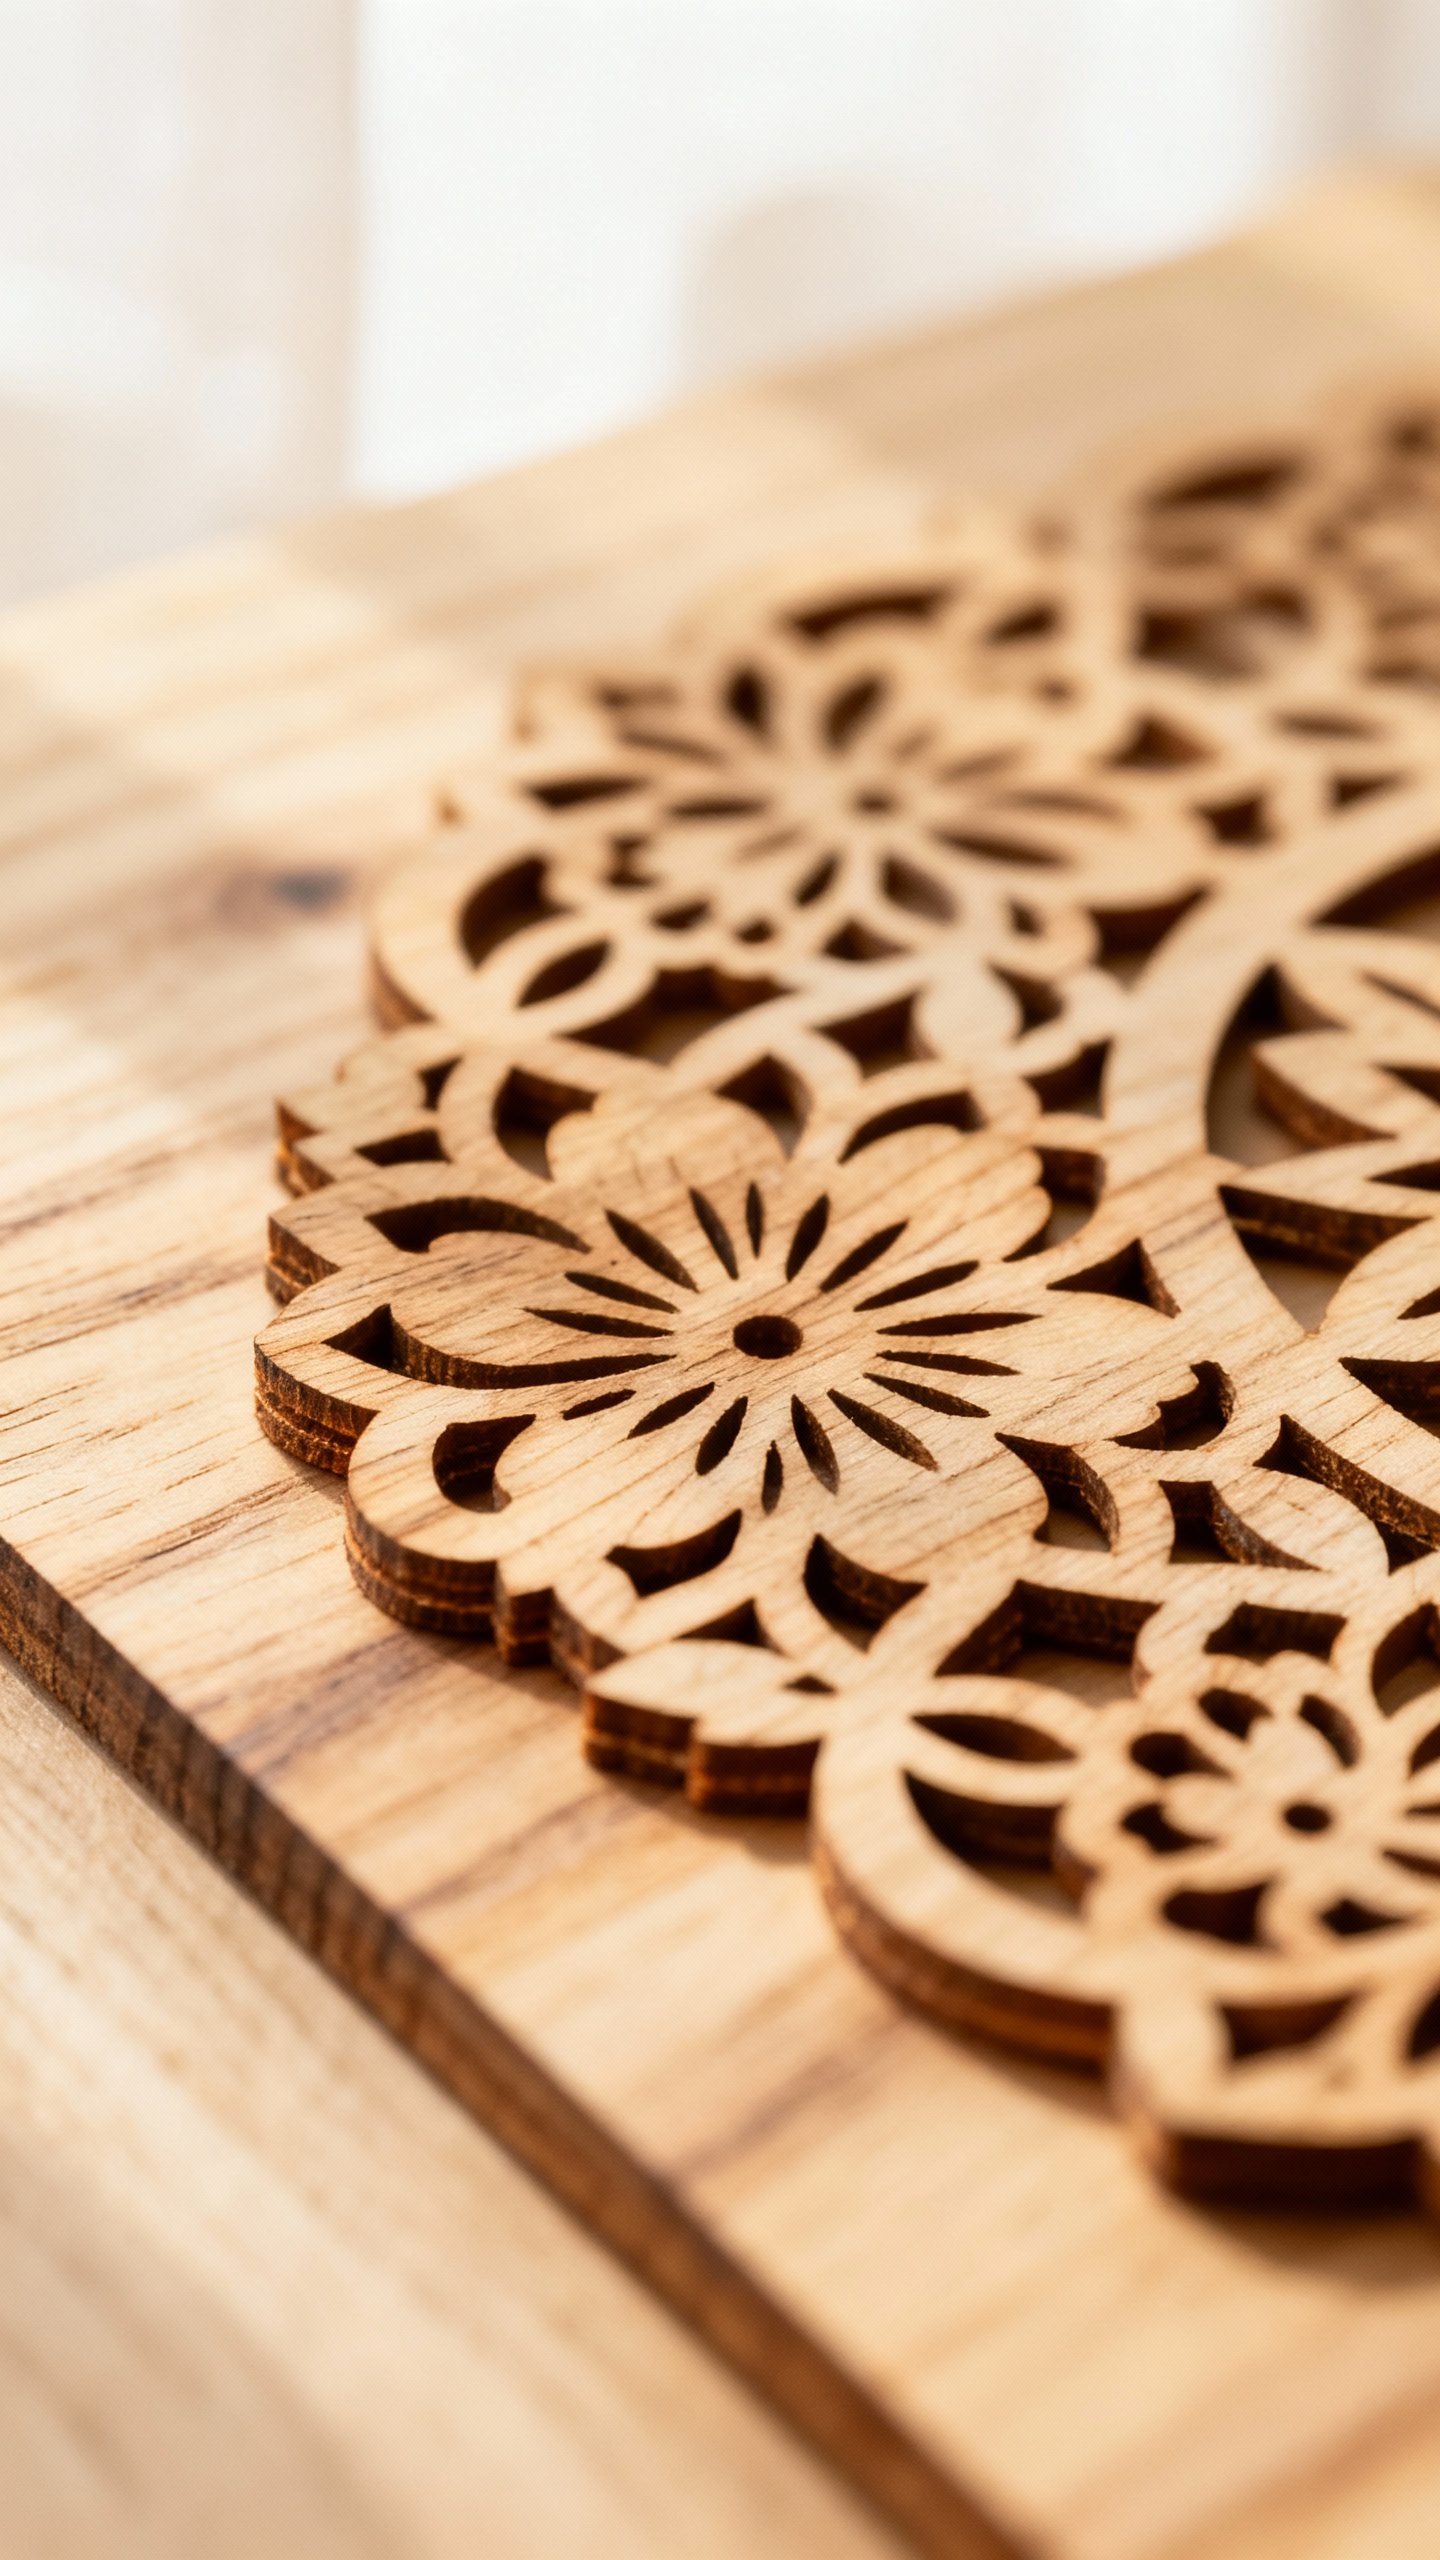
- Laser-cut lacework: Delicate cutouts with initials, maps, or florals. Great for classic-romantic vibes without feeling stuffy.
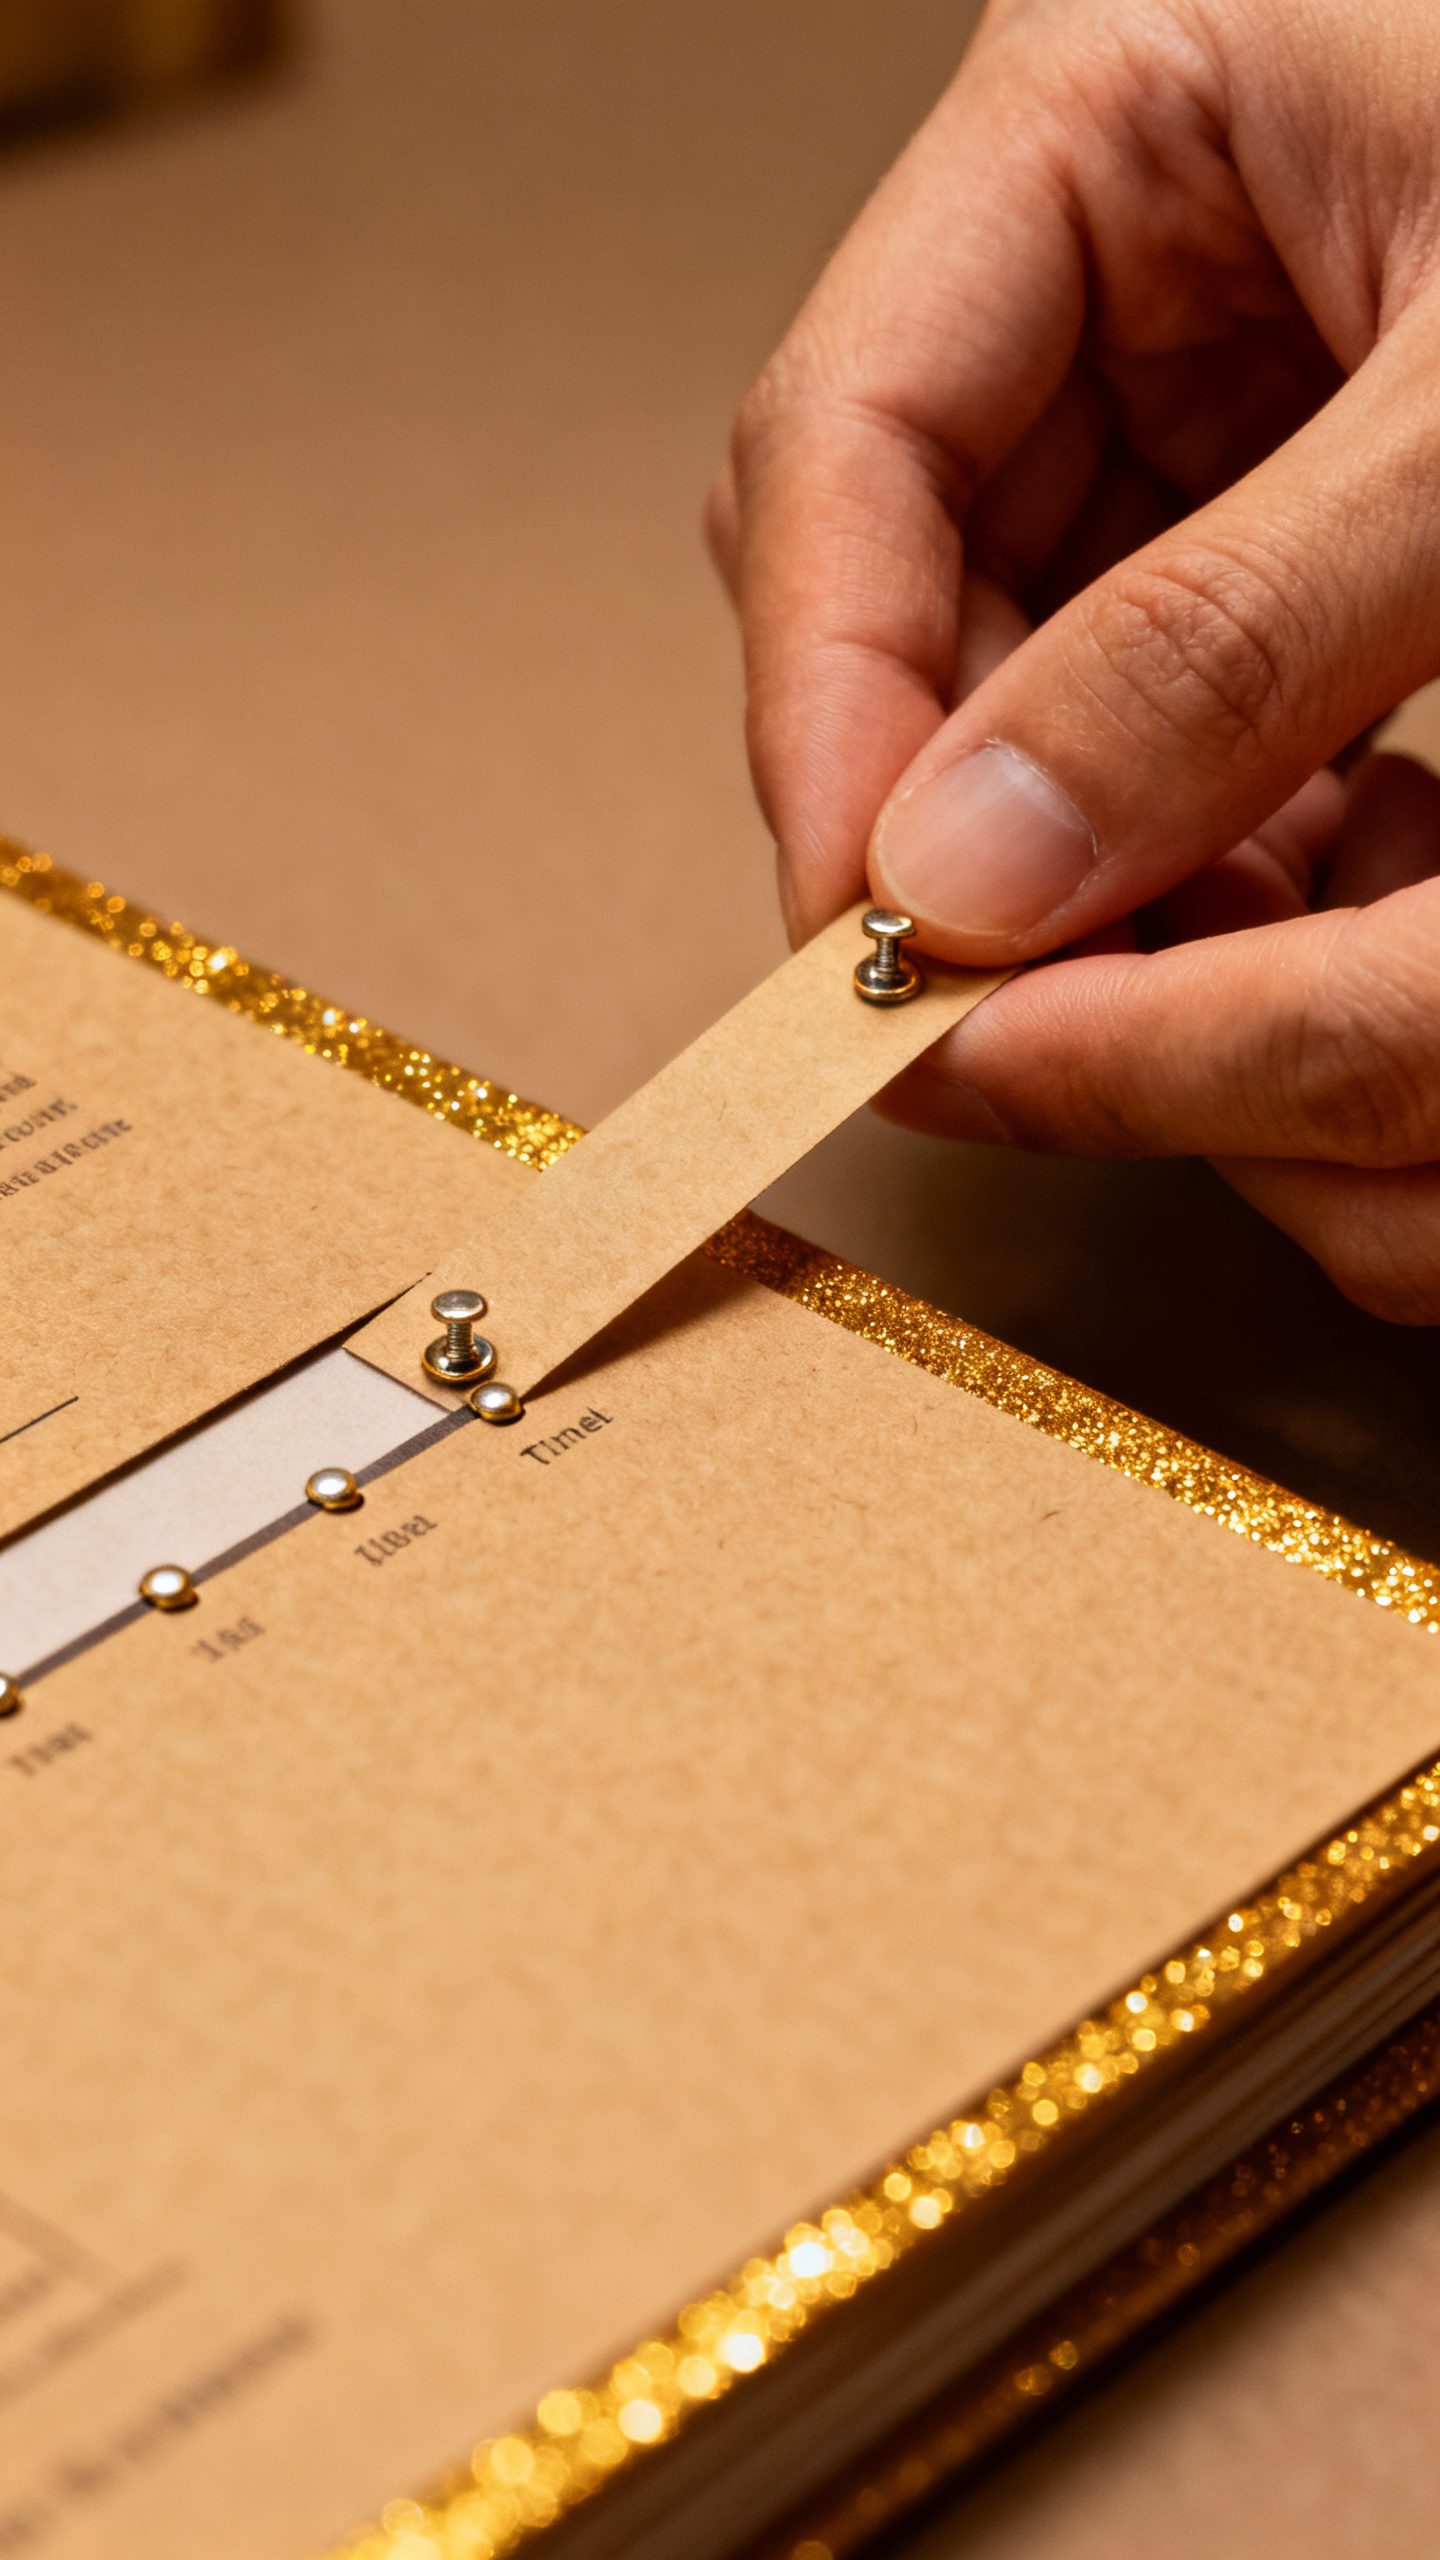
- Sliding or rotating mechanisms: Pull tabs, turn wheels, reveal a timeline.Yes, like a storybook. No, it’s not “too much.”
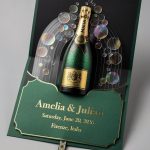
- Keepsake acrylic or wood pieces: Engraved elements guests can keep—think ornaments or small plaques with your date.
Designing a Visual Timeline
A clever approach: show “firsts” in sequence. First date, first trip, proposal.
Each layer or pop-up can reveal a milestone. Add short captions so it’s cute, not cryptic.
Map Your Journey
Use a topographic or city map in 3D layers. Mark your colleges, neighborhoods, or the exact bench someone awkwardly asked for your number.
Personal? Absolutely. Overly sappy?
Depends on the bench.
Materials That Matter (A Lot)
Materials can make or break the final effect. Choose what supports your story and your budget.
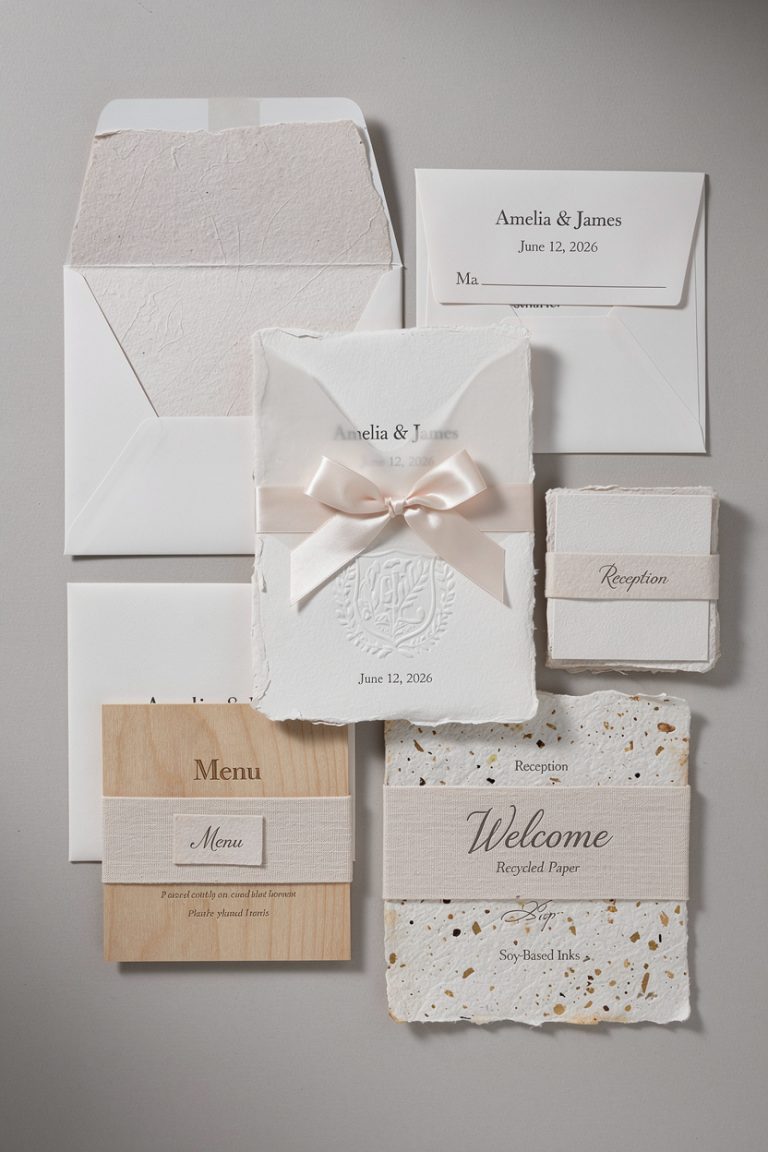
- Paper types: Cotton paper feels luxe and takes letterpress beautifully. Vellum layers add soft translucency.Heavy cardstock keeps pop-ups sturdy.
- Acrylic: Clear or frosted panels for modern vibes. Great for stacking layers with printed details.
- Wood veneer: Adds warmth and texture. Laser-engraved wood looks stunning for rustic or outdoor weddings.
- Metal accents: Foil edges or tiny brads for moving parts.Don’t overdo it unless you want “steampunk elopement.”
Print and Finish Techniques
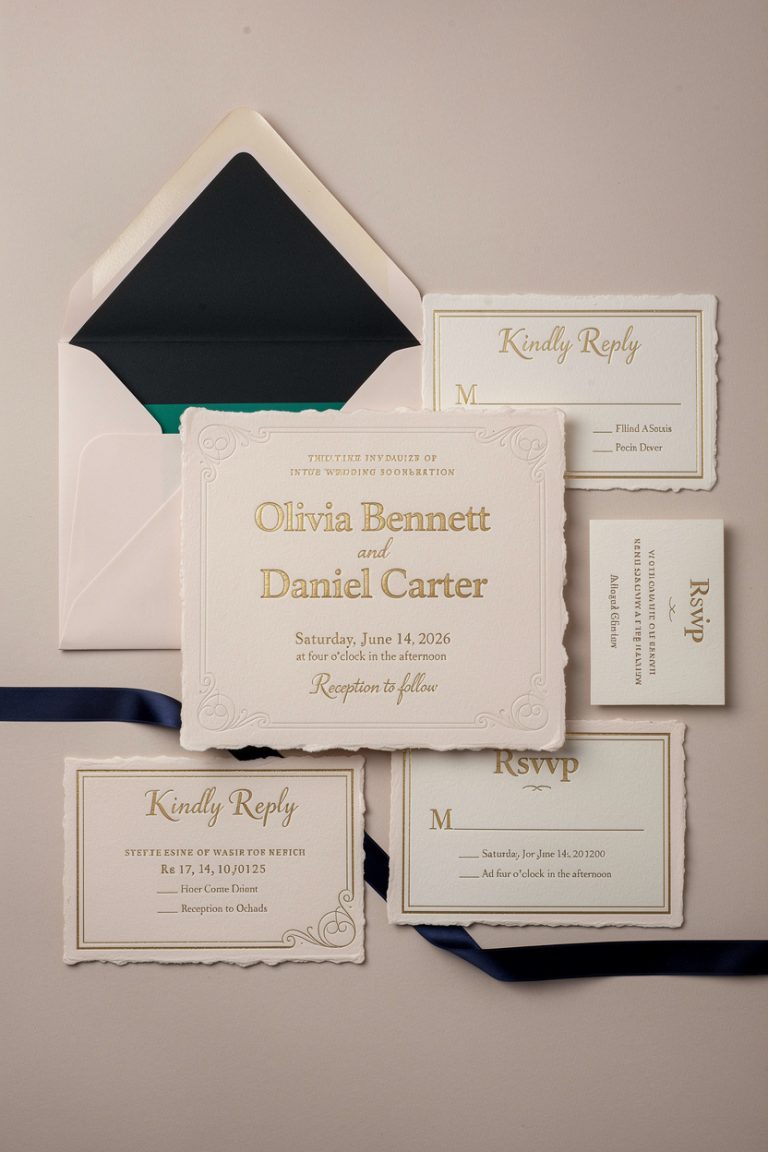
– Letterpress: Deep impression, tactile, romantic. – Foil stamping: Gold, rose gold, or holographic for shine. – Thermography: Raised ink that feels a bit fancy without breaking the bank. – Duplexing: Two sheets laminated together for a thicker, more durable card—key for pop-ups.
DIY vs. Hiring a Pro
You can DIY these. You can also accidentally glue a pop-up Eiffel Tower to your cat.
Choose wisely. DIY works best if:
- You love crafts and own a cutting machine (Cricut or Silhouette).
- You’re comfortable with templates, assembly lines, and mild chaos.
- You have time—like, actual weekends—before your send date.
Hire a pro if:
- You want intricate layers, laser cuts, or custom mechanisms.
- You need cohesive typography and layouts that won’t look “Pinterest attempted.”
- You value your sanity. IMO, this is worth it for complex builds.
Working With a Designer
Come prepared with: – 5–7 reference images you love (not 47—please). – Your color palette and wedding vibe (romantic garden? art deco? celestial?). – One or two meaningful story elements—not your entire autobiography. – A real budget. FYI, custom 3D invites can range widely based on complexity.
Keep It Beautiful AND Practical
We love drama.
We also love mail that arrives in one piece. Balance creativity with logistics.
- Size and weight: Oversized or heavy pieces cost more to mail. Ask your post office to “hand-cancel” to reduce damage.
- Assembly: Can guests figure out how to open it?Write a tiny “open here” cue if needed. Save people from paper origami confusion.
- Durability: Reinforce folds with scoring. Use stronger adhesives for moving parts.Test one by opening/closing it 20 times.
- Envelope strategy: Consider a box mailer or rigid envelope for elaborate builds. Add tissue or belly bands to keep layers flat.
Don’t Forget the Essentials
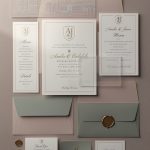
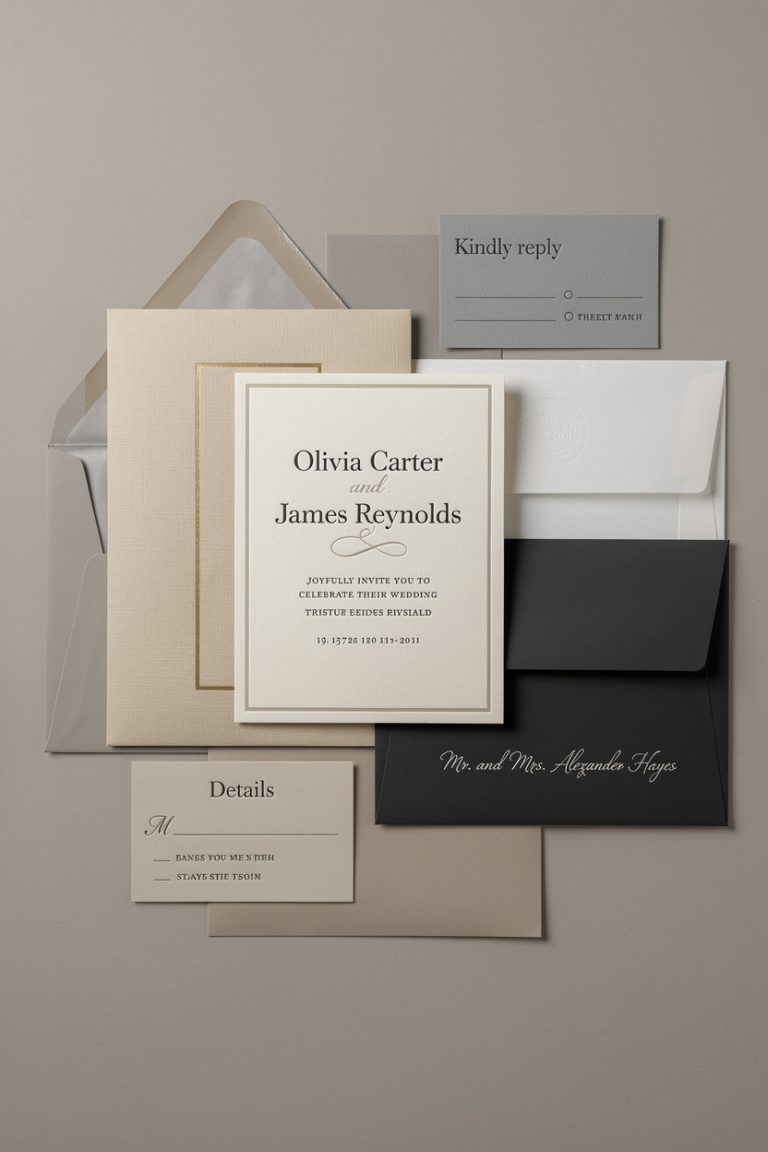
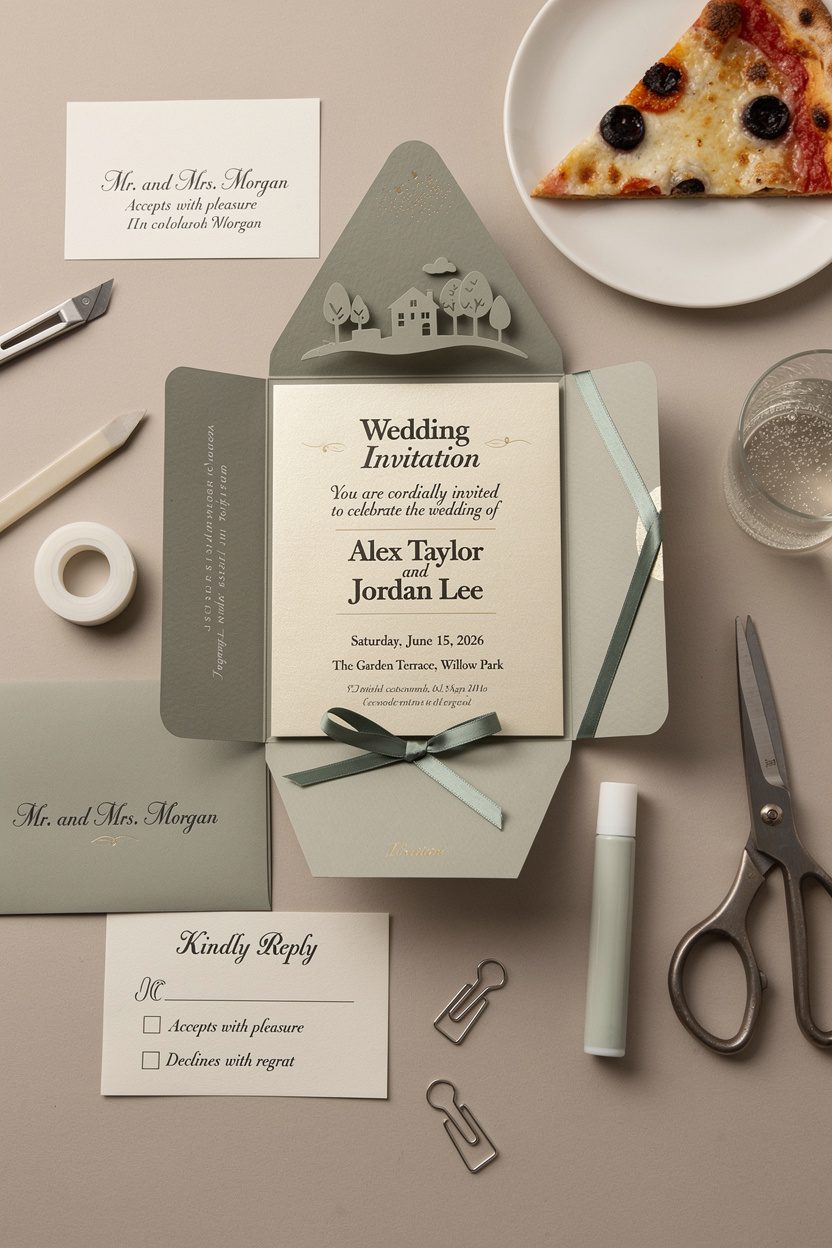
Make the important info ironclad: – Who, what, where, when—prominent and legible. – RSVP method—QR code to your website works great. – Dress code, parking, accommodation—either a separate insert or a concise line with a link.
Budgeting Without Tears
You can keep things special without selling your houseplants. Smart cost-savers:
- Use a simpler base with one “wow” element (like a single pop-up scene).
- Choose digital foil or spot gloss instead of full foil coverage.
- Limit color layers to 2–3 complementary tones.
- Batch your assembly with friends—pizza bribes work wonders.
Where to splurge:
- The mechanism that tells your story best (pop-up, slider, or laser cut).
- High-quality paper or acrylic so it feels substantial.
- Professional typography—bad fonts ruin great design, IMO.
Quantities and Timing
– Order 10–15% extra for last-minute adds and inevitable address edits. – Start design 4–6 months out. – Mail 8–10 weeks before the wedding (longer for destination).
Creative Themes That Actually Work
Need a spark? Borrow these and customize.
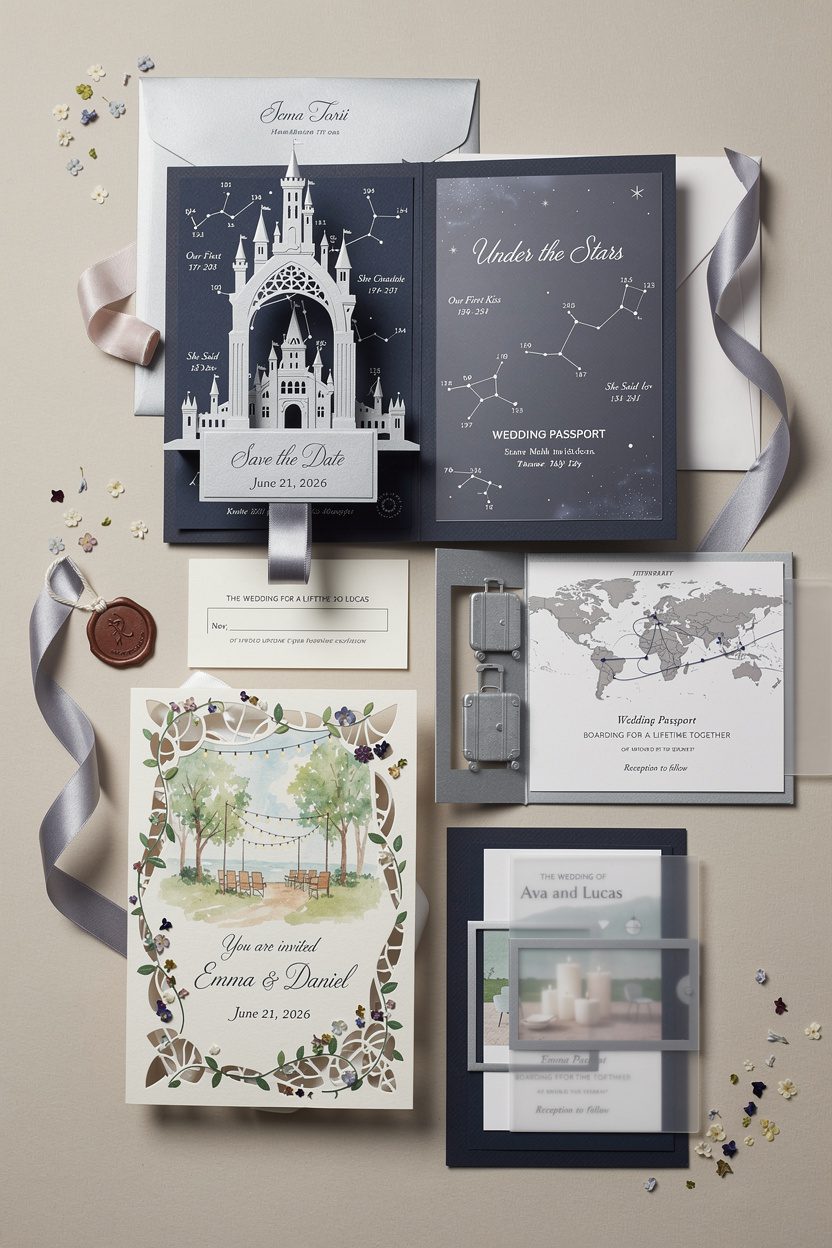
- Storybook pop-up: A fairytale-style illustration with a castle or archway that pops when opened.Include a ribbon tab that reveals the date.
- Celestial layers: Navy and silver with star maps of your first date and wedding night. Acrylic layer with etched constellations on top.
- Travel timeline: Passport-inspired invite with mini pop-up suitcases and a layered map showing your journey.
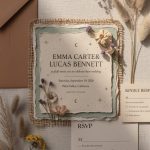
- Garden vignette: Laser-cut vines framing a watercolor scene of your venue. Add pressed flower confetti if you’re extra.
- Modern architectural: Clean lines, geometric cutouts, vellum overlay.Minimalist but still dimensional.
Color and Typography Tips
– Pick one hero color, one support color, and one neutral. – Use two fonts max: a bold display for names, a clean sans serif for details. – Keep text contrast high for readability—your guests aren’t decoding ancient runes.
Common Mistakes (So You Can Avoid Them)
– Overcrowding the design: If everything is special, nothing is. Leave breathing room. – Weak adhesives: Use strong double-sided tape or bookbinding glue for moving parts. – Ignoring postage rules: Don’t guess. Weigh a finished sample and check with your post office. – Forgetting the keepsake factor: Add a small stand or flat base so guests can display it.
Instant heirloom status.
FAQ
Will 3D invitations survive the mail?
Mostly yes—if you plan for it. Use rigid or box mailers for complex builds, add protective tissue, and request hand-canceling. Always test-mail one to yourself before sending the full batch.
Are 3D invites crazy expensive?
They can be, but not always.
You control costs with simpler mechanisms, limited layers, and smart material choices. Prioritize one standout element, and you’ll get impact without meltdown pricing.
How many pieces should I include?
Keep it lean: the main 3D invite, an RSVP card (or QR), and one details insert. Anything more risks clutter and confusion.
Direct deeper info to your wedding website.
What if I want eco-friendly options?
Use recycled or cotton rag paper, soy-based inks, and avoid plastic. Ask for responsibly sourced wood or opt for plantable seed paper for inserts. Sustainable can still look stunning.
Can we DIY without specialized tools?
You can, but it’s tougher.
A cutting machine helps a lot. If you go fully manual, stick to simpler pop-ups, clean folds, and minimal layers. Do a timed mockup and multiply by your guest count—reality check achieved.
Do I need a calligrapher?
Not mandatory, but hand-addressed envelopes elevate everything.
If budget is tight, consider a calligraphy-style font and high-quality printed envelopes. It’s a nice middle ground.
Wrap-Up: Your Story, But Make It Pop
Your wedding invitation should feel like a preview of the big day: heartfelt, stylish, and a little unforgettable. With 3D designs, you can literally layer your story and give guests a piece they’ll keep.
Choose one wow moment, keep the essentials clear, and let your personalities lead. FYI, when people gasp while opening mail? That’s your cue you nailed it.