Forget flimsy cardstock and predictable florals. You want a wedding card that pops—literally. 3D backgrounds add depth, drama, and “wait, how did they do that?” energy. If your invites set the tone, then a unique 3D background screams: buckle up, this wedding’s an experience.
You don’t need a design degree or a million-dollar printer. You just need the right ideas, a few clever tools, and a willingness to play. Ready?
Let’s build your showstopper.
Why 3D Wedding Card Backgrounds Actually Matter

3D backgrounds create instant visual depth. Guests don’t just look; they explore. That makes your invite feel like a tiny keepsake instead of a disposable reminder.
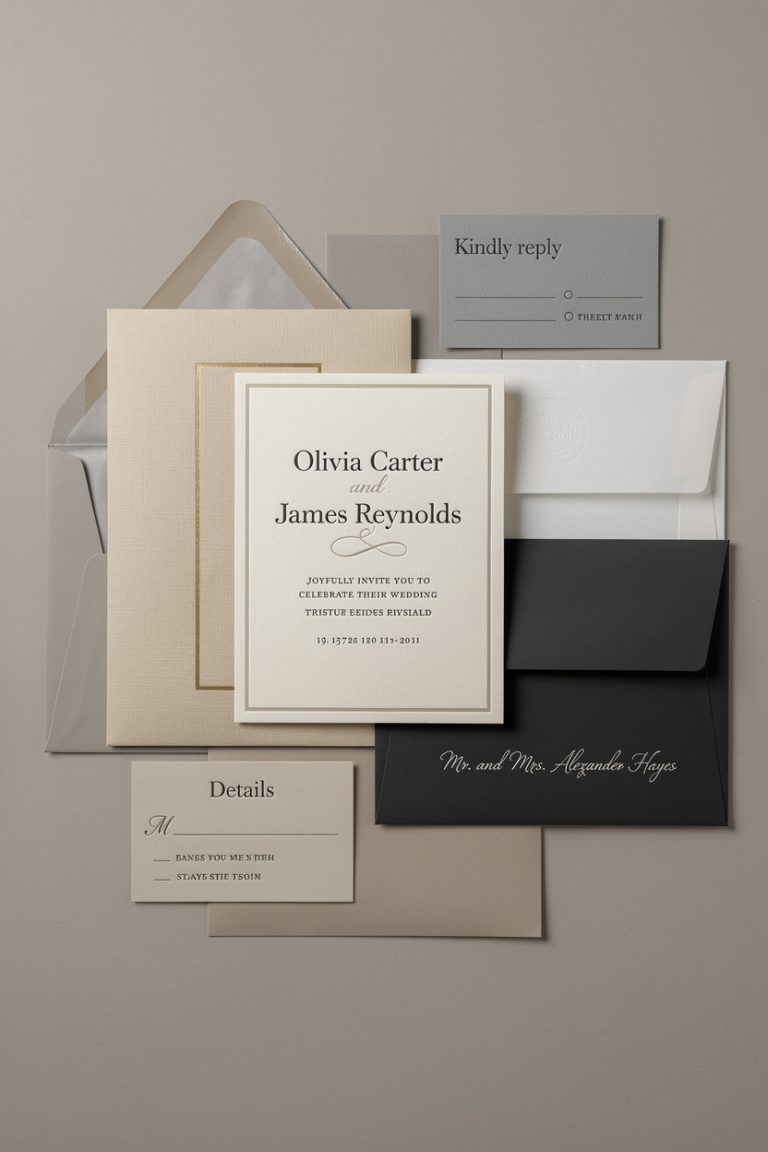
On a practical note, 3D design helps you guide the eye. You can highlight names, dates, or venues by putting them in the foreground and layering details behind. Hierarchy = clarity, and your guests won’t miss the important stuff. Plus, everyone posts invites now.
A unique 3D background photographs like a dream. That social share? Free hype for your big day.
Design Styles That Go Big (Without Going Gaudy)
Your 3D background doesn’t have to scream.
It can whisper—elegantly. Choose a style that matches your vibe and venue.
- Paper-cut layers: Think stacked silhouettes—mountains, city skylines, florals. Clean, modern, very “wow.”
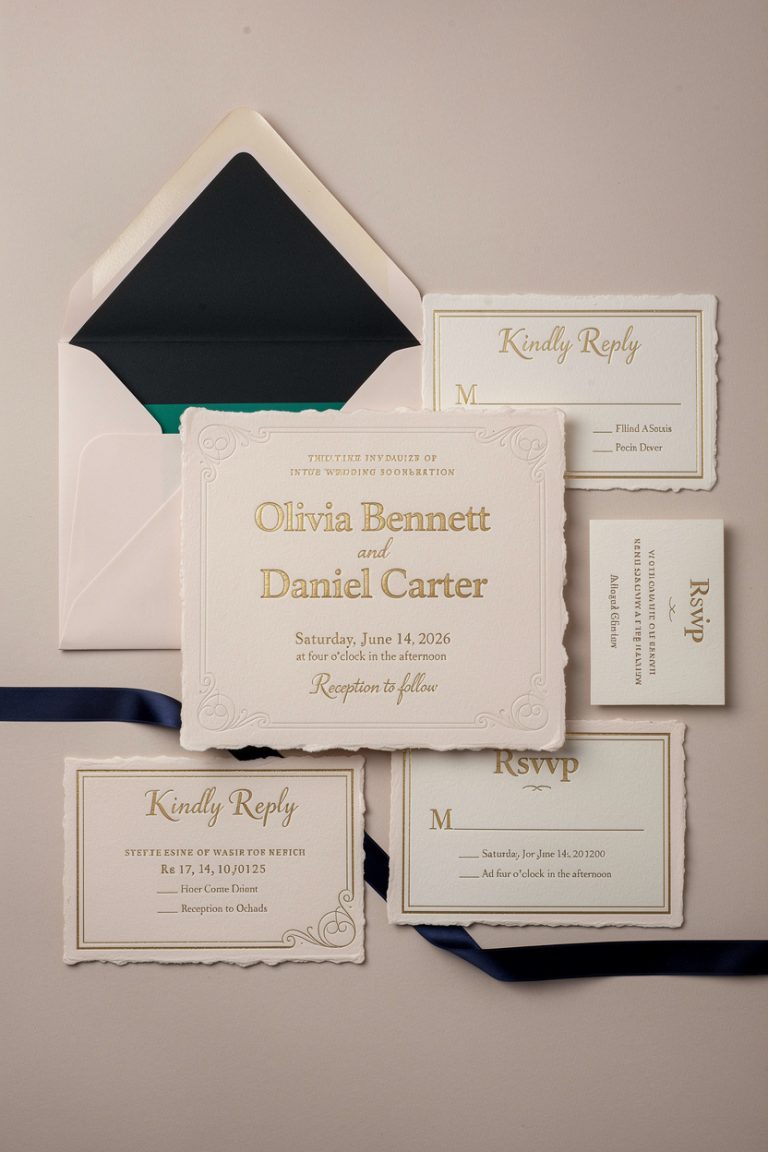
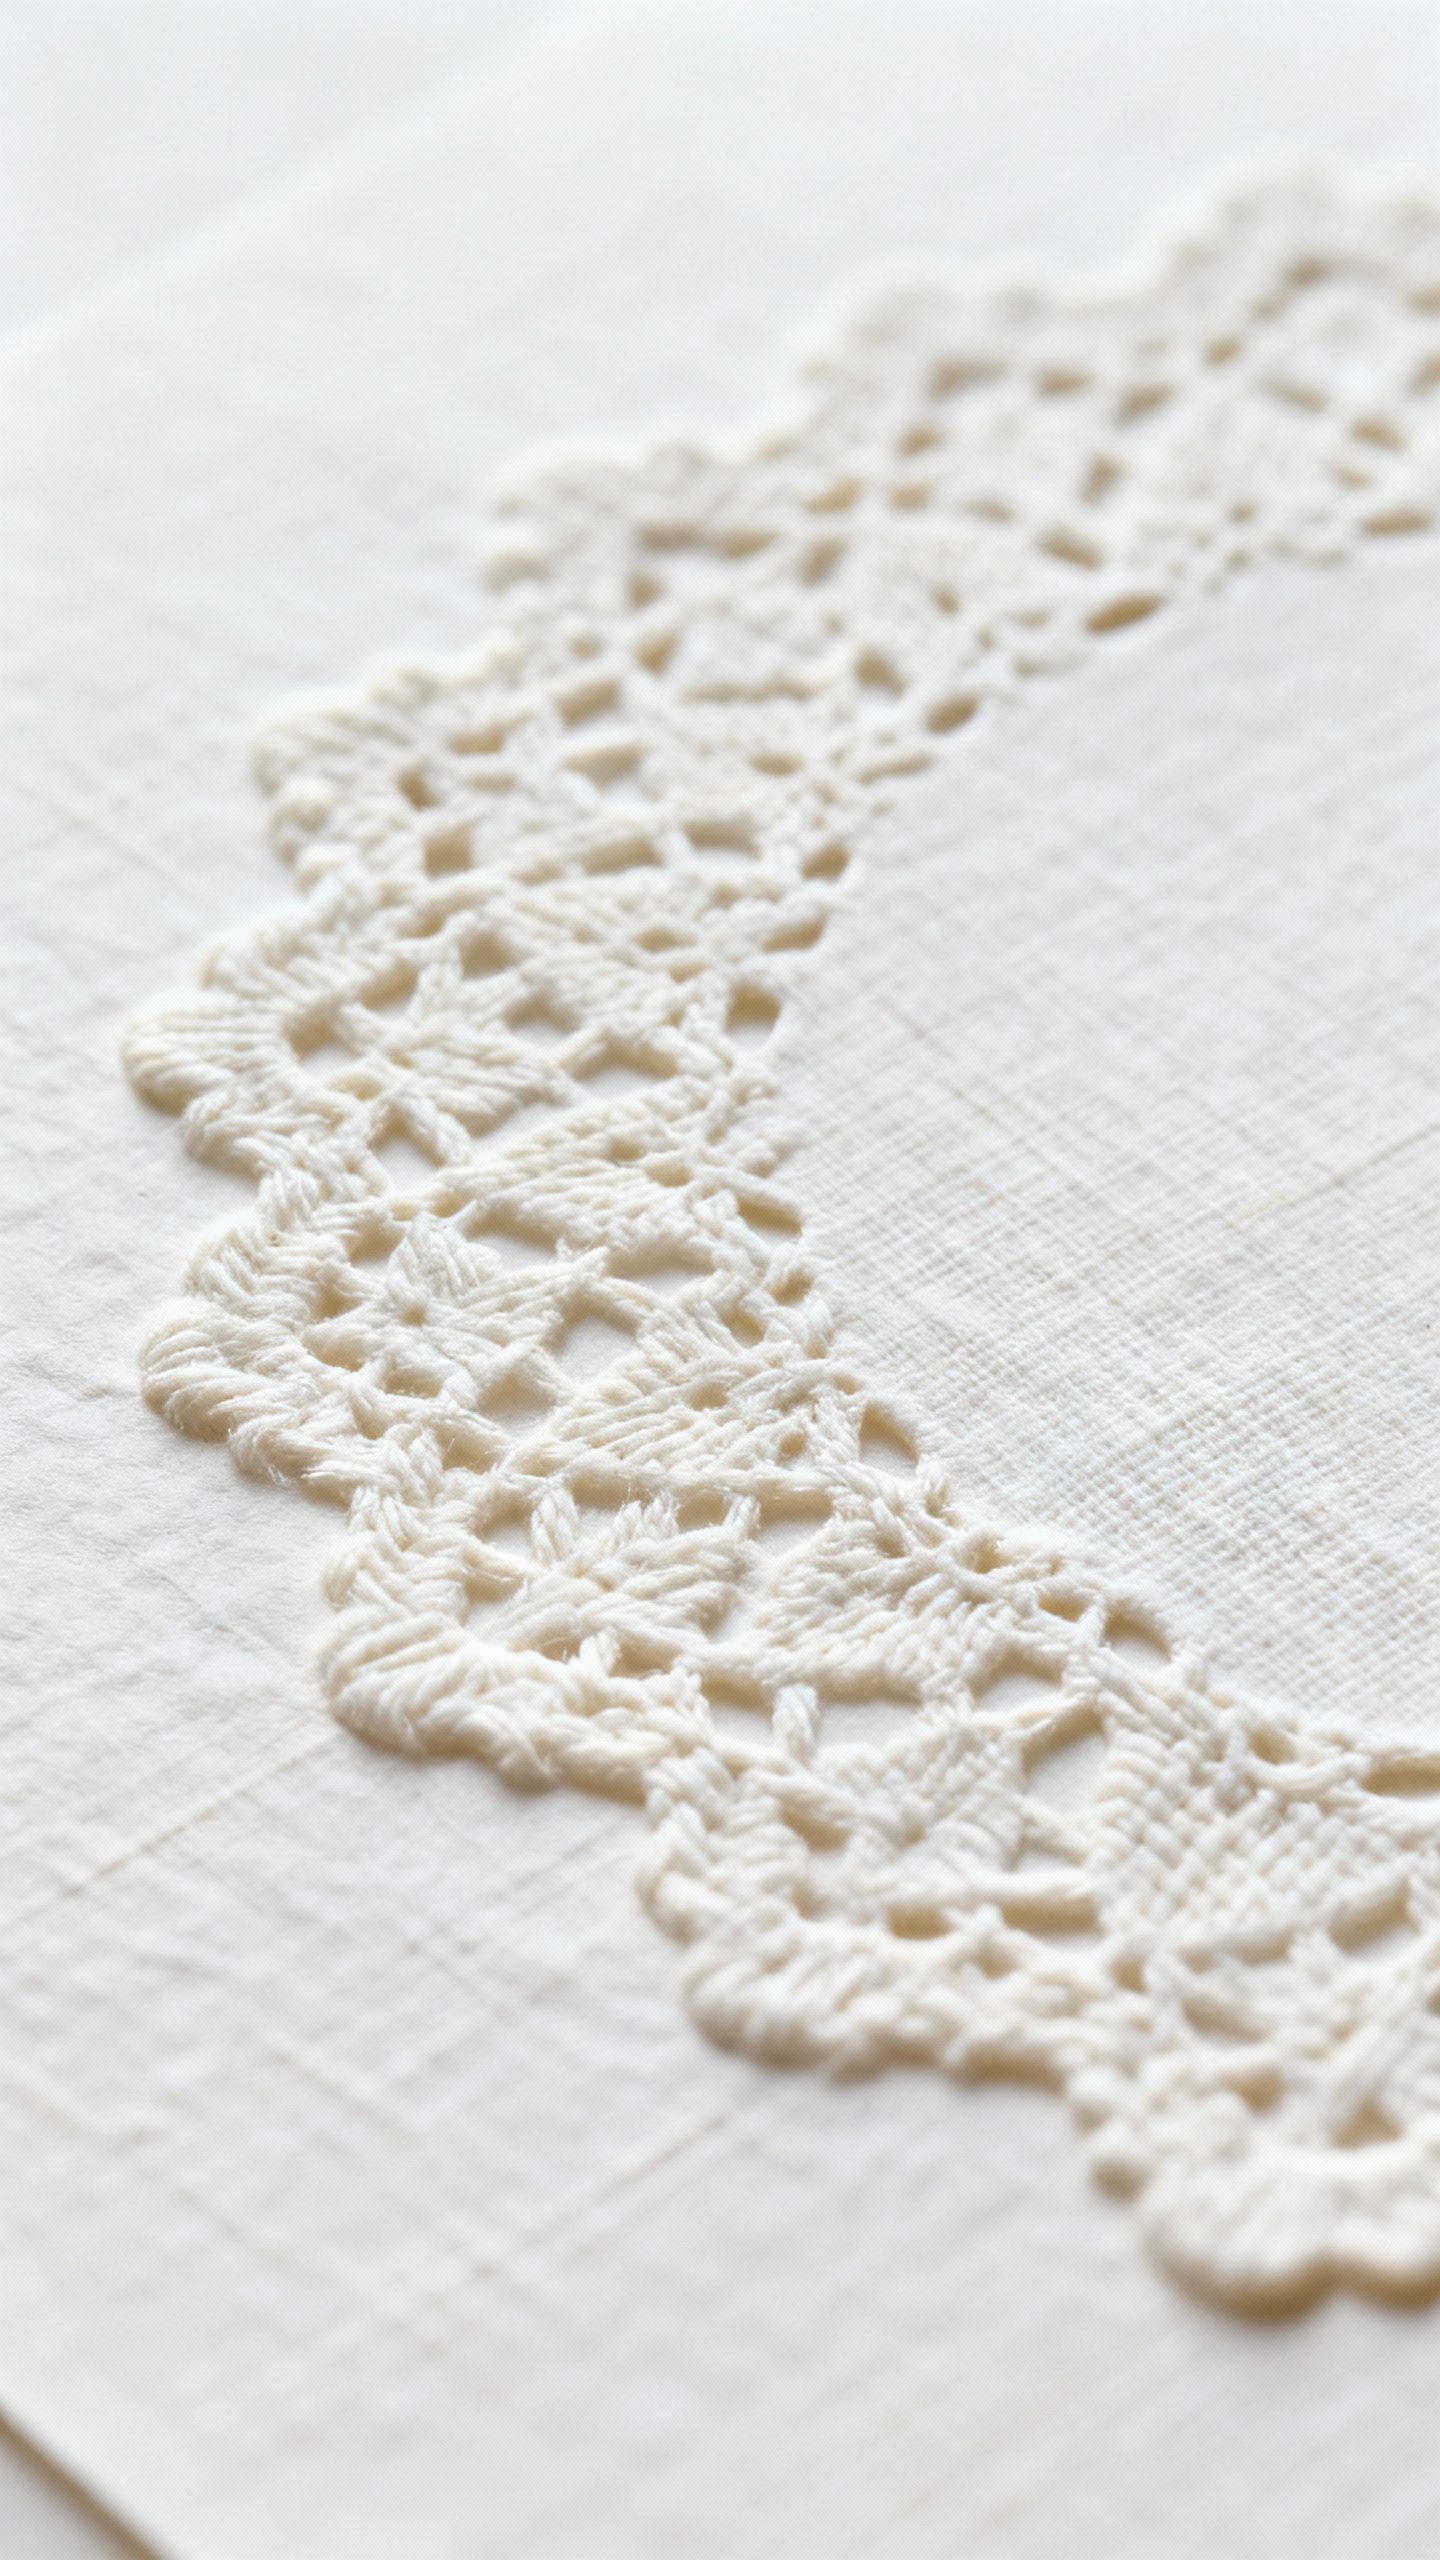
- Embossed textures: Raised patterns like lace, filigree, or Art Deco lines.Tactile and classy.
- Geometric illusions: Subtle 3D grids, isometric shapes, or tessellations. Minimalist without being boring.
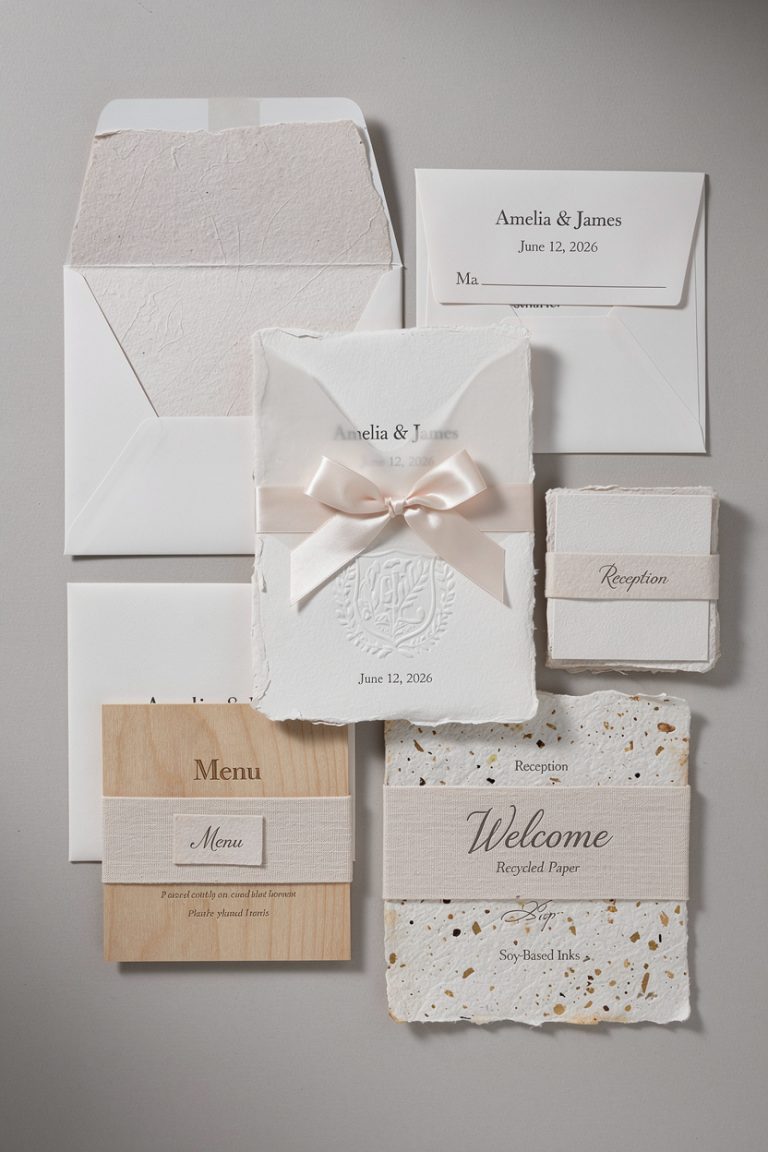
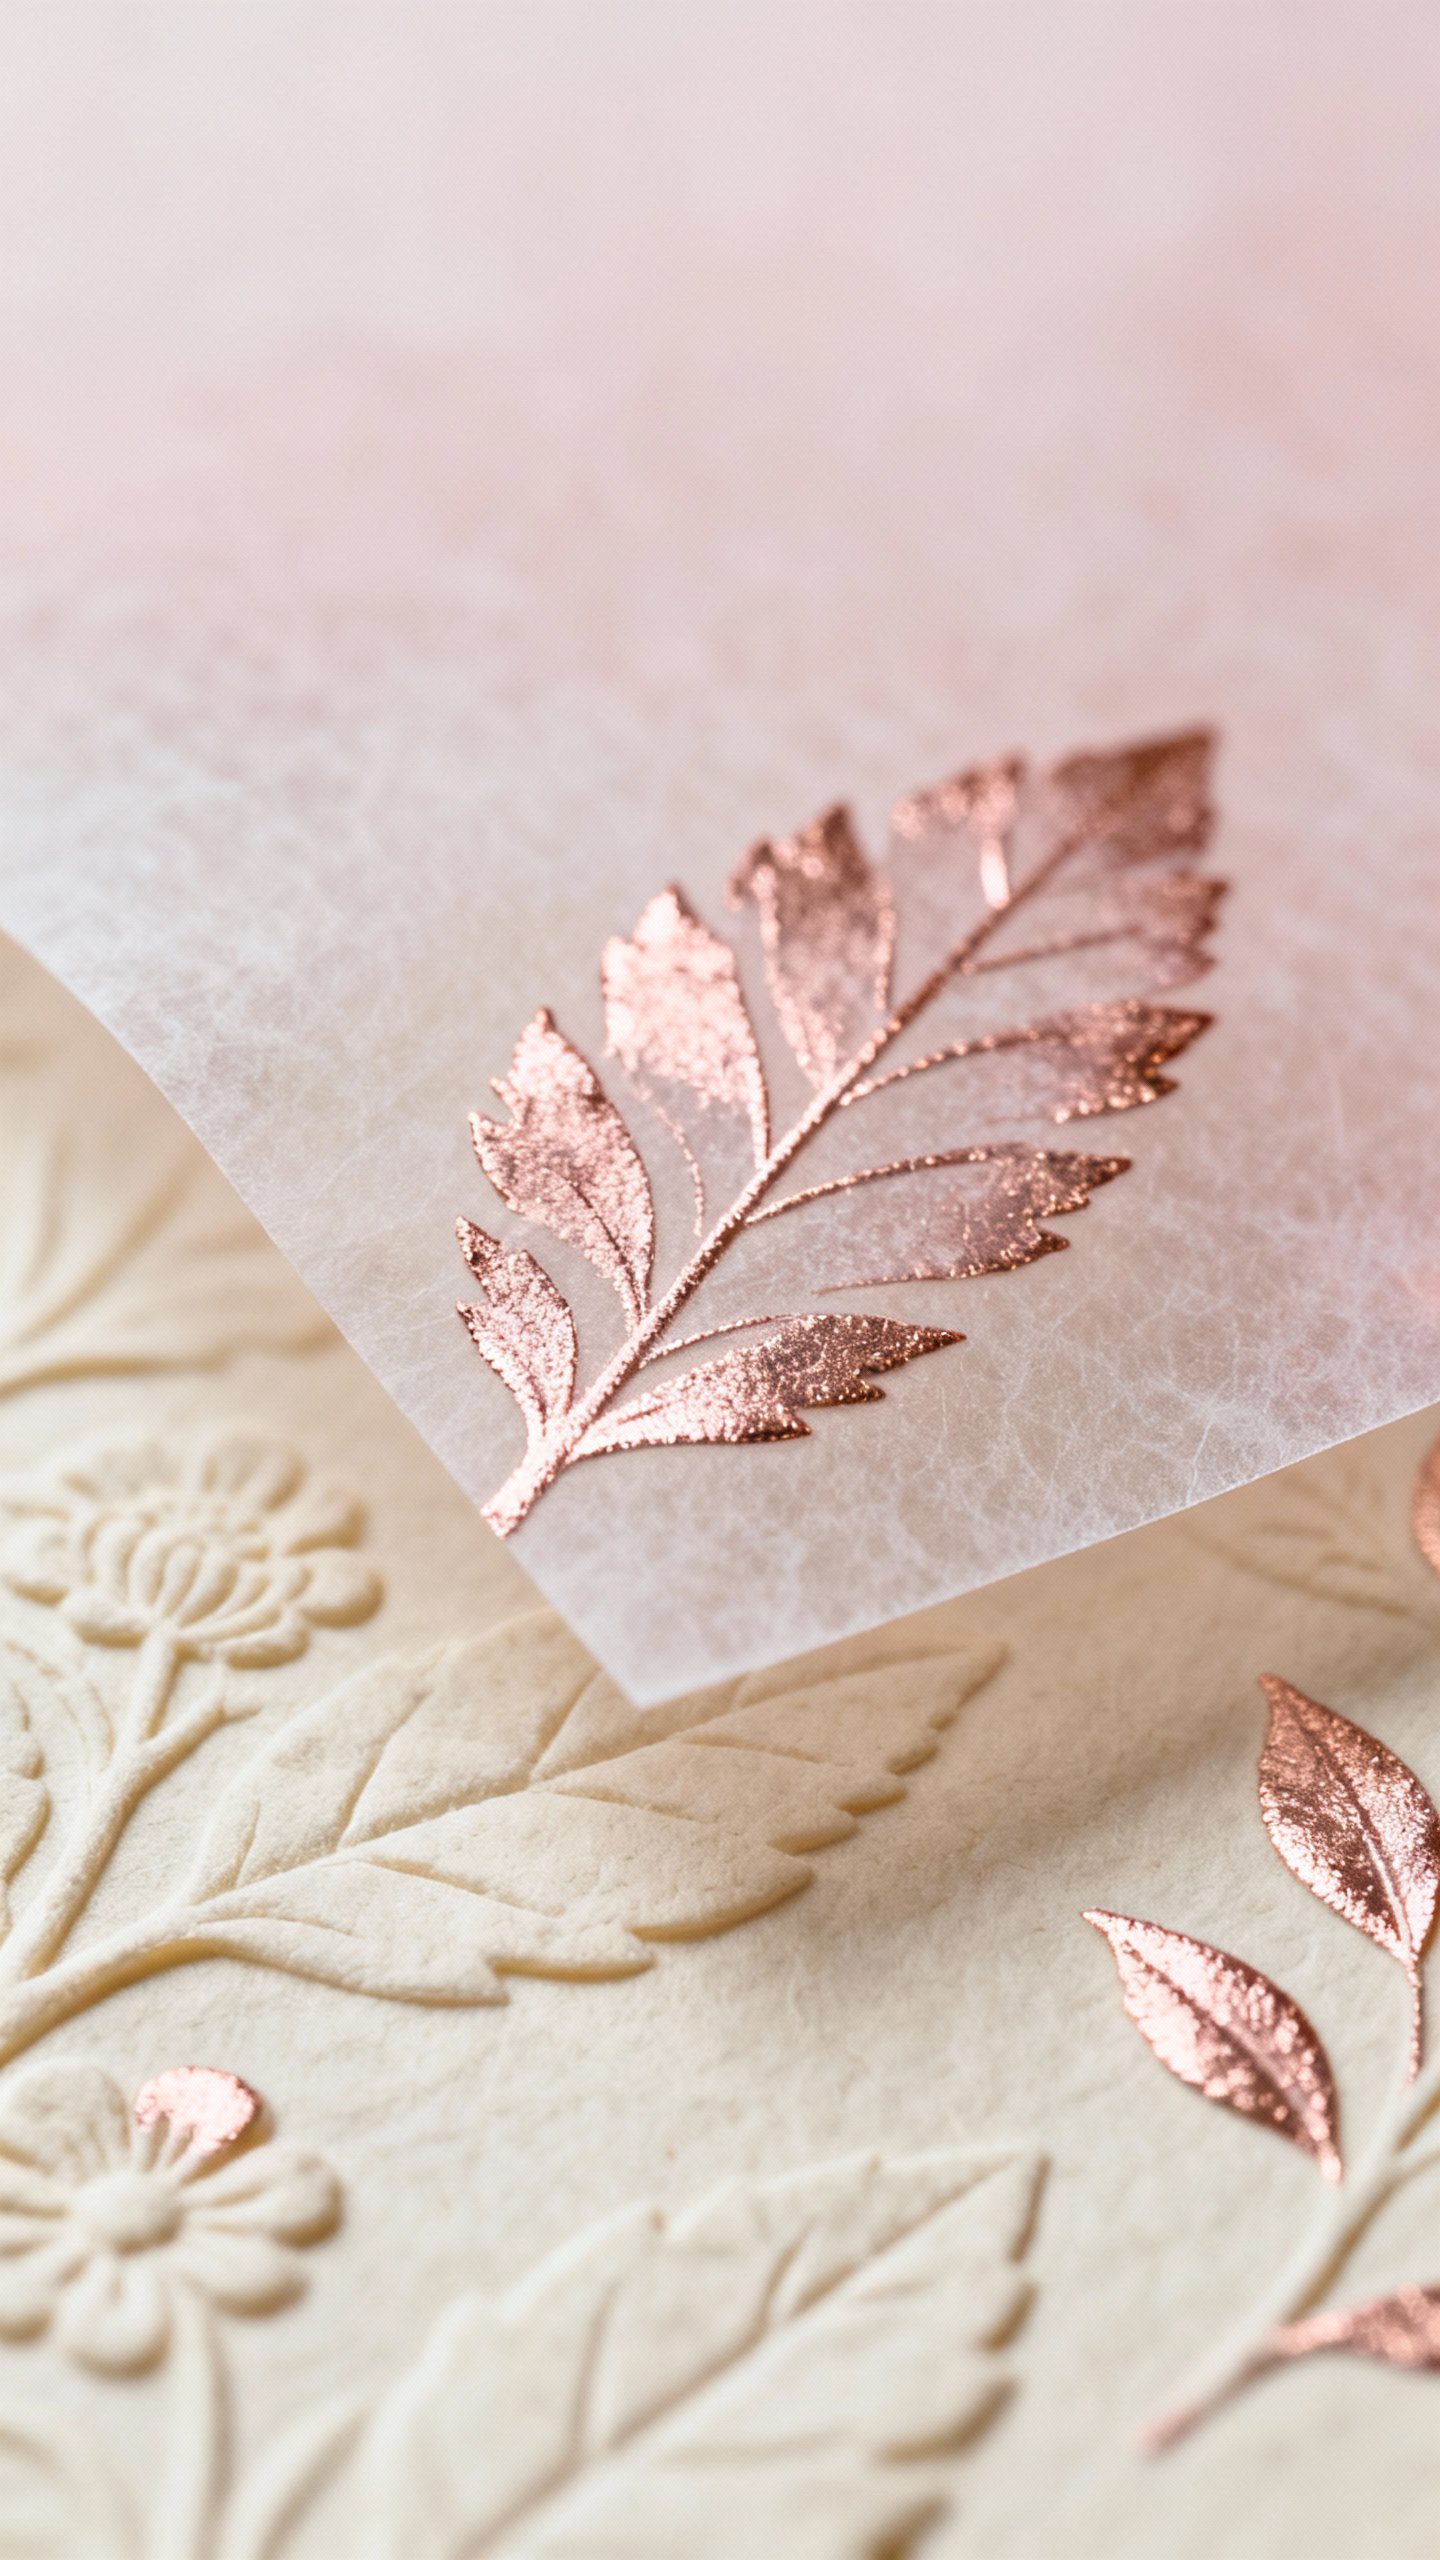
- Botanical bas-relief: Leaves and petals that slightly lift off the card. Nature-themed weddings love this.
- Shadowbox frames: A layered frame creates a mini-stage for your names or monogram.
- Mixed-media sparkle: Combine vellum overlays, metallic foils, and tiny die-cut windows for depth + shimmer.
Pro Tip: Anchor the Depth
Pick one focal point—your names, a monogram, a motif—and build depth around it.
If everything pops, nothing pops. One hero, supporting cast.
Materials That Make the Magic
You can fake 3D with design tricks, but materials turn “cool” into “OMG.”
- Heavy cardstock (300–400 gsm): The base layer. Anything lighter may warp with layers.
- Vellum: Softens bold backgrounds. Layer it on top for a dreamy, misty effect.
- Foil and metallic papers: Use sparingly for highlights.Foil reflects light and adds dimension.
- Textured papers: Linen, hammered, or cotton rag add subtle tactile 3D without extra layers.
- Acrylic or acetate: For ultra-modern see-through effects, especially with floating text.
- Foam tape or mounting dots: Create air gaps between layers for real shadow play.
Finish Options That Elevate
- Embossing/Debossing: Physical height difference—clean and luxe.
- Spot UV: Gloss on matte areas to make details pop when light hits.
- Letterpress: Deep impressions that feel timeless and expensive (in a good way).
3D Illusions You Can Create in Software
No laser cutter? No problem. You can design 3D illusions entirely in your layout software.
- Layered gradients: Use soft shadows and blur for depth behind text.
- Parallax elements: Offset motifs slightly across layers—like vines drifting behind names.
- Isometric grids: Build geometric patterns that look like they rise off the page.
- Drop shadows done right: Keep them subtle, directional, and consistent.Harsh shadows = cheap vibes.
Tools to Try
- Adobe Illustrator: Vector layers, precise shapes, and 3D extrude tricks.
- Affinity Designer: Great value, robust layer effects.
- Figma: Fast iteration, superb for shadow consistency and grids.
- Canva (FYI): Easy templates and drop shadows for beginners.
DIY vs. Pro Printing: Choose Your Adventure
You can absolutely DIY, but know your limits (and your patience).
DIY Wins
- Budget control: Buy materials, make what you need, avoid setup fees.
- Creative freedom: Test small batches, tweak on the fly.
- Personal touch: Handmade layers feel special—guests notice.
When to Call a Pro
- Complex die-cuts or embossing: Clean edges and consistent depth need pro machinery.
- High volume (100+ invites): Your sanity is worth something, IMO.
- Special finishes: Foil, letterpress, or Spot UV need specialist printers.
Budget-Smart Combos
- Pro for base card + foil; DIY the top layer with foam tape and vellum.
- Digital print background; add one etched acrylic element as a topper.
- Use an insert for the 3D reveal; keep the main card flat to save postage.
Theme Ideas That Absolutely Slap
Pick a theme that tells your story. Then lean in.
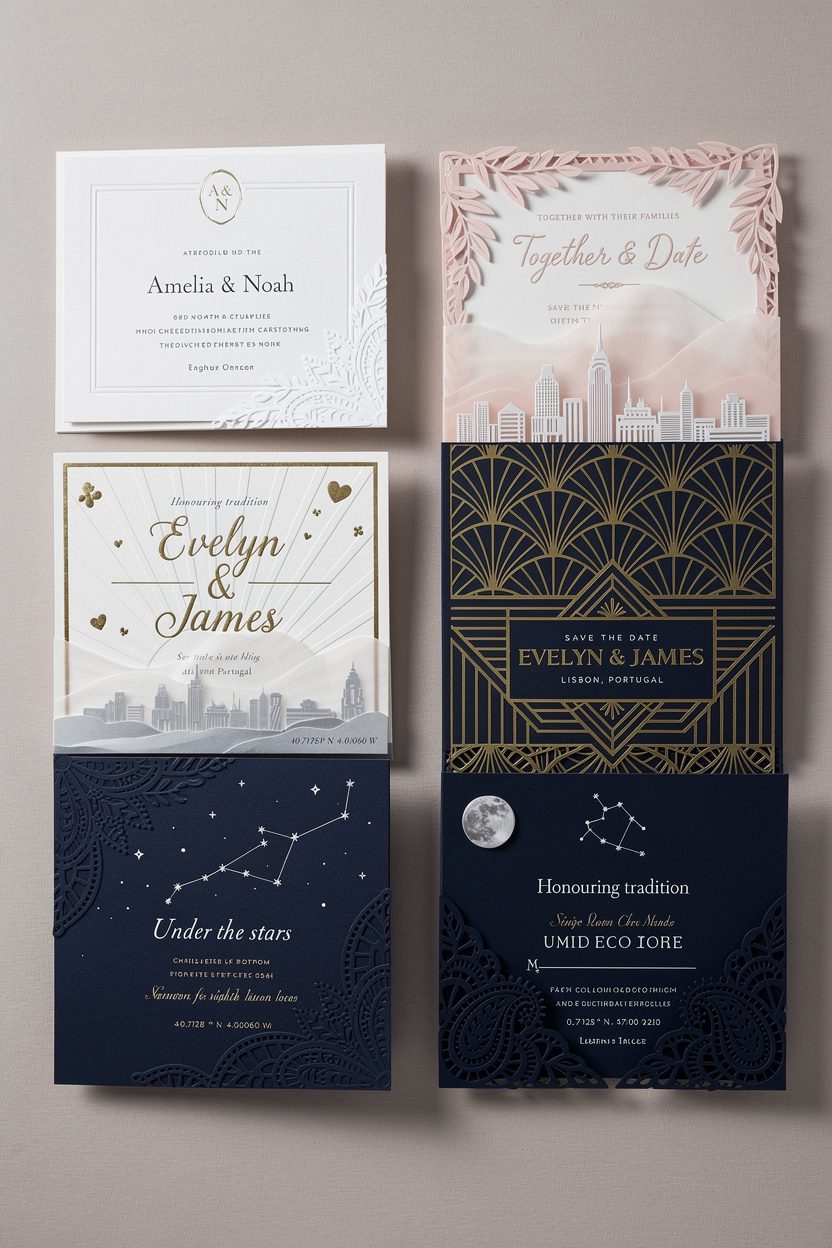
- Modern minimal: White-on-white embossed lines, tiny foil monogram, deep shadow frame.
- Romantic garden: Layered die-cut leaves, vellum wash, soft blush foil accents.
- Destination chic: Paper-cut city skyline or mountain layers behind the date.
- Art Deco glam: Debossed fan patterns, gold foil borders, stepped geometry.
- Celestial: Navy stock, spot UV constellations, raised moon in silver foil.
- Heritage motifs: Laser-cut lace or paisley referencing family or culture—timeless and personal.
Make It Yours
Hide Easter eggs—your pet’s silhouette, a tiny venue outline, or coordinates under a vellum layer.
Subtle details make guests smile and share.
Practical Stuff: Sizing, Postage, and Survival
Yes, logistics matter. You want “wow,” not “returned to sender.”
- Size: A7 (5 x 7 in) fits most envelopes and frames nicely.
- Depth: Keep layered thickness under 1/4 inch to avoid postal surcharges.
- Weight: Test one invite at the post office before sending 120 of them. Trust me.
- Protection: Use belly bands or tissue wrap to prevent layer snags.
- Assembly line: Set up stations: cut, mount, press, pack.Bribe friends with snacks.
Timeline
- Design: 2–3 weeks for iterations and proofs.
- Production: DIY: 1–2 weekends. Pro: 10–20 business days (add time for specialty finishes).
- Mailing: Send 6–10 weeks before the date; earlier for destination weddings.
Common Mistakes (And How to Dodge Them)
-
- Over-layering: Too many pieces looks messy and costs more. Cap it at 3–4 layers.
- Clashing textures: If you emboss heavily, skip busy prints.Let one element shine.
<li
>Low-contrast text:
- Pretty is useless if you can’t read it. Test legibility in real light.
- Cheap adhesives: Go archival and strong. No guest wants a flappy flower.
- Ignoring the envelope: Your 3D magic deserves a sturdy, lined envelope to arrive intact.
FAQs
Do 3D wedding cards cost more than traditional ones?
Usually, yes—but you can control it.
Limit specialty finishes to one or two, keep the format standard, and use smart layering with foam tape and vellum. FYI, the envelope and postage often add more cost than the extra paper.
Can I mail highly layered or acrylic invites?
You can, but test first. Use a rigid mailer or padded envelope for acrylic, and confirm thickness with the post office.
Add “non-machinable” postage if edges could catch in sorting machines.
What’s the easiest 3D effect for beginners?
A printed background + vellum overlay + foam-mounted nameplate. It looks refined, assembles quickly, and stays within mailing limits. IMO it delivers the best effort-to-wow ratio.
How do I keep the design cohesive with my wedding theme?
Pick a core motif and repeat it subtly: your monogram, a floral type, or a geometric shape.
Keep your color palette tight (2–3 colors max), and mirror finishes you’ll use at the event—like gold flatware or navy linens.
Are digital 3D effects enough, or do I need physical layers?
Digital effects can look amazing, especially with spot UV or embossing. If budget or time runs tight, a printed 3D illusion with one tactile finish still feels premium. Physical layers amplify, but they’re not mandatory for impact.
What software should I use if I’m not a designer?
Try Canva or Figma templates, then export print-ready PDFs.
Many print shops also offer basic design help—send your inspo and let them handle the technical stuff.
Conclusion
A unique 3D wedding card background doesn’t require wizardry—just a smart concept, a few layered materials, and one or two luxe finishes. Focus on a strong focal point, keep the textures intentional, and test for mailing reality. Do that, and your invite won’t just announce a date—it’ll set the stage.
And yes, your guests will absolutely put it on the fridge (and probably Instagram).