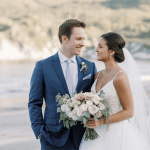
Your wedding invitation sets the tone before guests even pick an outfit. Want instant “wow” with zero guesswork? Gold foil does that.
It shimmers, it photographs like a dream, and it whispers “this is going to be a beautiful party.” Let’s talk about how to make elegant gold-foil invites that feel luxe without feeling stuffy.
Why Gold Foil Feels So Luxe (Without Trying Too Hard)
Gold foil isn’t just shiny ink. It’s a metallic finish that catches light and adds texture you can literally feel. That tactile detail makes the whole invitation look more expensive, even if you kept everything else super minimal. Here’s the magic of gold foil:
- It elevates simple design: Clean typography + gold names = instant chic.
- It photographs beautifully: Hello, engagement announcement flat-lays.
- It works with any palette: Ivory, blush, black, emerald, navy—gold plays nice with all of them.
- It signals formality: Your guests will RSVP “yes” in their fancy outfits.
Designing Your Invitation: Minimal, Ornate, or Somewhere in Between?
You don’t need a design degree to nail this.
Think “one star, supporting cast.” The star? Your gold foil. Everything else should frame it.
Minimal and Modern
Go clean and airy:
- One serif or a classy sans serif, lots of whitespace.
- Foil the names or the date; keep body text in regular ink.
- Paper: bright white or soft ivory with a smooth or eggshell finish.
Romantic and Ornate
Want a touch of old-world glamour?
- Calligraphy names in foil, delicate floral or filigree border.
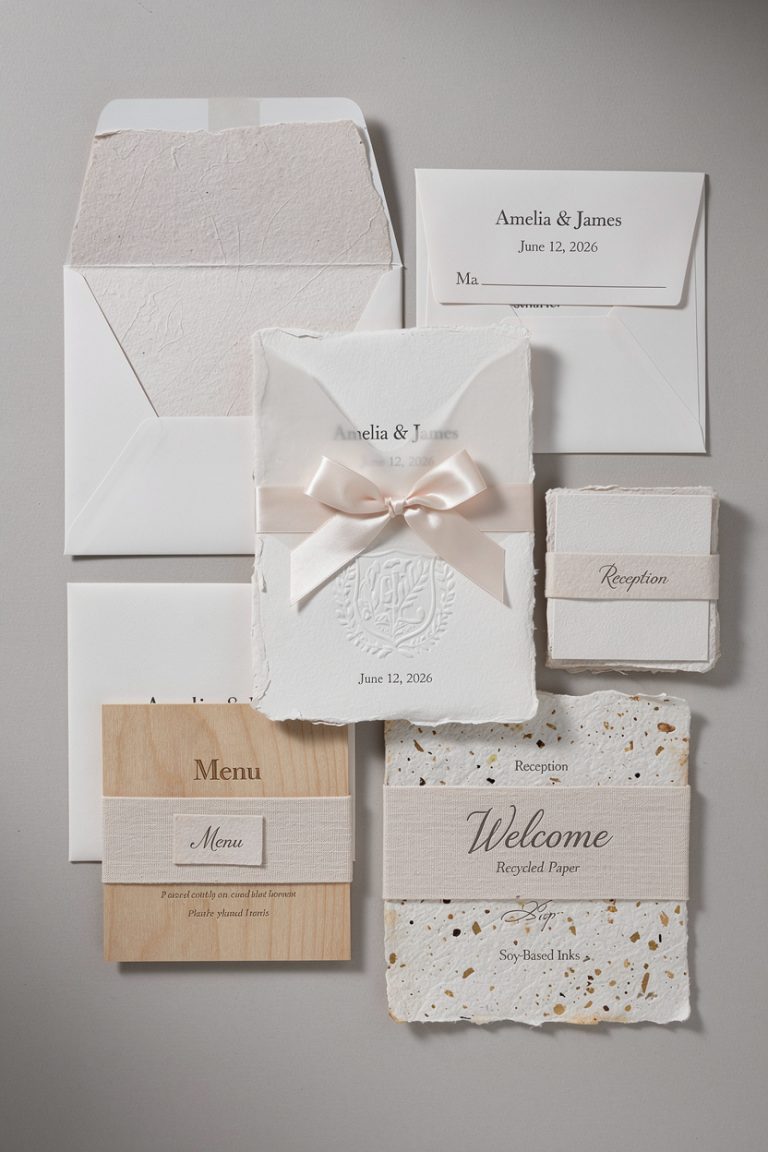
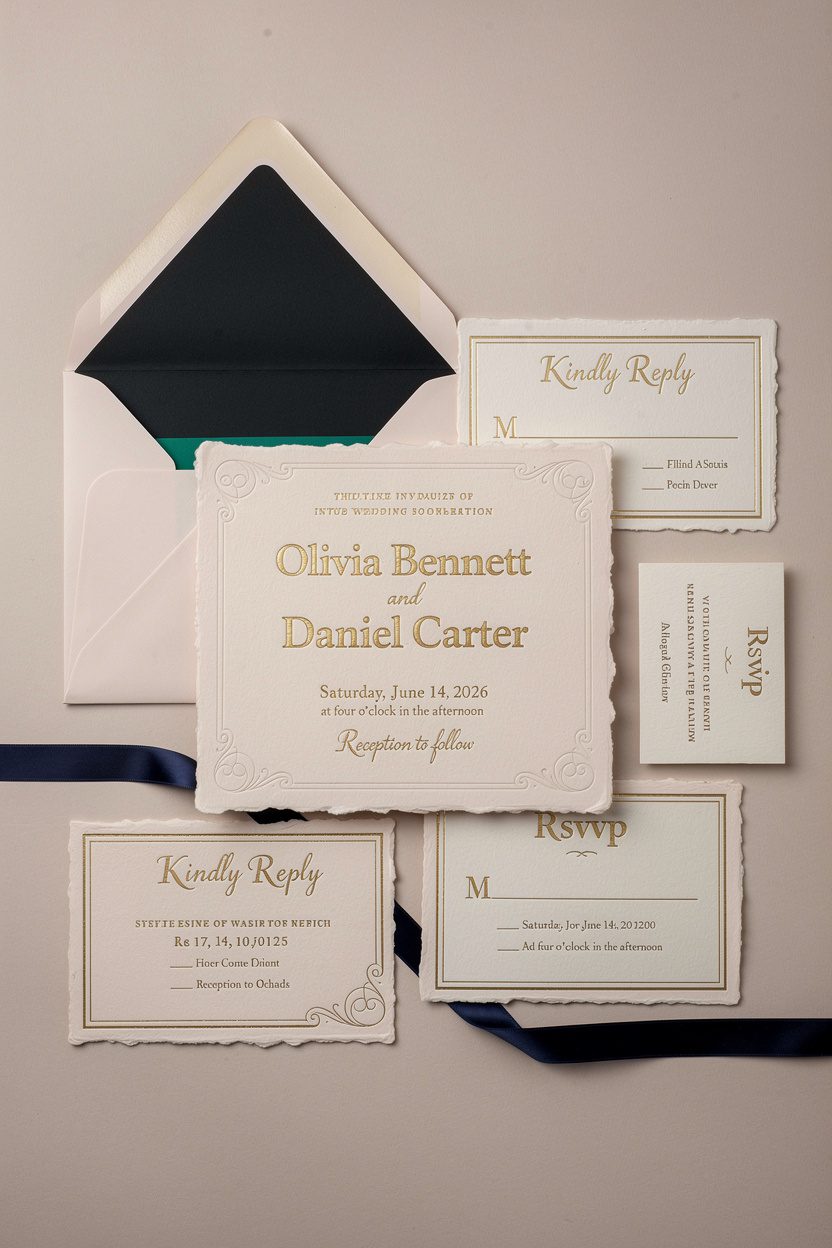
- Deckled edges or handmade cotton paper for texture.
- Blush, champagne, or dove grey paper with warm gold foil.
Bold and Dramatic
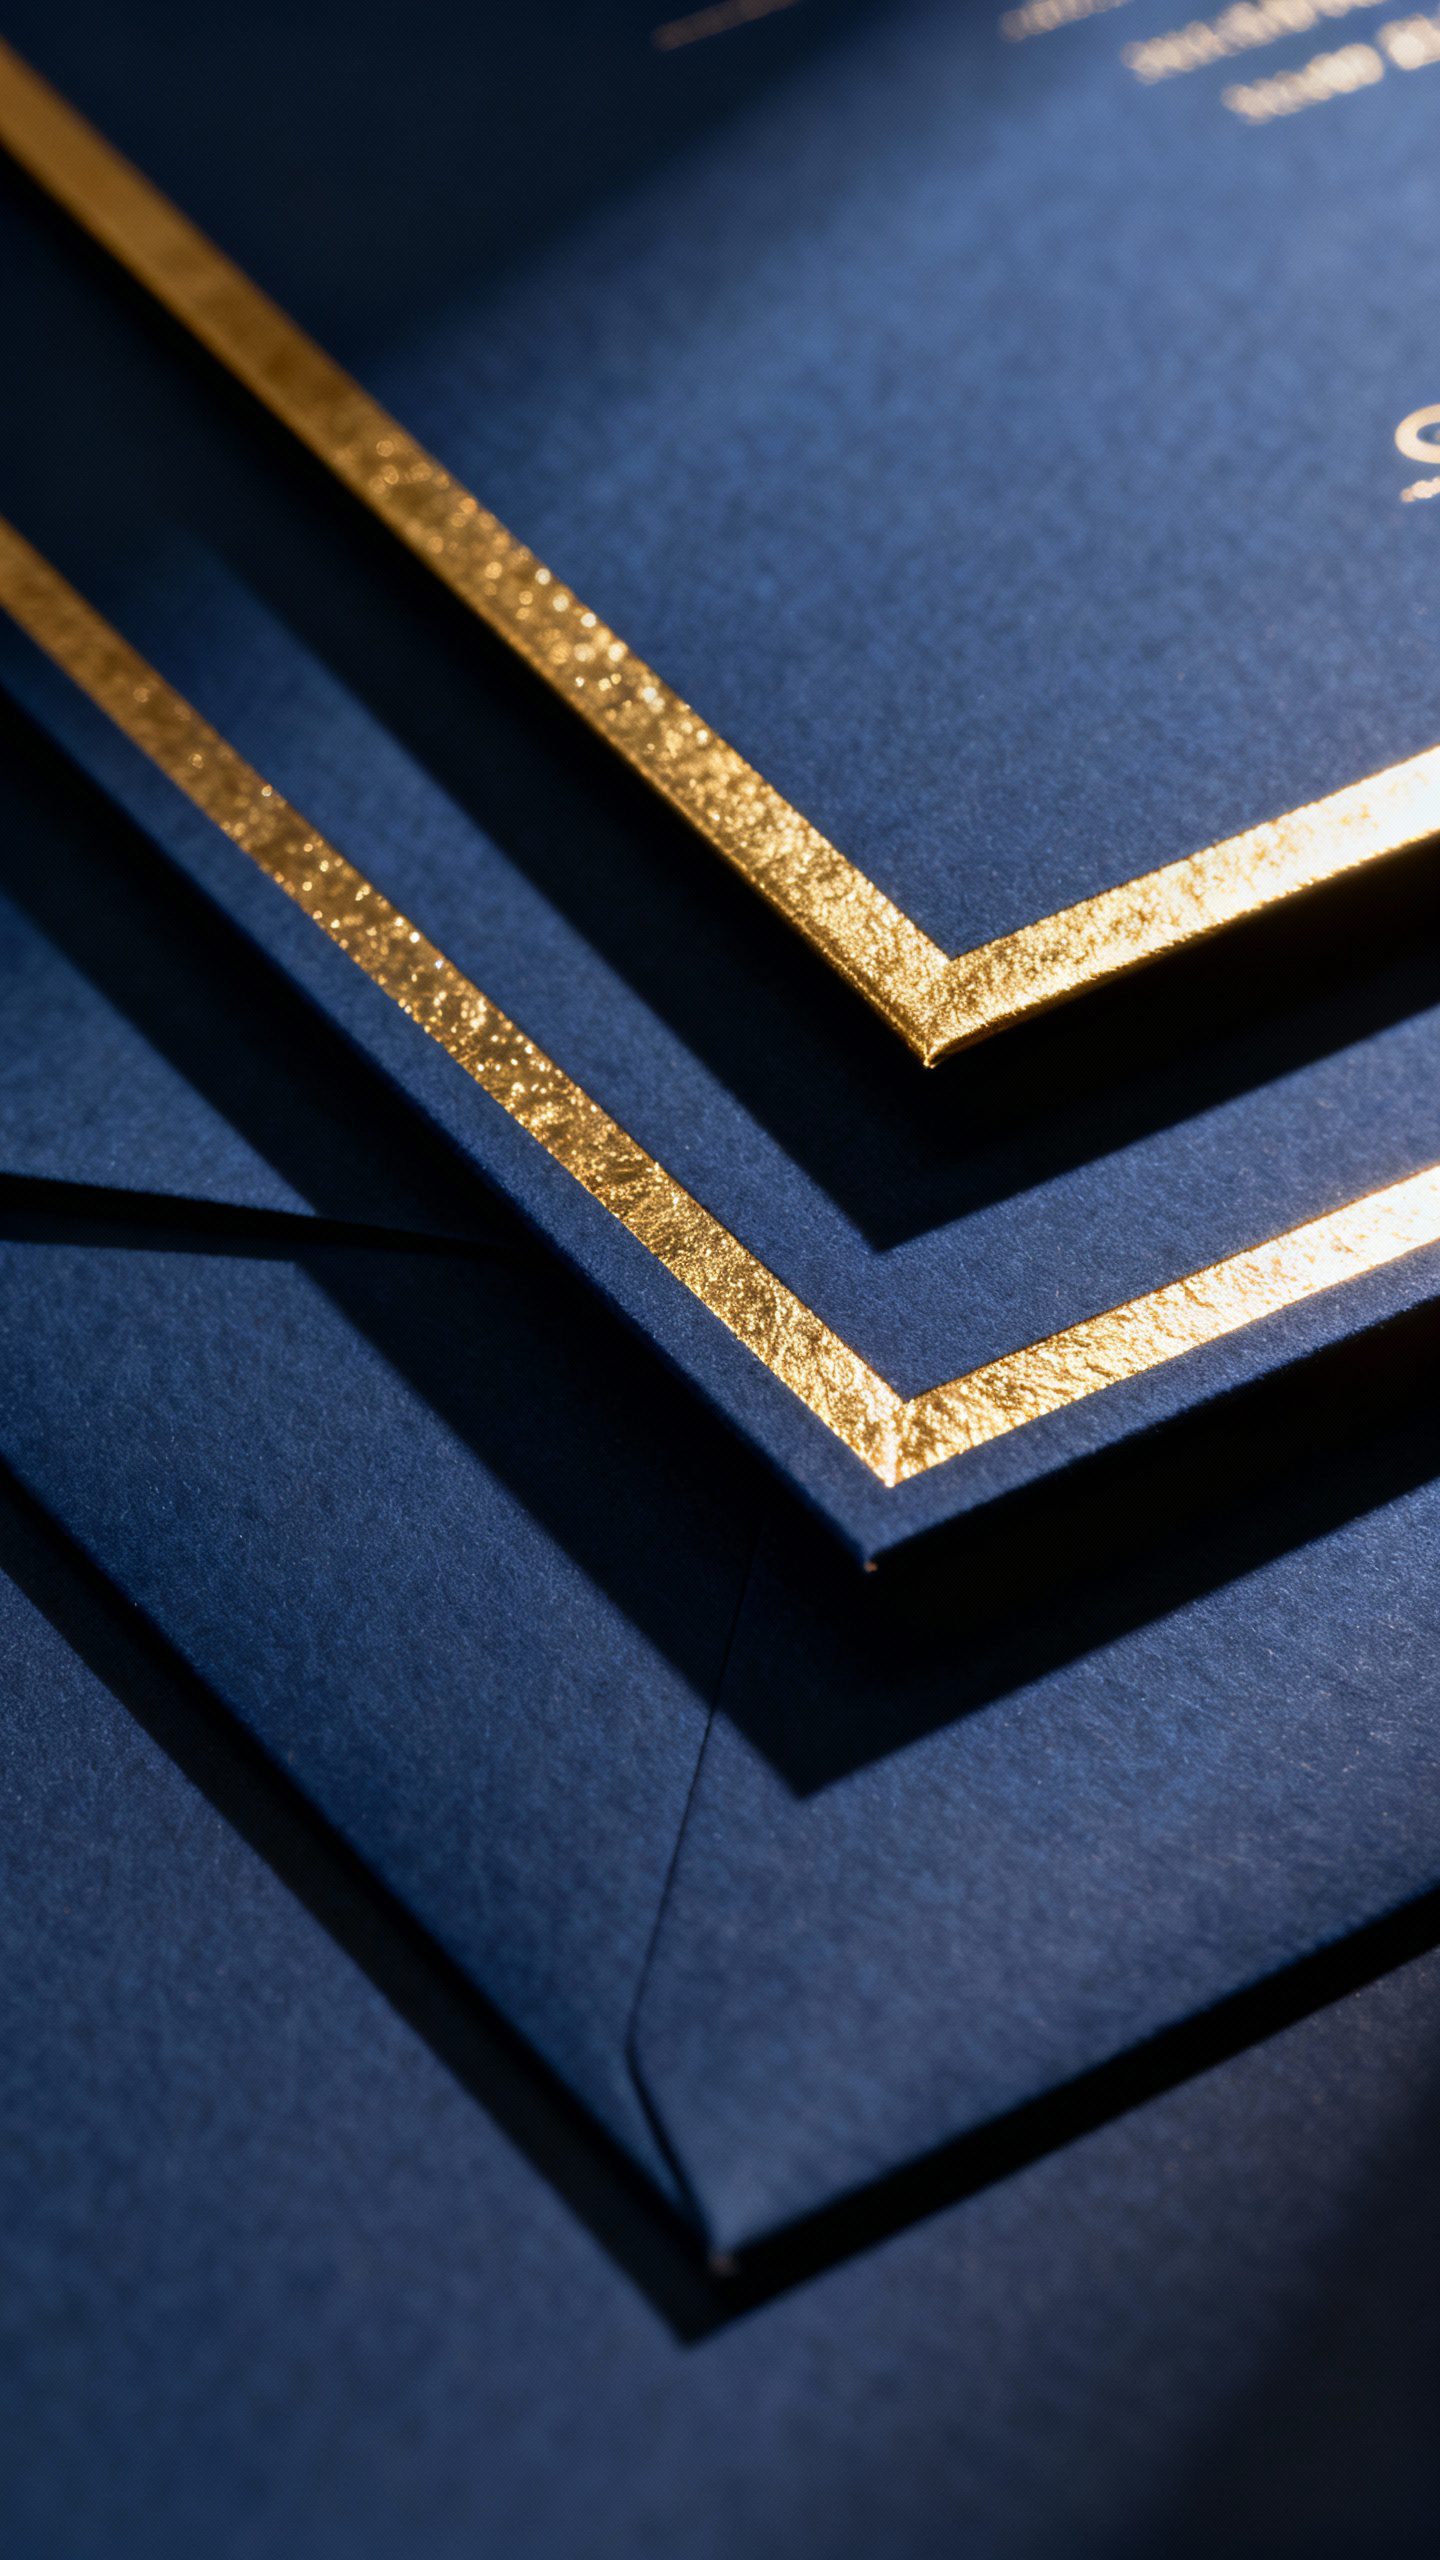
Navy or black cards with gold foil make a statement:
- Foil title + simple white ink for details.
- Consider double-thick card stock for extra polish.
- Add a subtle pattern or monogram on the back.
The Paper Matters (More Than You Think)

The wrong paper can make your gold look flat.
The right paper makes it sing. Best picks:
- Heavyweight cover stock (120–200 lb): Feels substantial; won’t bend in the mail.
- Cotton paper: Soft, luxe, slightly textured—foil adheres beautifully.
- Vellum overlay: Layer a translucent sheet with foil on top of a printed card—hello, dreamy.
FYI: Super rough textures or deep embossing can make foil inconsistent. Ask your printer for samples if you’re unsure.
Foil Techniques 101: What Actually Happens
Not all foil is created equal. Different methods change how the final card feels (and what it costs).
Hot Foil Stamping
A heated metal plate presses foil into the paper.
- Pros: Crisp lines, deep impression, truly metallic shine.
- Cons: Higher setup cost; revisions cost more.
- Best for: Names, monograms, borders, clean typography.
Digital Foil (a.k.a.
Sleeking)
Foil bonds to printed toner and gets applied with heat.
- Pros: Budget-friendly, faster, great for short runs.
- Cons: Slightly less crisp; works best on smoother paper.
- Best for: Trendy designs, quick turnarounds.
Foil + Embossing (Debossing)
Add dimension by pressing the design up (emboss) or in (deboss).
- Pros: Gorgeous texture; ultra-luxe vibe.
- Cons: Adds cost; requires thicker stock.
- Pro tip: Emboss a crest; foil the outline for depth.
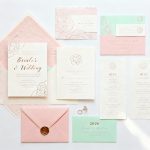
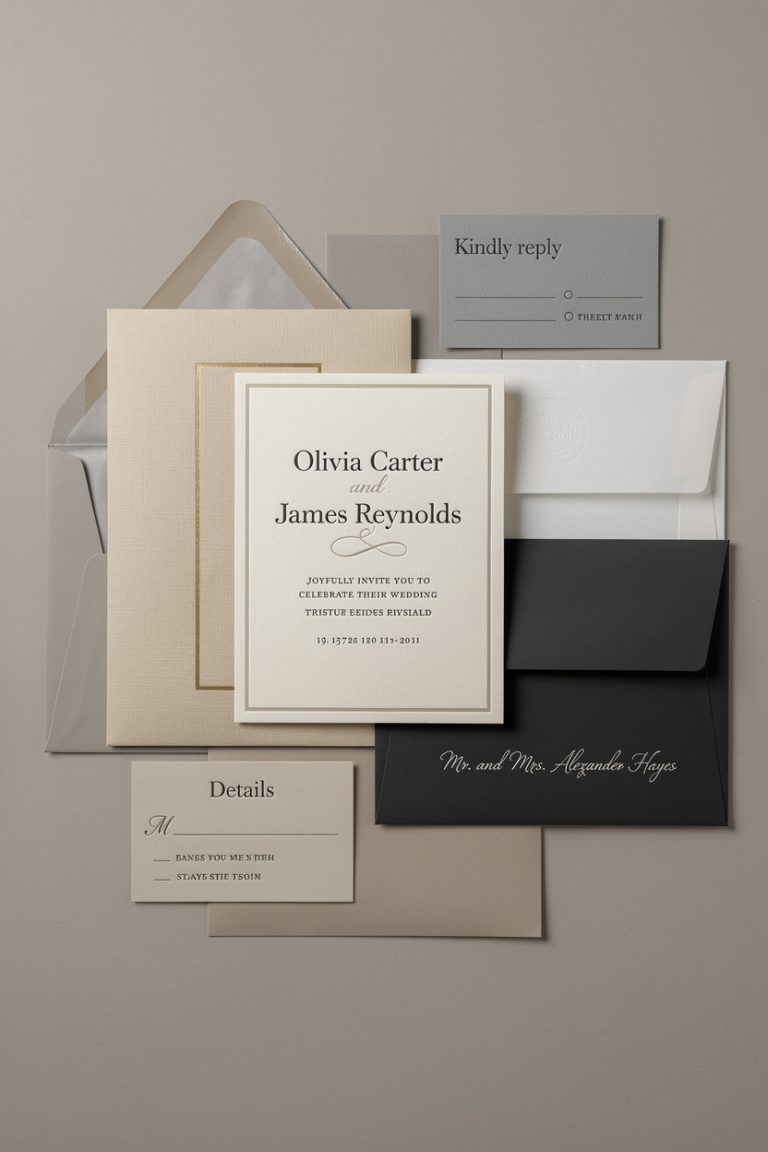
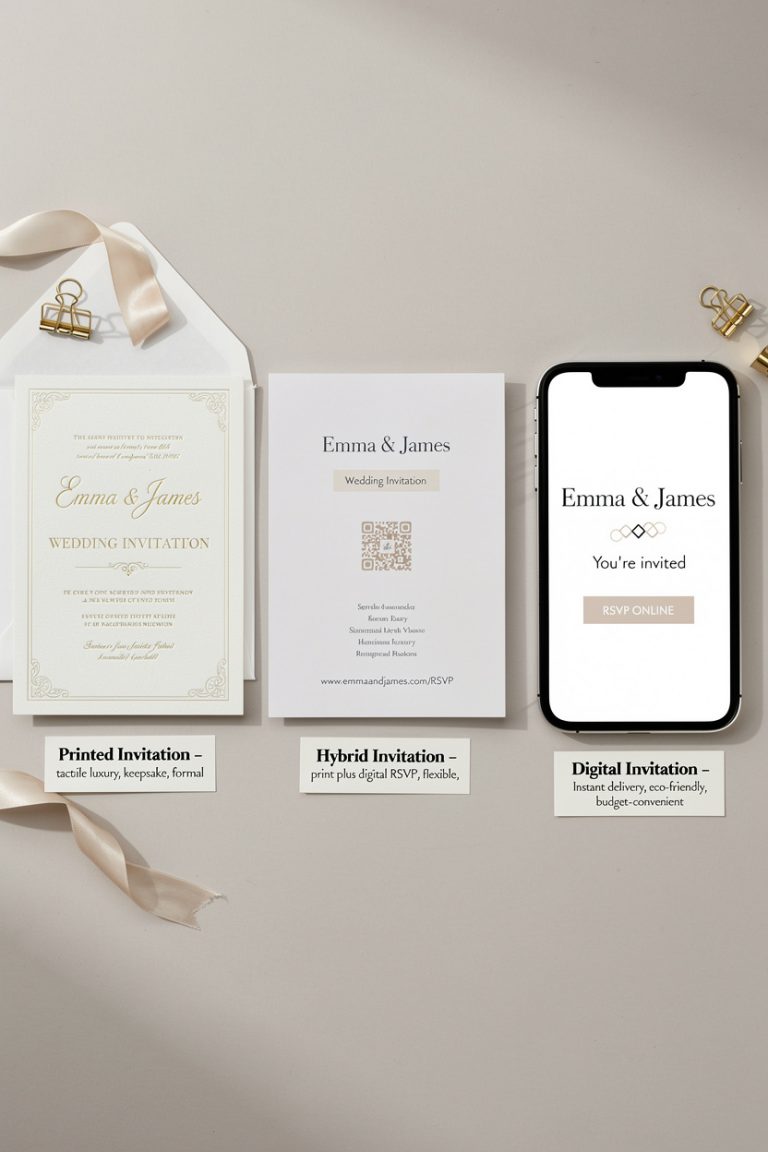
Make It Cohesive: Suites, Envelopes, and All the Pretty Extras
You don’t need every add-on, but a few thoughtful details pull the whole suite together.
What to Include in the Suite
- Main invitation (keep the hero foil here)
- Details card (accommodations, website, dress code)
- RSVP card (or a QR code if you want to keep it simple)
- Envelope (inner + outer if you’re feeling fancy)
Styling Add-Ons That Don’t Feel Extra
- Foil envelope liners: Gold confetti dots or a subtle pattern.
- Wax seals: Classic crest or monogram; pair with silk ribbon or twine.
- Edge gilding: Gold edges on thick stock = mic drop.
- Vellum wraps: Wrap the suite and seal with a sticker or wax.
Wording: Elegant, Not Stuffy

Keep it simple and clear. The gold already says “special,” so your words can chill. Essential elements to include:
- Hosts (optional if you’re hosting yourselves)
- Your names (go big with foil, IMO)
- Date and time
- Venue and city
- Dress code (optional but helpful)
- Reception line or “Dinner and dancing to follow”
Example Phrasing
- “Together with their families, [Name] and [Name] invite you to celebrate…”
- “Please join us for the wedding of…”
- “Black tie optional” or “Garden party attire” (save everyone the guesswork)
Budget, Timing, and Quantities: The Real Talk
Foil costs more than standard ink, but you can be strategic. Smart ways to save:
- Foil only the hero elements: Names, monogram, or a border—print the rest with ink.
- Use digital foil if you need fewer than 75–100 sets.
- Skip inner envelopes and use a vellum wrap or liner instead.
- Bundle printing: Order day-of pieces (menus, place cards) with the same printer for a discount.
Timeline tips:
- Design proofing: 1–2 weeks (be decisive; your future self will thank you).
- Production: 2–4 weeks for foil; add a week for embossing or edge gilding.
- Mailing: Send 8–10 weeks before the wedding (12+ for destination).
How many to order? Count households, not individual guests. Add 10–15 extras for keepsakes and last-minute invites.
You’ll use them, promise.
Common Design Pitfalls (And Easy Fixes)
We all learn the hard way—let’s skip that part.
- Tiny foil text: It can fill in. Keep serif body text at 10–11 pt minimum; foil small caps around 12 pt.
- Too many fonts: Two is chic, three is chaos.
- Busy backgrounds: Let the gold breathe. Use solid or very subtle textures.
- Wrong file format: Vector art for foil plates = crisp lines.Ask your designer for outlined PDFs.
FAQ: Gold Foil Wedding Invitation Cards
Will the gold rub off in the mail?
Quality foil won’t flake under normal handling, especially with hot stamping. Use thicker envelopes and avoid super rough handling. If you add wax seals, hand-cancel at the post office to keep machines from smashing your pretty things.
Is gold foil only for formal weddings?
Nope.
Pair it with playful type and colored envelopes for a chic-casual vibe. Foil just adds a touch of sparkle; your fonts and wording set the formality, IMO.
Can I mix foil colors?
Yes, but do it intentionally. Gold + soft rose gold can look muddled; gold + matte white ink or gold + black ink reads cleaner.
If you want two foils, keep one minimal (like a small crest) and let the other shine.
What paper color works best with gold?
Ivory and bright white are classics. Navy, forest, and black look dramatic. For softer palettes, try blush or warm grey.
Ask for a foil swatch on your chosen paper; gold tone shifts slightly based on the base color and texture.
How do I avoid tacky gold?
Edit, edit, edit. Foil fewer elements, keep margins generous, and choose a refined typeface. One showstopper—like foiled names or a monogram—beats ten competing elements every time.
Can I DIY gold foil at home?
You can try with a laminator and toner-printed designs, but results vary.
For clean lines and consistent shine, a pro printer wins. DIY is fun for tags or place cards; for the invitation, go professional, FYI.
Conclusion
Gold-foil wedding invitations bring that subtle “we thought about this” energy. Keep the design clean, pick great paper, and let the metallic details do the heavy lifting.
Whether you go modern minimal or full Regency romance, a touch of gold makes your first impression unforgettable—and sets the tone for a gorgeous celebration.