You want soft, bouncy skin from head to toe without booking a fancy spa or selling a kidney for “miracle” products? Cool. You can mix a simple body mask and face mask at home in minutes, chill while they work, and come out glowing. No gatekeeping here—just easy recipes, zero stress, and results you’ll actually feel.
Why Masks for Full-Body Self-Care Actually Work
You wear moisturizer. You exfoliate. So why bother with masks? Because masks sit on your skin longer, which lets the good stuff soak in and do the heavy lifting.
Masks can:
- Hydrate deeply with humectants that pull in water
- Clear gunk from pores with clays and gentle acids
- Smooth texture with mild exfoliation
- Boost glow so your skin looks alive, not “I slept 4 hours” dull
And FYI, a body mask isn’t just a face mask slathered everywhere. Your body’s skin is thicker and less oily, so it needs a slightly different approach.
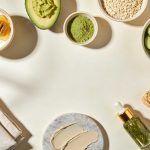
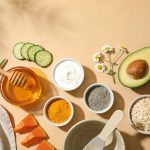
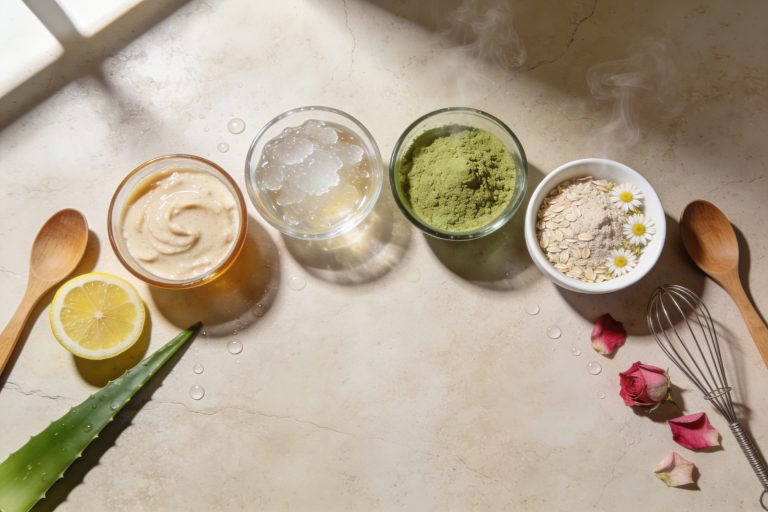
Build-Your-Own Body Mask: Hydrate, Brighten, or Clarify
Let’s keep it simple with three base recipes. Pick the one that matches your skin vibe. Mix in a bowl until it forms a spreadable paste. Patch test first, please—your skin has opinions.
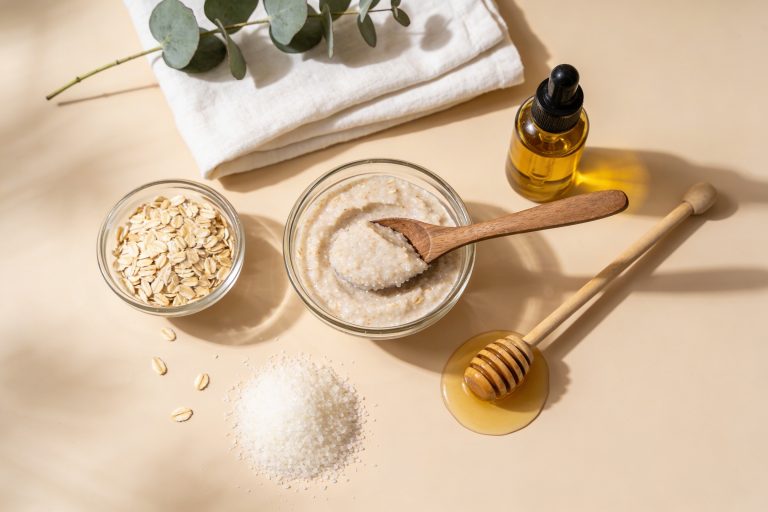
1) Hydrating Oat-Yogurt Body Mask (Sensitive Skin MVP)
- 1/2 cup plain yogurt (unsweetened)
- 1/2 cup finely ground oats (colloidal oatmeal if you’re fancy)
- 1 tbsp honey
Why it works: Yogurt calms and lightly exfoliates with lactic acid, oats soothe irritation, and honey traps moisture. It’s the comfort food of masks.
How to use: Apply a thin layer on clean, damp skin. Leave 10–15 minutes. Rinse in the shower with lukewarm water.
2) Brightening Rice-Milk Body Mask (Dullness, Uneven Tone)
- 1/2 cup rice flour
- 1/4–1/3 cup milk or dairy-free milk (add slowly)
- 1 tsp honey or glycerin
Why it works: Rice flour gently buffs, while milk’s lactic acid brightens. Glycerin or honey keeps skin from drying out.
How to use: Spread a thin coat, wait until almost dry (10–12 minutes), then massage with a bit of water and rinse.
3) Clarifying Clay + Aloe Body Mask (Backne, Oiliness)
- 1/3 cup bentonite or kaolin clay
- 1/4 cup aloe vera gel
- 2–3 tbsp water or green tea
Why it works: Clay absorbs oil and buildup. Aloe calms everything down so you don’t feel like a dried raisin.
How to use: Apply on problem zones (back, chest, shoulders). Leave 8–12 minutes—do not let it crack. Rinse before it dries fully.
Face Mask Recipes That Keep It Gentle (But Effective)
Facial skin throws tantrums if you go too hard. Keep it balanced, and always start with clean, slightly damp skin.
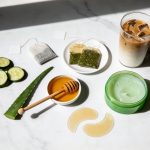
Calming Honey-Tea Mask (Sensitive, Reactive)
- 1 tbsp raw honey
- 1 tsp cooled chamomile or green tea
- 1 tsp aloe gel
Why: Honey is antimicrobial and humectant, tea reduces redness, aloe soothes. It’s a chill pill for your face.
Use: Leave 10–15 minutes. Rinse and follow with moisturizer.
Creamy Yogurt-Turmeric Glow Mask (Dullness)
- 2 tbsp plain yogurt
- 1/4 tsp turmeric
- 1 tsp oat flour or rice flour
Notes: Turmeric stains fabrics—wrap your hair and wear an old tee. Your skin gets glow; your towel doesn’t need to.
Use: 8–10 minutes max. Rinse well.
Clay + Honey Spot Mask (Oily T-Zone, Breakouts)
- 1 tsp kaolin or bentonite clay
- 1 tsp honey
- Few drops water
Use: Apply to nose, chin, or breakouts only. 5–8 minutes. Rinse before drying out. IMO, spot masking beats full-face clay if you’re combo.
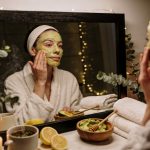
Your At-Home Mask Ritual (AKA Spa Without the Weird Whale Sounds)
Want that “I take care of myself” energy? Stack your steps right.
- Shower first. Warm water softens skin and opens things up. Lightly cleanse; skip harsh scrubs right before masks.
- Apply body mask on damp skin. Work in sections so nothing dries too fast. Avoid open cuts or fresh shaves.
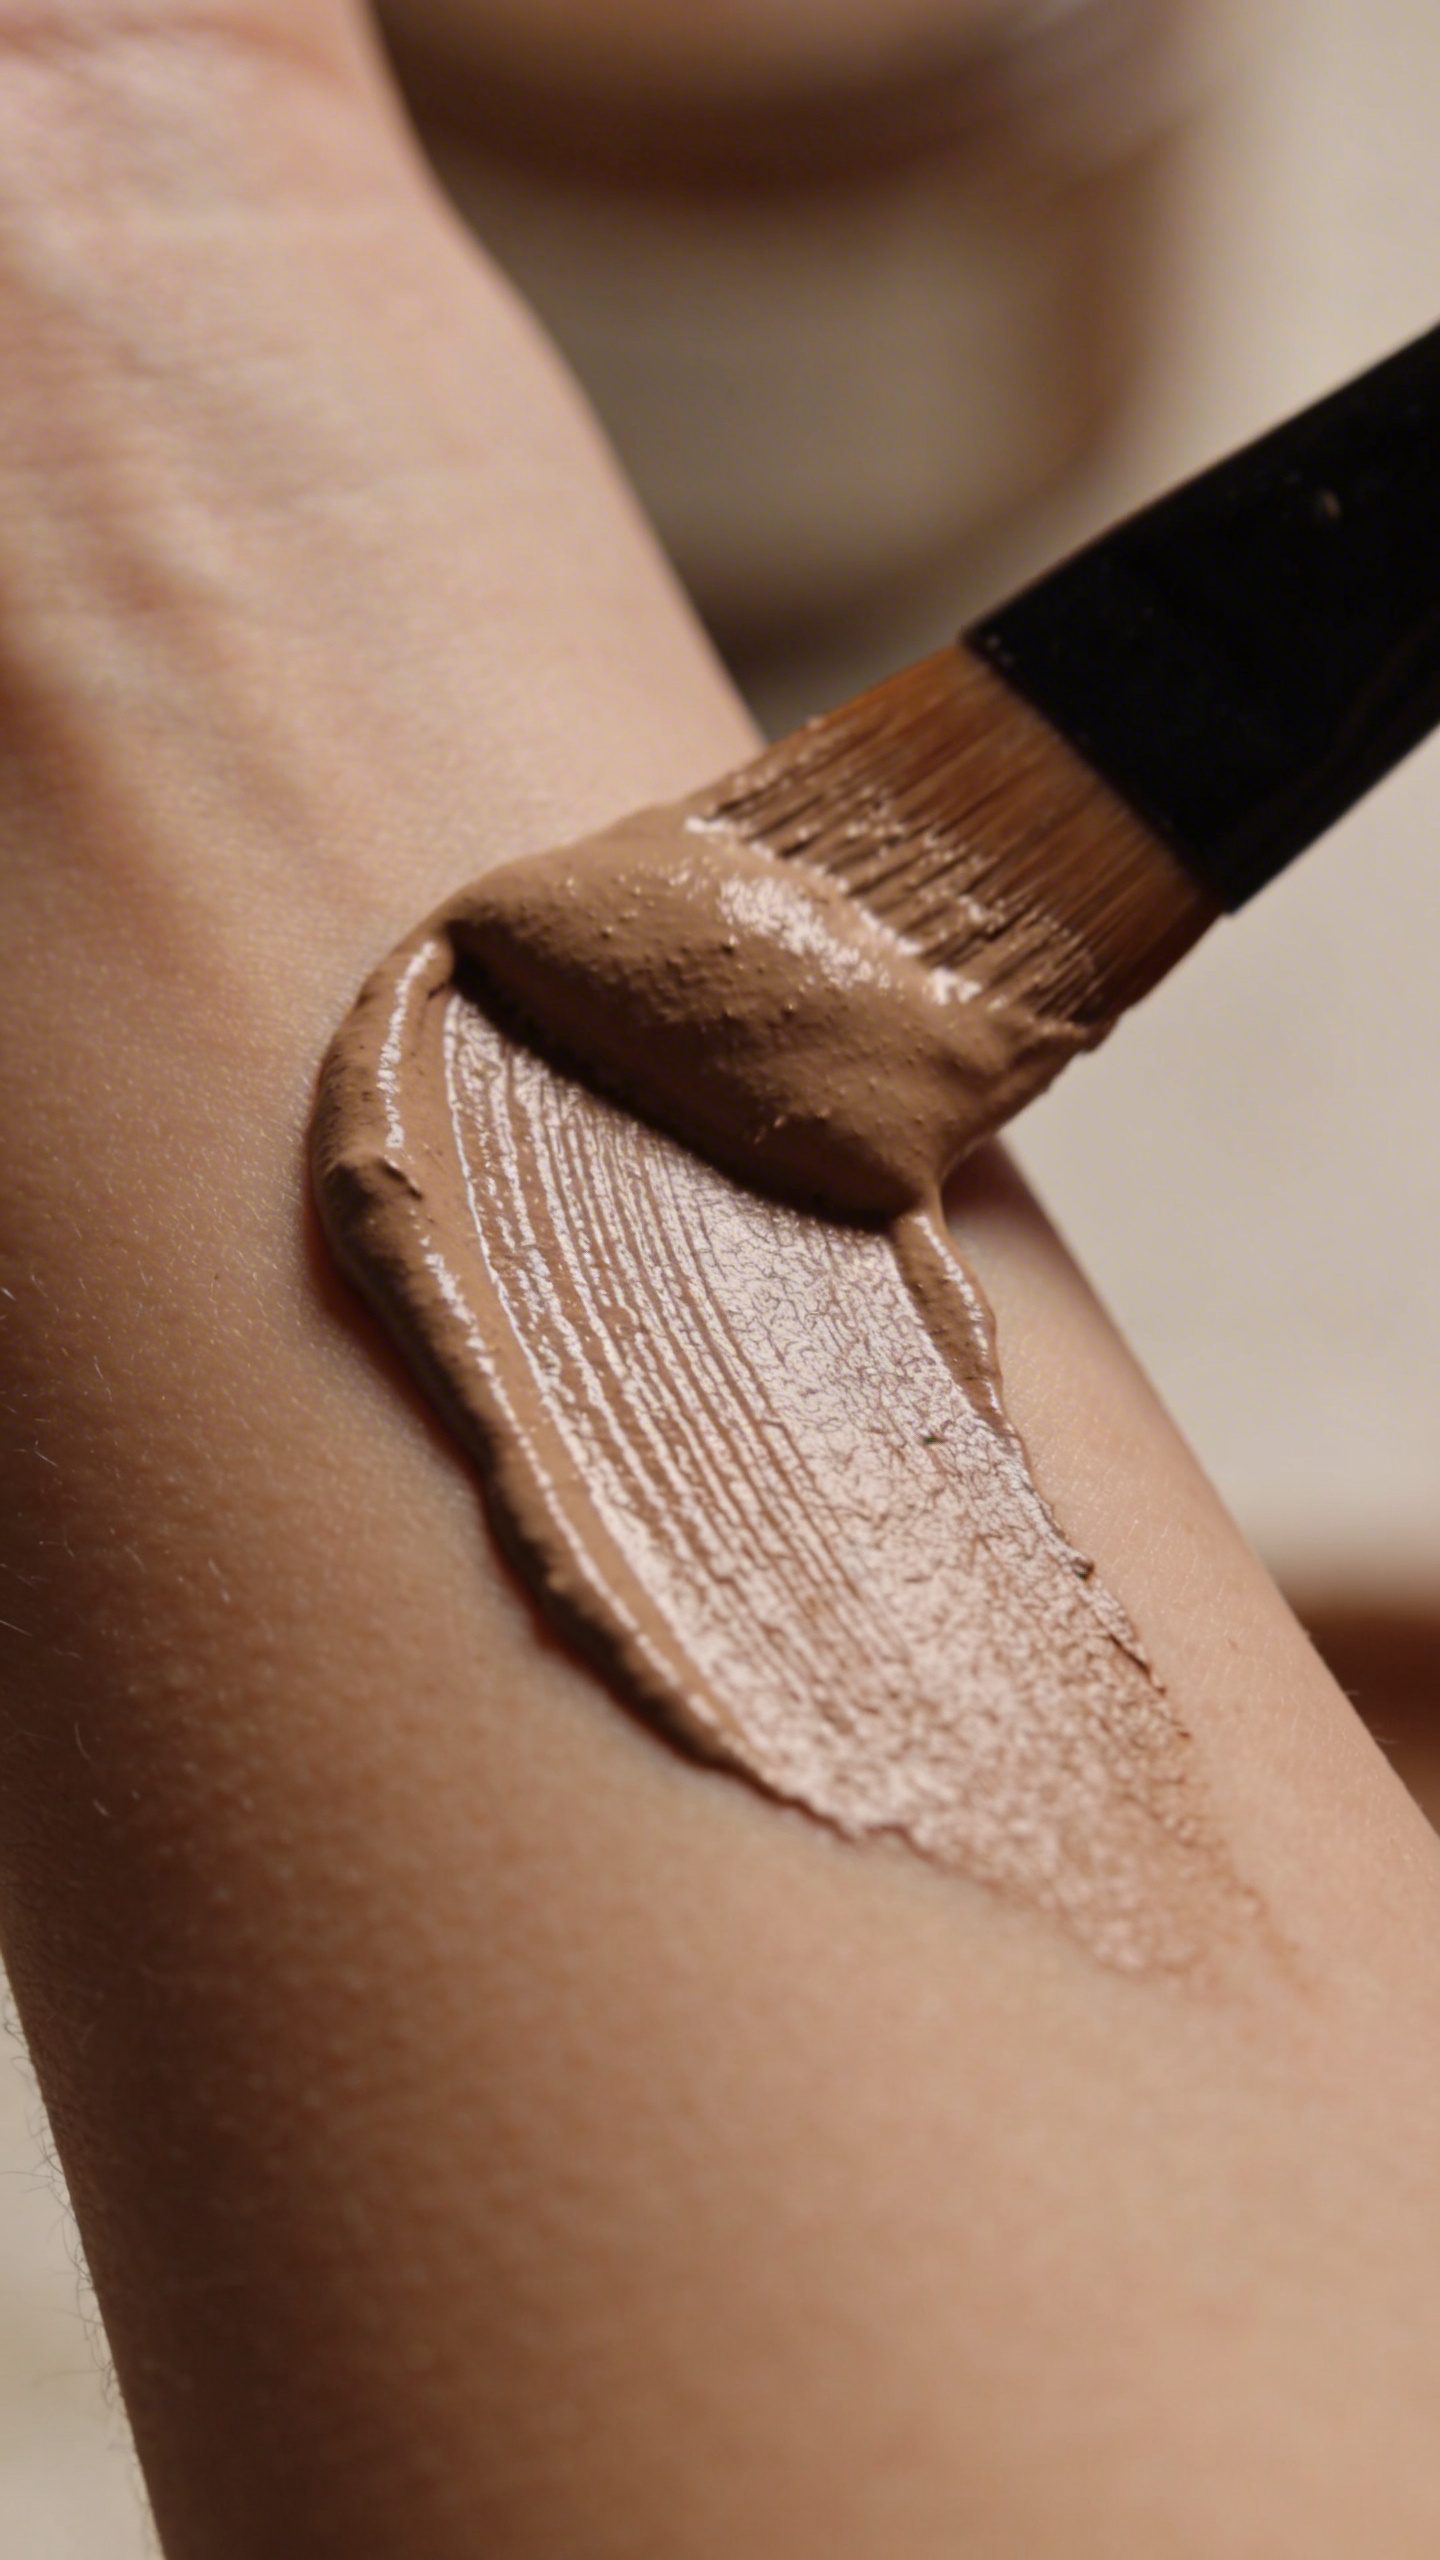
- Apply your face mask. Use thinner layers—more product doesn’t mean more results; it means more mess.
- Set a timer. Over-masking = tight, cranky skin. Stick to 8–15 minutes depending on the recipe.
- Rinse gently. Lukewarm water and soft circular motions. No aggressive scrubbing. Pat dry.
- Seal it in. Body: light lotion or body oil on damp skin. Face: hydrating toner/essence + moisturizer; SPF if it’s daytime.
Pro Tips So You Don’t Hate Me Later
- Patch test inside your elbow for 15 minutes if you’re trying a new ingredient.
- Don’t let clay fully dry. Remove when it’s just set—still slightly tacky.
- Keep it clean. Use a dedicated bowl/spoon. Bacteria is not an exfoliant.
- Mask after shaving? Wait 24 hours unless you love stinging (you don’t).
Customize for Your Skin Type (Because One-Size-Fits-None)
If You’re Dry or Dehydrated
- Swap water for milk or aloe juice.
- Add a few drops of squalane or jojoba to body masks.
- Keep sessions short (8–10 minutes) and follow with a rich cream.
If You’re Oily or Acne-Prone
- Use kaolin clay over bentonite if you get tightness easily.
- Spot mask rather than full-face clay to avoid over-drying.
- Finish with a gel moisturizer instead of a heavy cream.
If You’re Sensitive
- Skip essential oils; they add risk without much benefit.
- Choose the oat-yogurt or honey-tea combos.
- Patch test every time. Yes, even if your cousin “was fine.”
Timing, Frequency, and What Not to Mix
How often?
- Body masks: 1–2 times weekly
- Face masks: 1–3 times weekly depending on your skin’s mood
Skip mixing with:
- Retinoids or AHAs/BHAs the same night as clay or lactic acid-based masks—hello, irritation.
- Freshly exfoliated or waxed skin—too spicy.
- Strong lemon juice direct on skin—unpredictable pH and potential burns. Use yogurt or lactic acid sources instead.
Storage and Freshness
- Make small batches. Most DIY mixes last 1–2 days max in the fridge.
- Clay + water mixtures can grow microbes—mix just enough for one use.
- Turmeric stains. Repeat because you’ll forget.
Level-Up Add-Ins (Optional, But Fun)
Feeling extra? Try these upgrades:
- Niacinamide powder (cosmetic grade): 2–4% into water-based masks for brightening and barrier support.
- Rice water instead of plain water for the rice mask—strain well.
- Green tea matcha: 1/2 tsp for antioxidants and a subtle pick-me-up.
- Glycerin: 1/2–1 tsp to any mask for extra hydration (don’t overdo or it feels tacky).
IMO, start simple before you start playing chemist.
FAQ
Can I use the same mask on my face and body?
You can, but adjust the intensity. The face prefers gentler formulas. Use hydrating or calming recipes for both, and save stronger clays or scrubs for the body or spot areas only.
How long should I leave masks on?
Most DIY masks perform best at 8–15 minutes. Remove earlier if you feel tingling, tightness, or heat. More time doesn’t equal more results—just more dryness.
Will turmeric turn me yellow?
A tiny bit in a creamy base won’t stain your skin, but it will stain fabrics and nails. Apply with a brush or spoon, and rinse thoroughly. If your skin looks slightly warm-toned after, it fades quickly.
What if I have body acne?
Use the clay + aloe mask on breakout zones 1–2 times weekly. Keep showers lukewarm, avoid heavy oils on your back and chest, and wear breathable fabrics. If acne persists or worsens, talk to a dermatologist for targeted treatments.
Can I add essential oils?
You can, but tread lightly. Many cause irritation, especially on the face. If you insist, keep it under 1% and patch test. Honestly, the base recipes work great without them.
Do I need to exfoliate before masking?
Lightly, yes—once or twice a week. A gentle scrub or soft washcloth helps masks penetrate better. Just don’t exfoliate on the same day as stronger masks or retinoids.
Wrap-Up: Your Skin, Your Rules
You don’t need a five-step, 30-minute ritual every night. Mix a simple mask, take 10 minutes for yourself, and enjoy the glow-up. Keep it gentle, stay consistent, and listen to your skin—because it talks, sometimes loudly. FYI, the best self-care is the one you’ll actually do, so pick a recipe, set a timer, and treat yourself.