You don’t need a fancy spa to get glassy, glowing skin. You just need sugar, oil, and about 10 minutes. Yep, a DIY sugar scrub can turn your shower into a mini self-care lab without the scary price tags. Ready to make one that smells amazing, feels luxe, and actually works? Let’s do it.
Why Sugar Scrubs Work (And Why You’ll Love Them)
Sugar scrubs buff away dead skin so your lotion can actually do its job. You get smoother texture, less flakiness, and that soft, “touch my arm, it’s like a peach” feeling. Also, sugar dissolves in water, so it rinses clean without leaving your tub a slip-and-slide.
Plus, you control the ingredients. No mystery chemicals, no weird dyes. Just simple stuff you probably have in your kitchen already. FYI, that also means it’s budget-friendly.
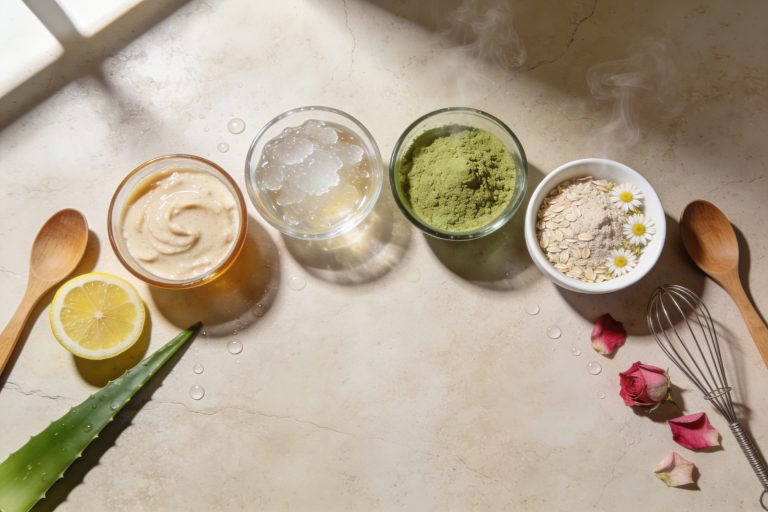
Gather Your Simple, Non-Fussy Ingredients
You can go full artisanal, or you can keep it basic. Both work. Here’s the minimalist starter kit:
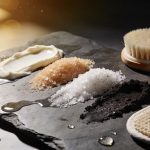
- Granulated sugar (white or brown) – the exfoliant
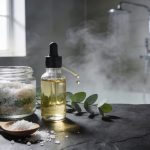
- Oil – locks in moisture; choose coconut, olive, grapeseed, or sweet almond
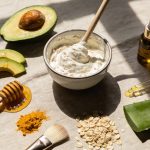
- Optional add-ins – honey, essential oils, vanilla extract, citrus zest, ground coffee
- Clean jar with lid – glass or BPA-free plastic
Pro tip: Choose oil based on feel:
- Coconut oil: rich and dreamy; can feel heavy but smells like vacation
- Olive oil: nourishing and easy; slightly heavier, great for dry skin
- Grapeseed oil: light and fast-absorbing; great for beginners
- Sweet almond oil: silky and gentle; my fave for a balanced finish
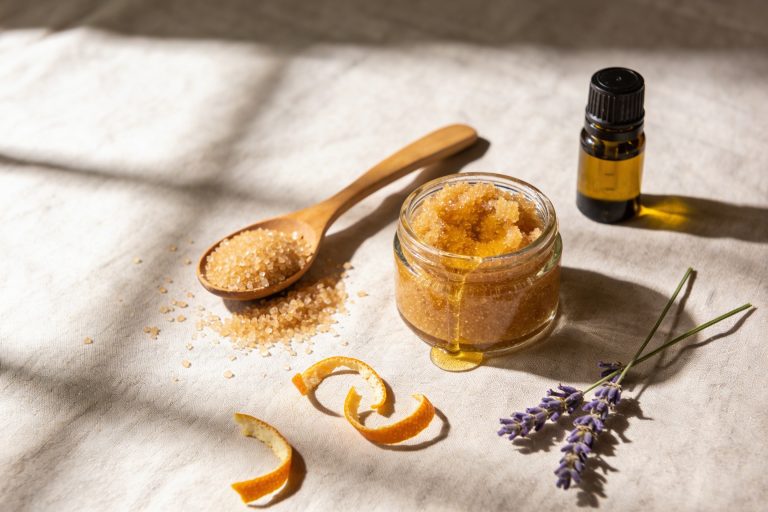
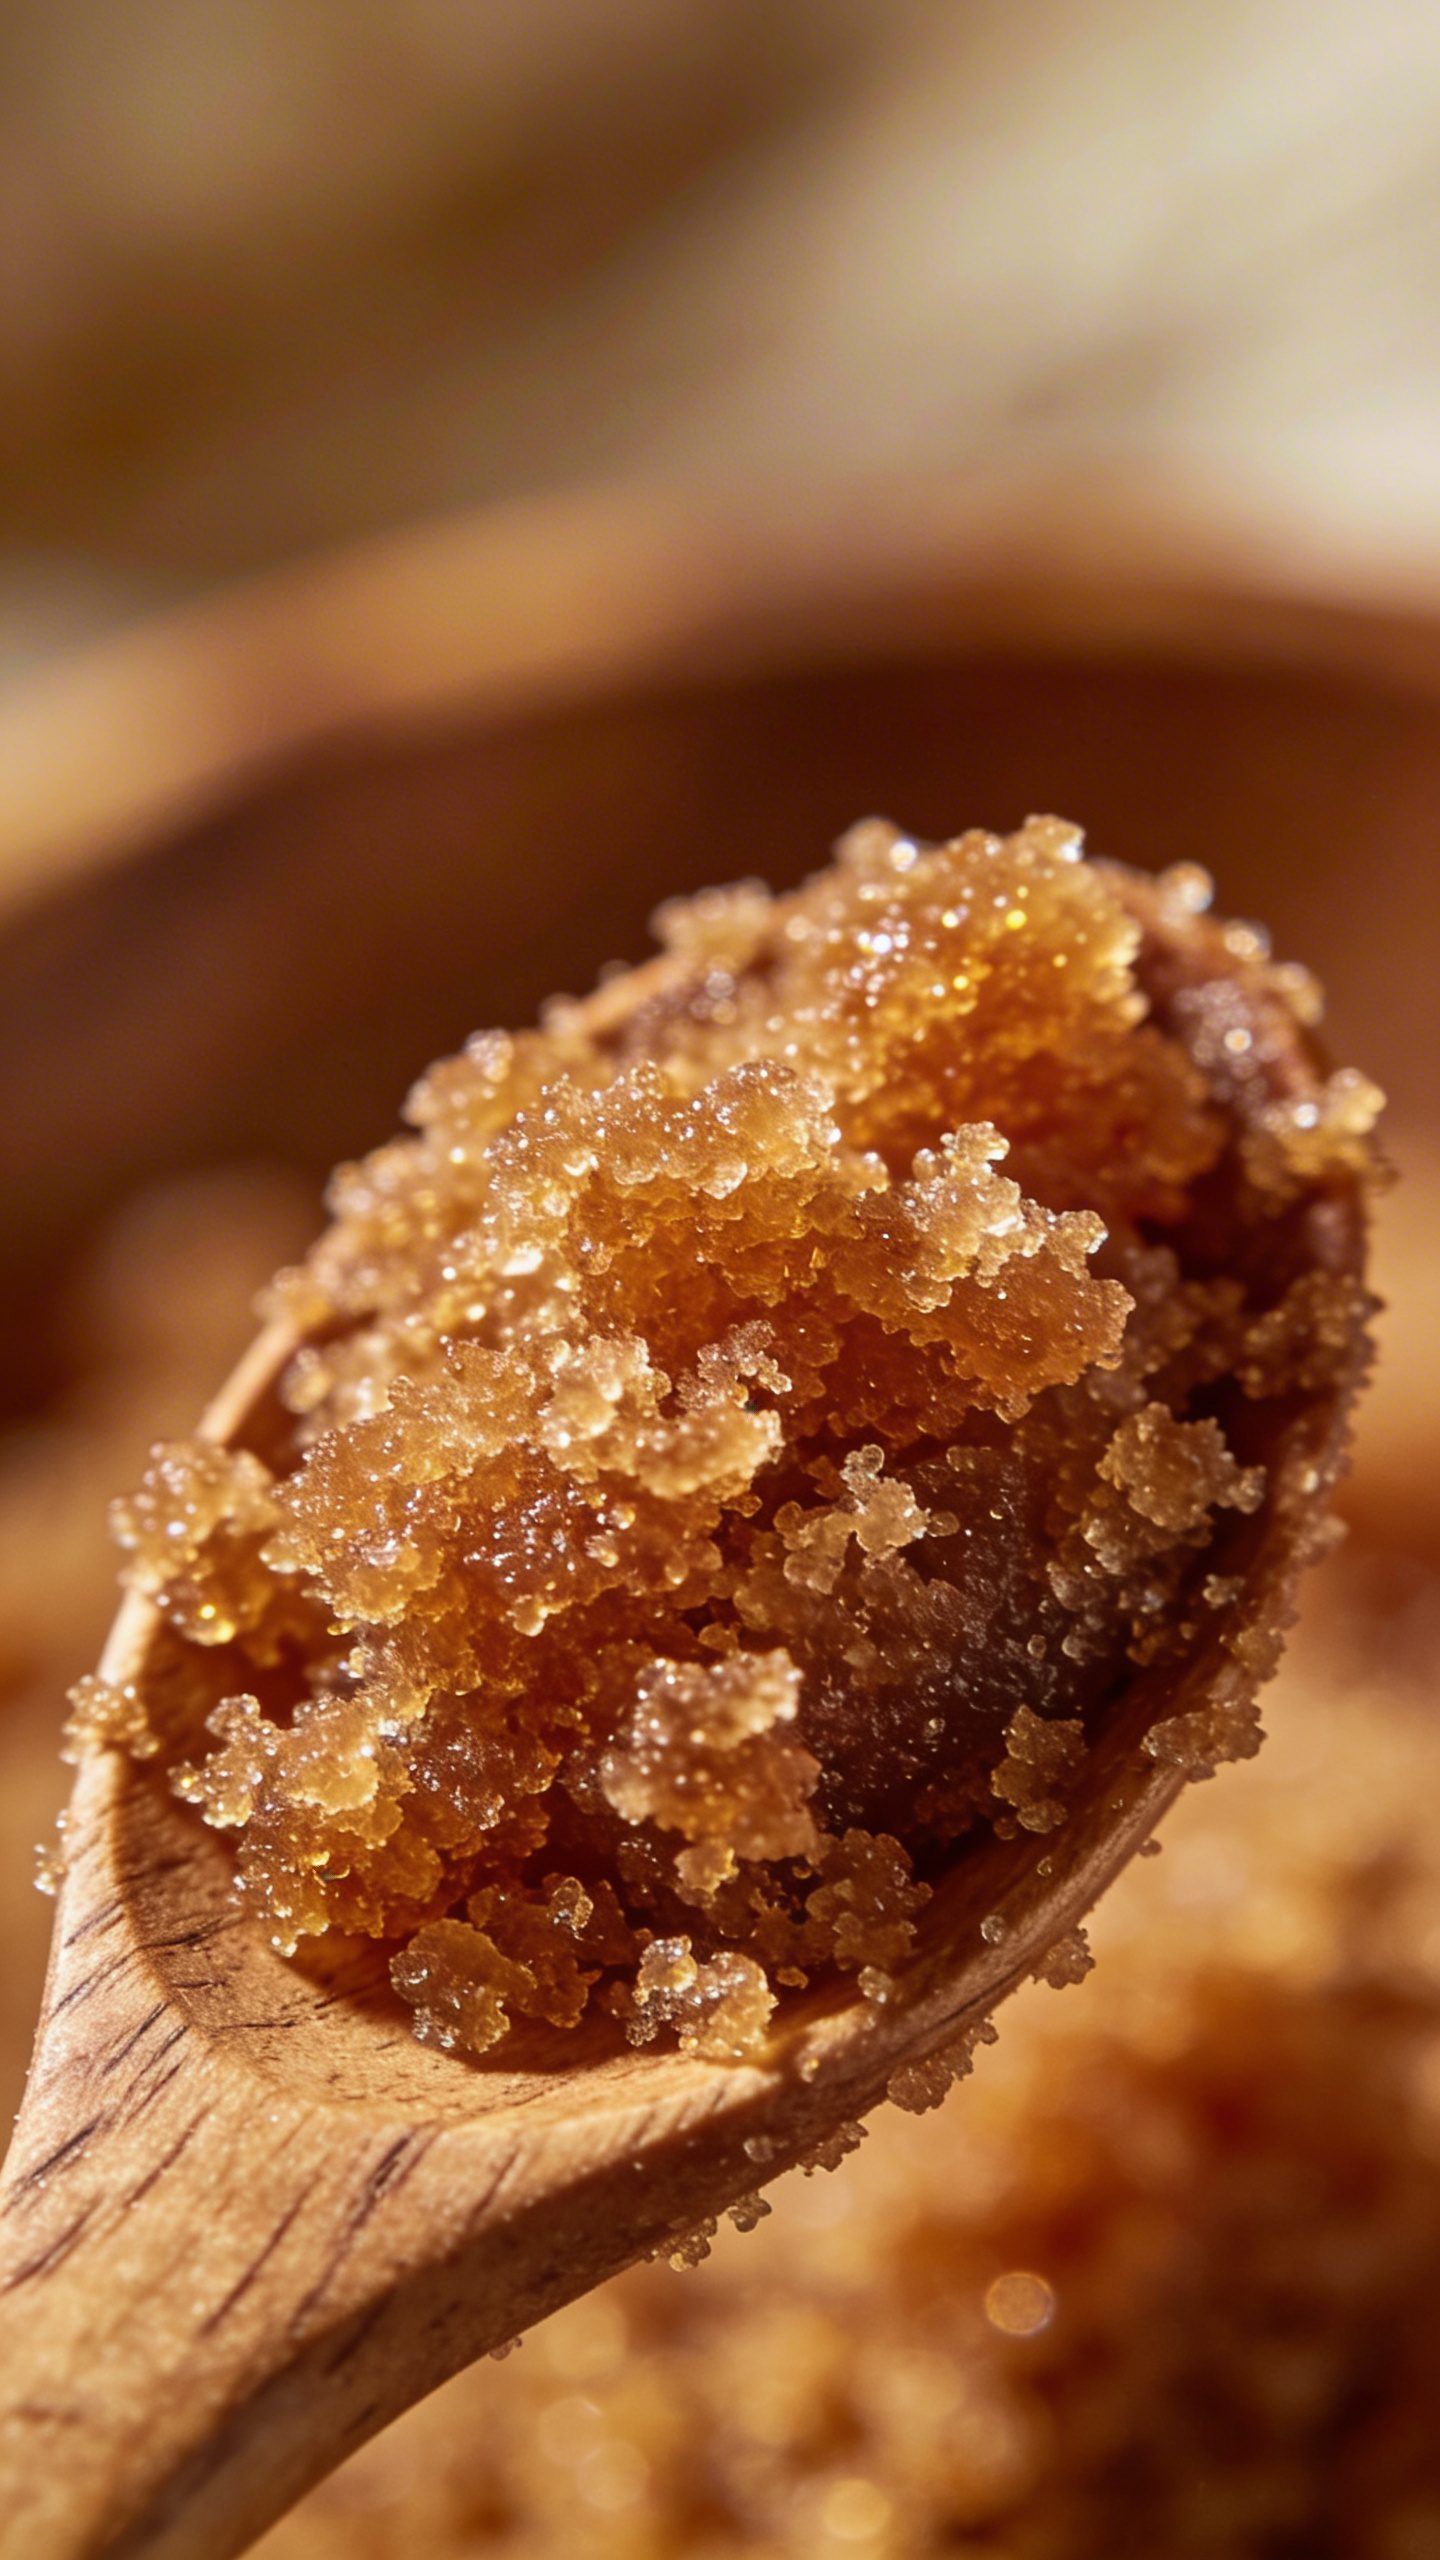
The Foolproof Base Recipe
Let’s keep it simple and customizable. This gives you one 8–10 oz jar.
- Add 1 cup sugar to a bowl. White sugar = finer grains. Brown sugar = softer, more gentle.
- Stir in 1/3 to 1/2 cup oil until the texture feels like wet sand. Start with less, add as needed.
- Optional: 1 tablespoon honey for extra hydration and a touch of glow.
- Optional: 5–10 drops essential oil or 1 teaspoon vanilla extract for scent.
- Spoon into a clean jar and seal it. That’s it. You’re officially a scrub chef.
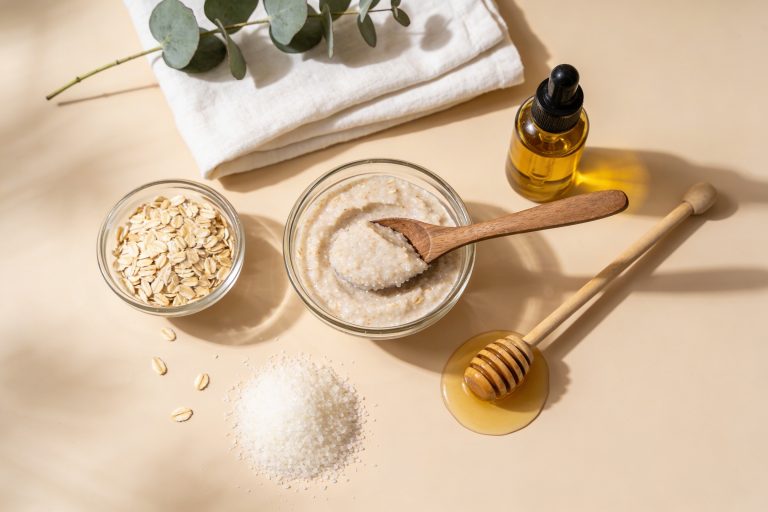
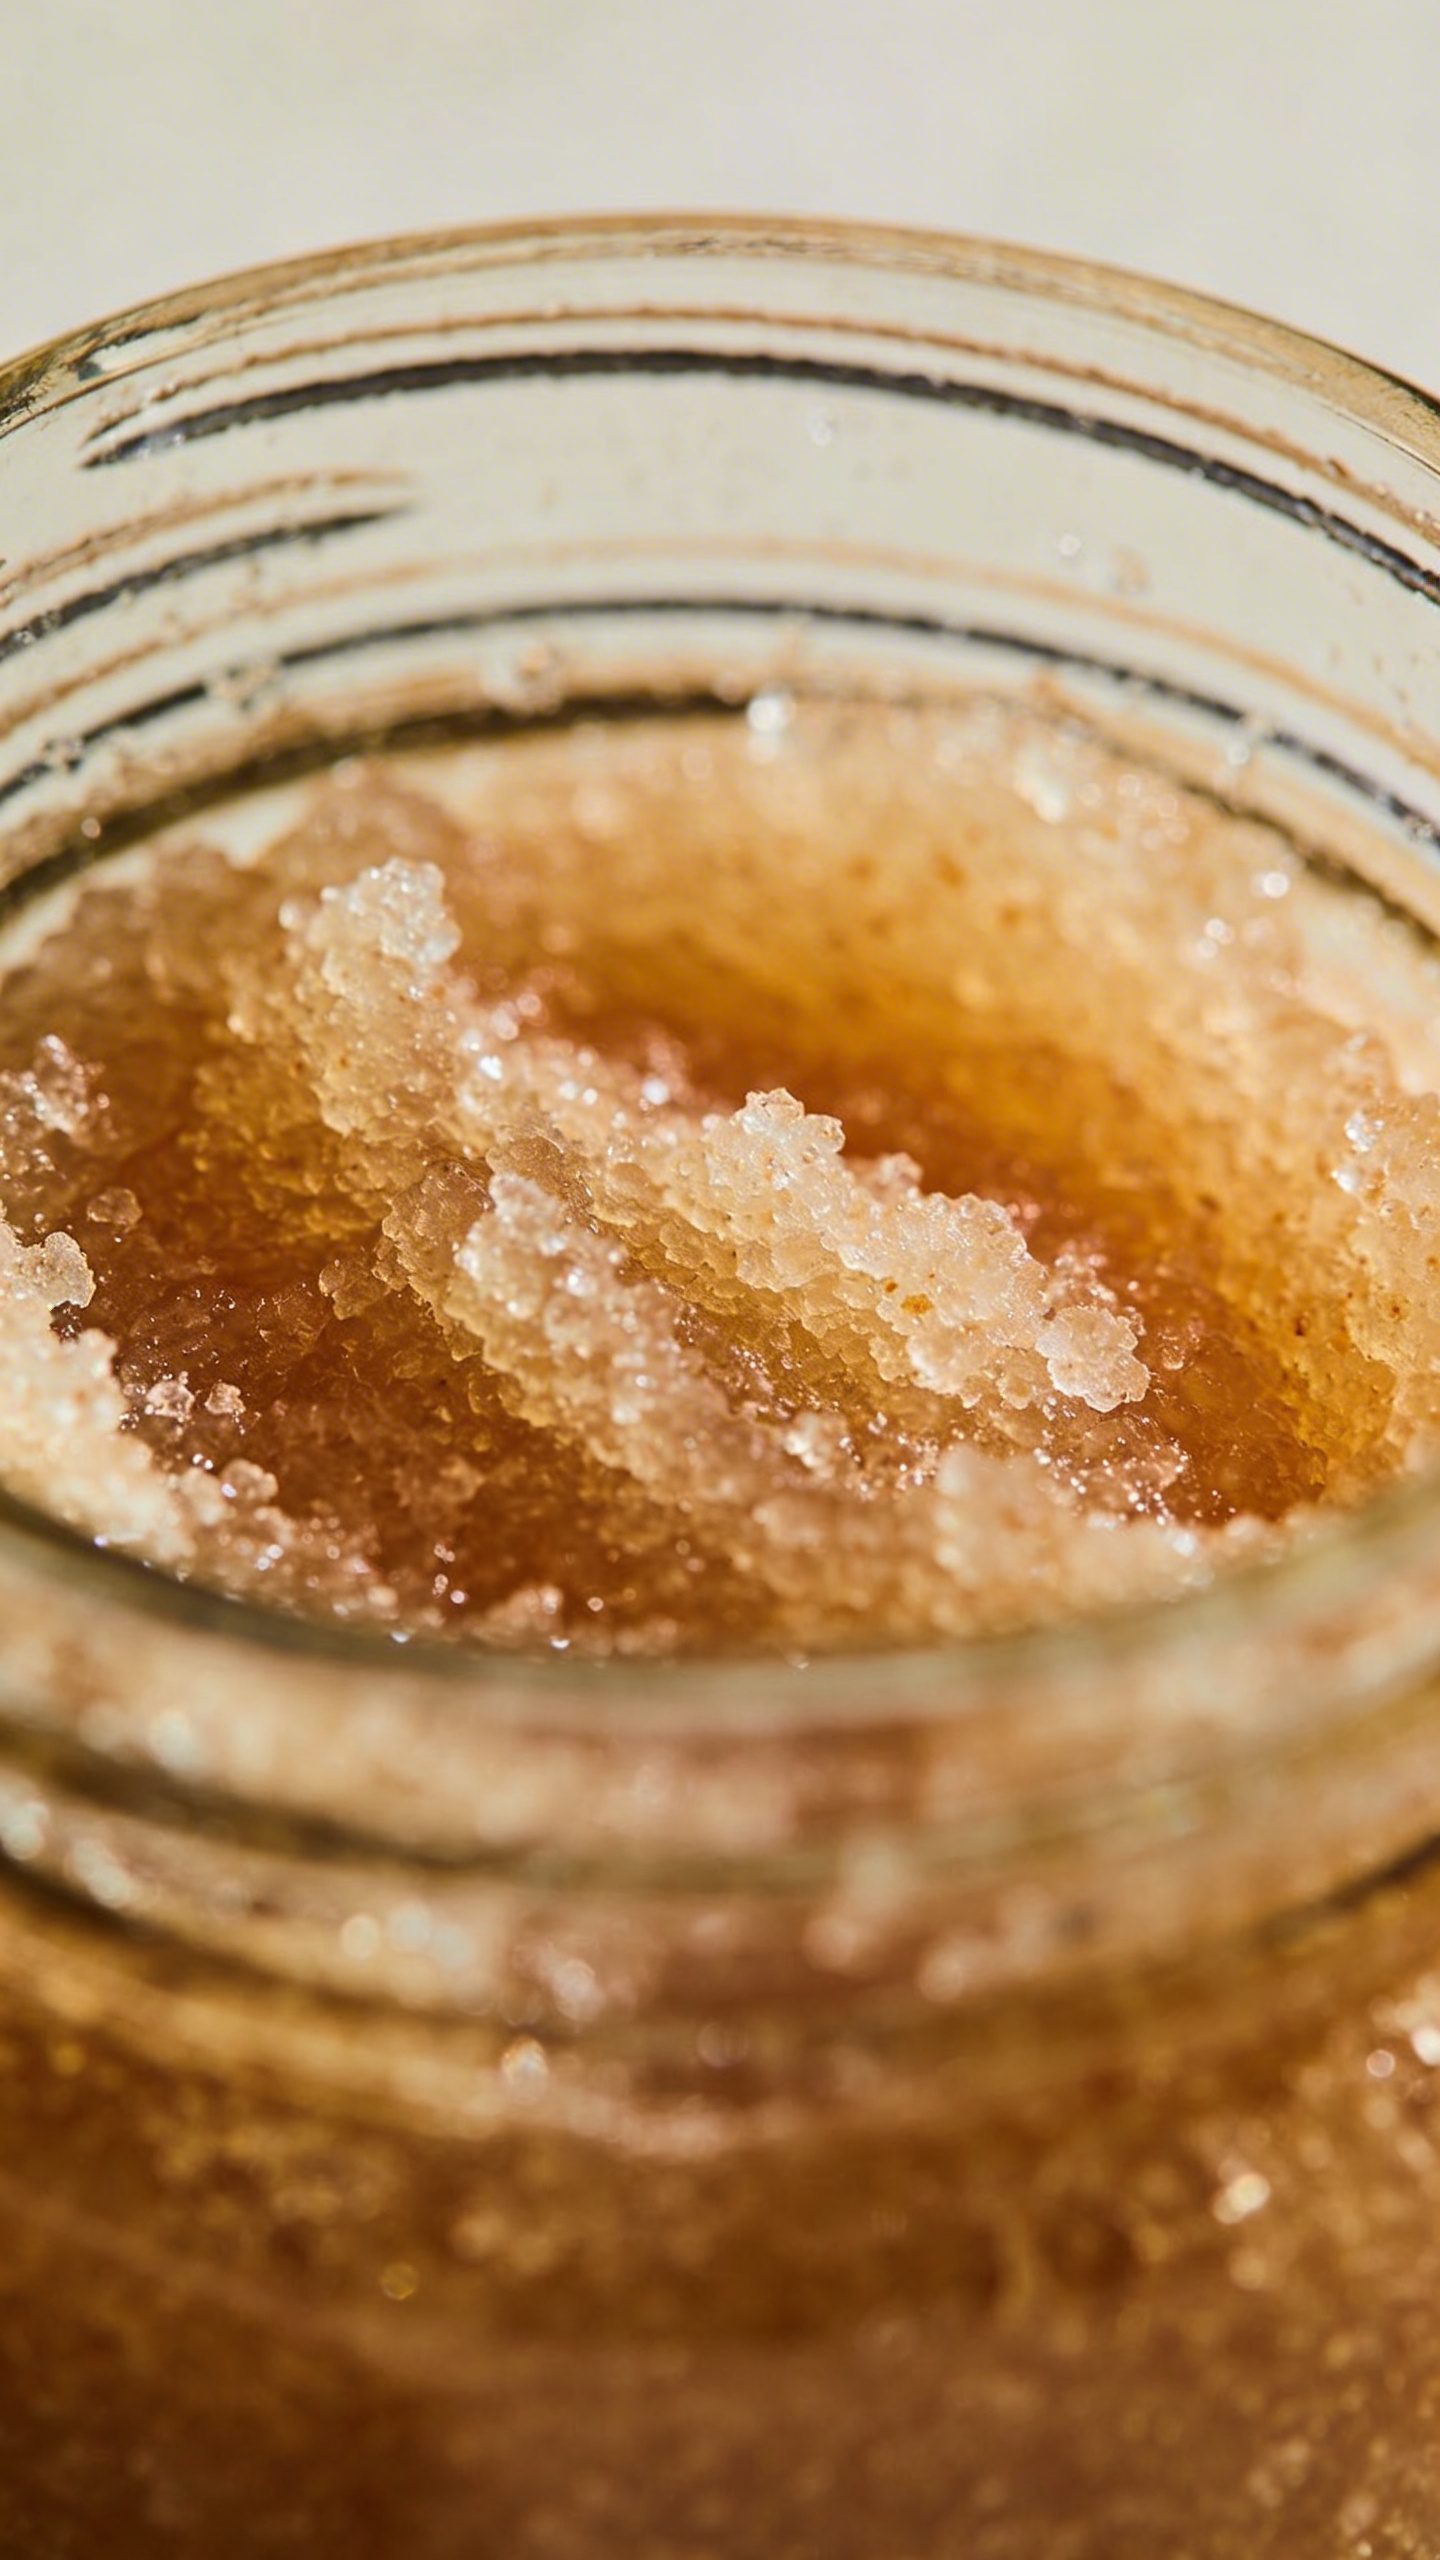
Texture Check: The Wet-Sand Rule
If your scrub looks oily and slippy, add more sugar. If it looks crumbly and dry, add a splash more oil. You want it to grab the skin without sliding off or feeling scratchy. IMO, slightly drier feels better in the shower.
Customize Your Scrub Like a Pro
No boring scrubs here. Mix and match like a skincare DJ.
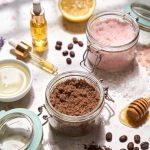
- Bright Morning: White sugar + grapeseed oil + 6 drops lemon essential oil + 2 drops peppermint
- Cozy Cookie: Brown sugar + sweet almond oil + 1 tsp vanilla extract + pinch of cinnamon
- Sunset Spa: White sugar + coconut oil + 6 drops lavender + 2 drops ylang-ylang
- Latte Lover: 3/4 cup sugar + 1/4 cup fine ground coffee + olive oil + 1 tsp cocoa powder
Sensitive Skin? Do This Instead
– Use brown sugar for gentler exfoliation.
– Pick grapeseed or sweet almond oil.
– Keep essential oils super light (or skip them).
– Start with once a week. See how your skin vibes with it.
How to Use It (Without Going Overboard)
Let’s not turn your bathroom into a sandstorm. A little goes a long way.
- Step into a warm shower and let your skin soften for a minute.
- Scoop a small amount (about a tablespoon per limb).
- Massage in circles for 30–60 seconds per area. Be gentle. You’re polishing, not scrubbing a pan.
- Rinse well and pat dry—don’t rub. Let the oils linger.
- Moisturize if you want extra softness, but you might not need it.
Frequency guide:
- Dry or sensitive skin: 1 time per week
- Normal or combo: 1–2 times per week
- Oily or rough areas (elbows, knees): up to 3 times, but watch for irritation
Where to Use It (And Where Not To)
– Great for: arms, legs, hands, feet, shoulders, back
– Use caution on: chest and neck—go lighter with pressure
– Avoid: face, broken skin, sunburns, or right after shaving
FYI, facial skin needs a much gentler formula than body skin. Don’t risk it.
Safety, Storage, and Shelf Life
You mixed a fresh product, so treat it like food: clean tools, clean jar, and no wet fingers in the container.
- Storage: Keep it sealed and away from direct water. A dry shelf or cabinet works best.
- No water inside: Water invites bacteria. If it gets soupy, make a fresh batch.
- Shelf life: 1–2 months if stored clean and dry. Sniff test always wins.
- Patch test: Test on a small spot (inner arm) for 24 hours if you have sensitive skin.
- Essential oils: Use sparingly and avoid if pregnant or sensitive. Stick to skin-safe options.
Cleaning Tip So You Don’t Slip
Oil + shower floor = a villain origin story. Rinse the floor with hot water and a tiny bit of dish soap after you finish. Two minutes now beats a dramatic cartoon fall later.
Troubleshooting: Fix It Fast
We’ve all over-poured the oil. No panic.
- Too oily? Stir in more sugar. Easy.
- Too dry or crumbly? Add a teaspoon of oil at a time.
- Too scratchy? Swap to brown sugar or pulse white sugar in a blender for a finer grind.
- No scent? Add a few more essential oil drops, but cap at about 10–12 drops per cup of scrub.
- Separating? Give it a quick stir before use. Totally normal.
Beginner-Friendly Combos You’ll Actually Use
Short on time? Try one of these plug-and-play blends.
- Everyday Glow: 1 cup white sugar + 1/3 cup grapeseed oil + 1 tsp honey + 6 drops lavender
- Brown Sugar Bliss: 1 cup brown sugar + 1/3 cup sweet almond oil + 1 tsp vanilla
- Vacay Vibes: 1 cup white sugar + 1/2 cup coconut oil + 4 drops lime + 2 drops coconut fragrance (optional)
- Morning Wake-Up: 3/4 cup white sugar + 1/4 cup fine coffee grounds + 1/3 cup olive oil
FAQ
Can I use this sugar scrub on my face?
I wouldn’t. Body scrubs feel too rough for delicate facial skin. If you want a face-friendly version, use superfine sugar and jojoba oil, and keep the pressure feather-light. But IMO, opt for a dedicated facial exfoliant instead.
How long does a homemade sugar scrub last?
About 1–2 months if you keep it dry and clean. Water inside the jar shortens its life fast, so use a clean spoon or scoop. If it smells off or looks weird, toss it and make a fresh batch—it’s cheap anyway.
Which oil is best for acne-prone skin?
Grapeseed oil wins for light feel and quick absorption. Sweet almond also behaves nicely for many people. Avoid heavy, pore-clogging add-ins and go easy on fragrance. Patch test to be safe—your skin has opinions.
Can I add food coloring?
You can, but it might stain light towels or skin if you go wild. If you want a tint, add a tiny drop of liquid color or use natural options like a pinch of turmeric (gold) or cocoa powder (brown). Keep it subtle.
Is brown sugar better than white sugar?
Brown sugar feels softer and gentler, so it’s better for sensitive skin or frequent use. White sugar exfoliates a bit more strongly, which helps with rough spots. Pick based on your skin mood and go from there.
How often should I exfoliate before shaving?
Exfoliate a day before shaving for the smoothest glide. Right before shaving can feel too intense and might irritate your skin. Post-shave, wait 24–48 hours before you scrub again.
Conclusion
You just learned the easiest, most satisfying DIY in the self-care universe. With sugar, oil, and a jar, you can make a custom scrub that smells amazing and leaves your skin baby-soft. Start simple, tweak the texture, and find your signature blend. FYI, once you try it, store-bought scrubs might start collecting dust—sorry not sorry.