You want glowing skin without dropping $$ on tiny jars that vanish in two uses? Same. The good news: your kitchen probably holds better ingredients than half your bathroom shelf. With a few basics and a little mixing, you can whip up masks that actually match your skin’s mood. Ready to play skincare chef and skip the mystery chemicals?
Why DIY Masks Actually Work
You don’t need magic—just targeted ingredients. Whole foods and pantry staples deliver vitamins, enzymes, and lipids your skin understands. Plus, you control everything, so you avoid fragrances and fillers that can throw a tantrum on your face.
Rule of thumb: keep it simple. Two to four ingredients per mask work best. Patch test first (wrist or jawline), because even “natural” can irritate.
Know Your Skin Type (So You Don’t Guess)
Not sure what your skin wants? Quick check:
- Oily: Shiny by noon, larger pores, blackheads crash the party.
- Dry: Tight, flaky, dull, drinks moisturizer like water.
- Combination: Oily T-zone, drier cheeks—aka chaos.
- Sensitive: Redness, stinging, reacts to basically everything.
- Acne-prone: Breakouts, clogged pores, inflammation—you know the drill.
FYI, your skin can change with seasons, hormones, and stress. So don’t marry one routine. Date around a little.
Pantry MVPs and What They Actually Do
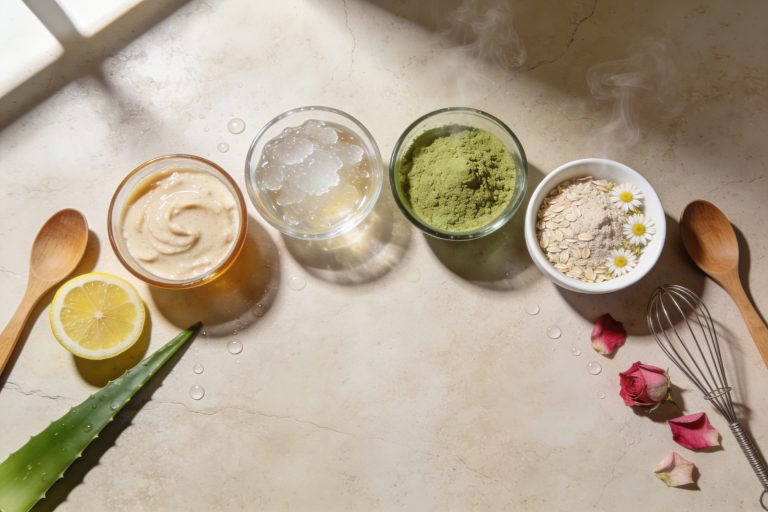
Let’s keep your shelf helpful, not crowded. These all-star ingredients earn their spot:
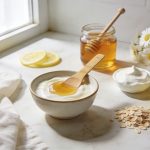
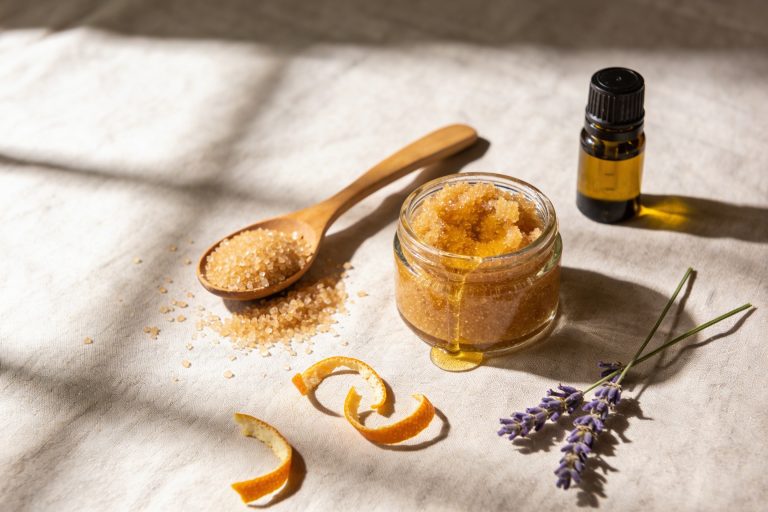
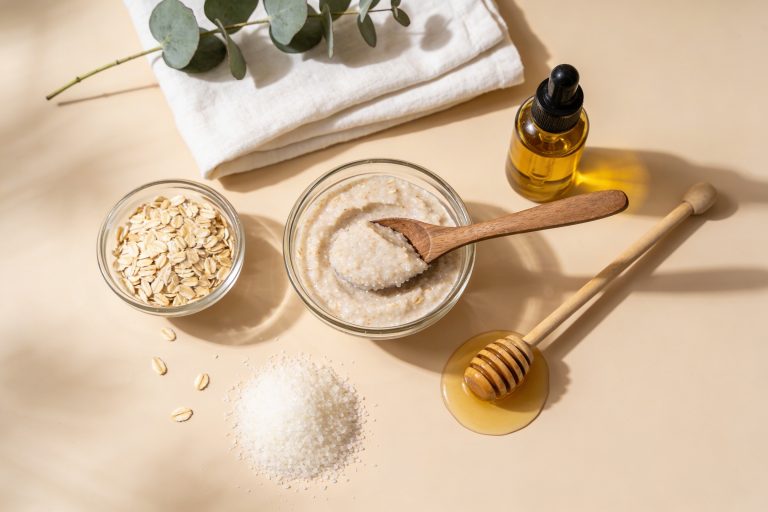
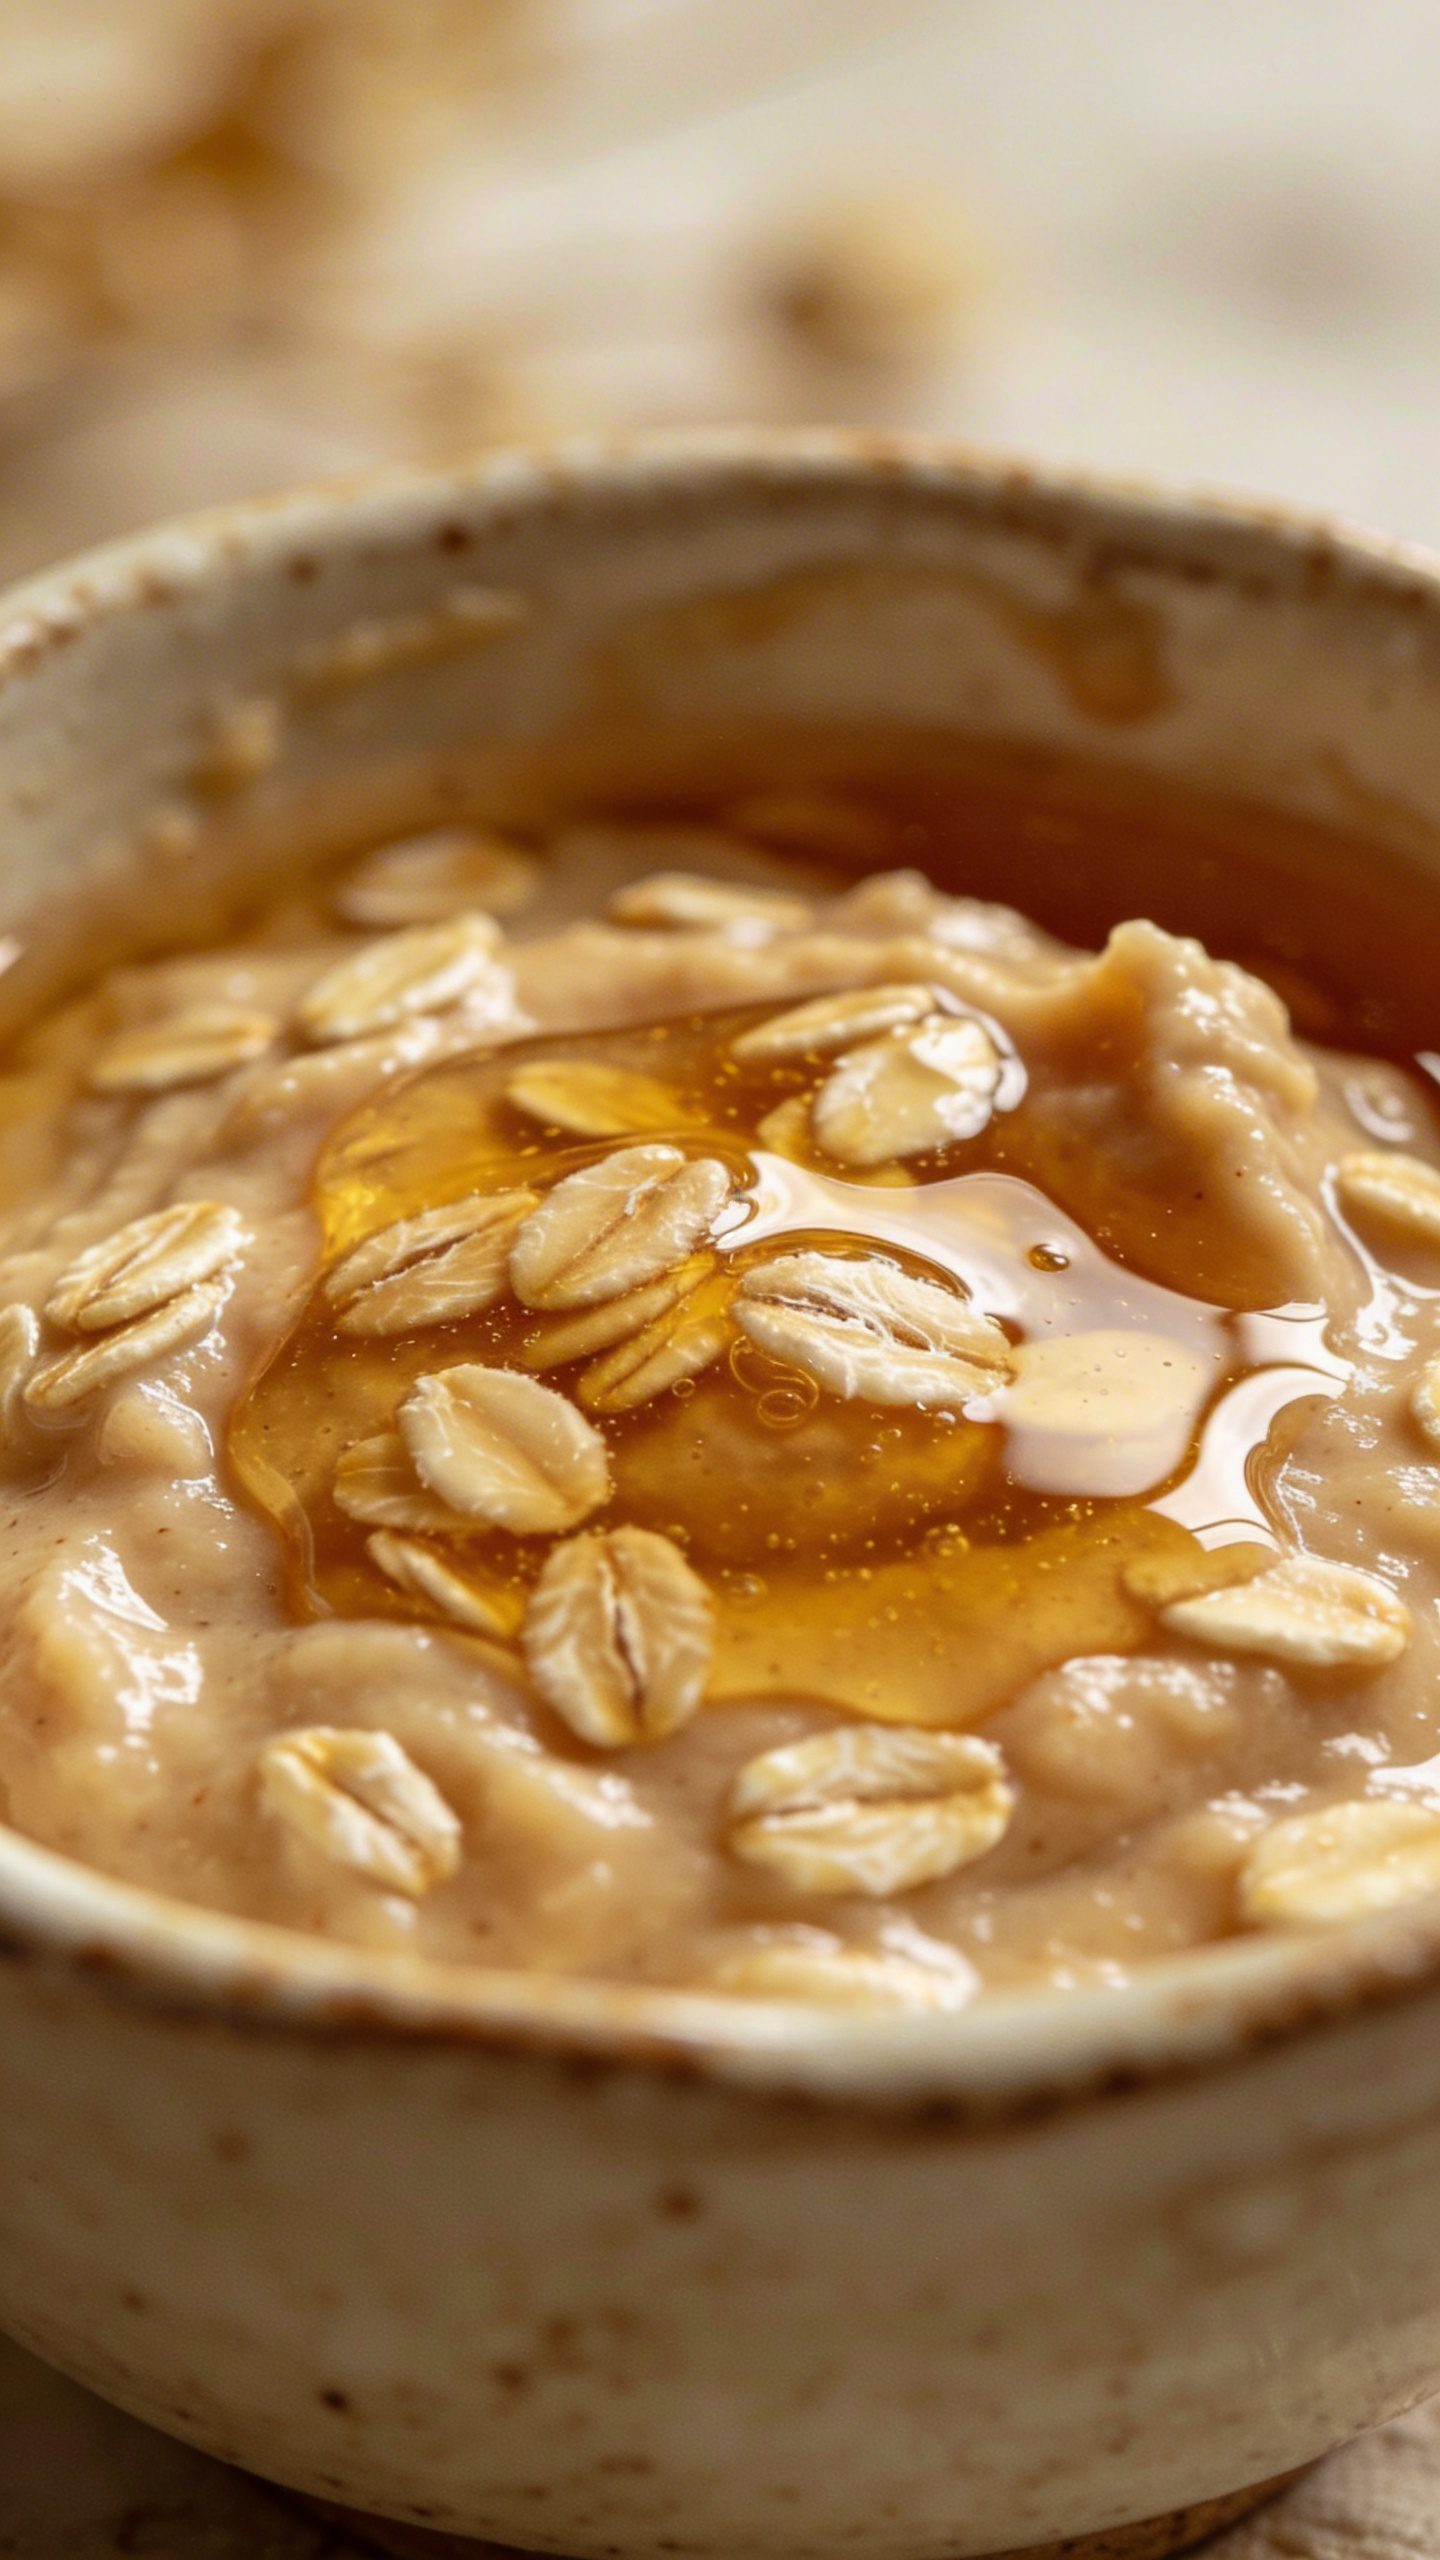
- Honey (raw/manuka): Hydrates, soothes, mildly antibacterial. Great for all skin types.
- Yogurt (plain, unsweetened): Lactic acid exfoliation + calming fats. Clarifies gently.
- Oats (colloidal or finely ground): Redness relief, barrier support. Sensitive skin’s BFF.
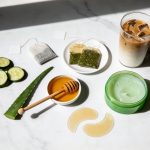
- Aloe vera gel (pure): Cooling, hydrating, reduces irritation.
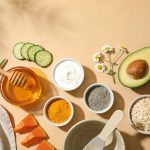
- Banana/Avocado: Nourishing, softening, legit glow boosters for dry skin.
- Turmeric (a pinch): Brightening, anti-inflammatory (use carefully to avoid stains).
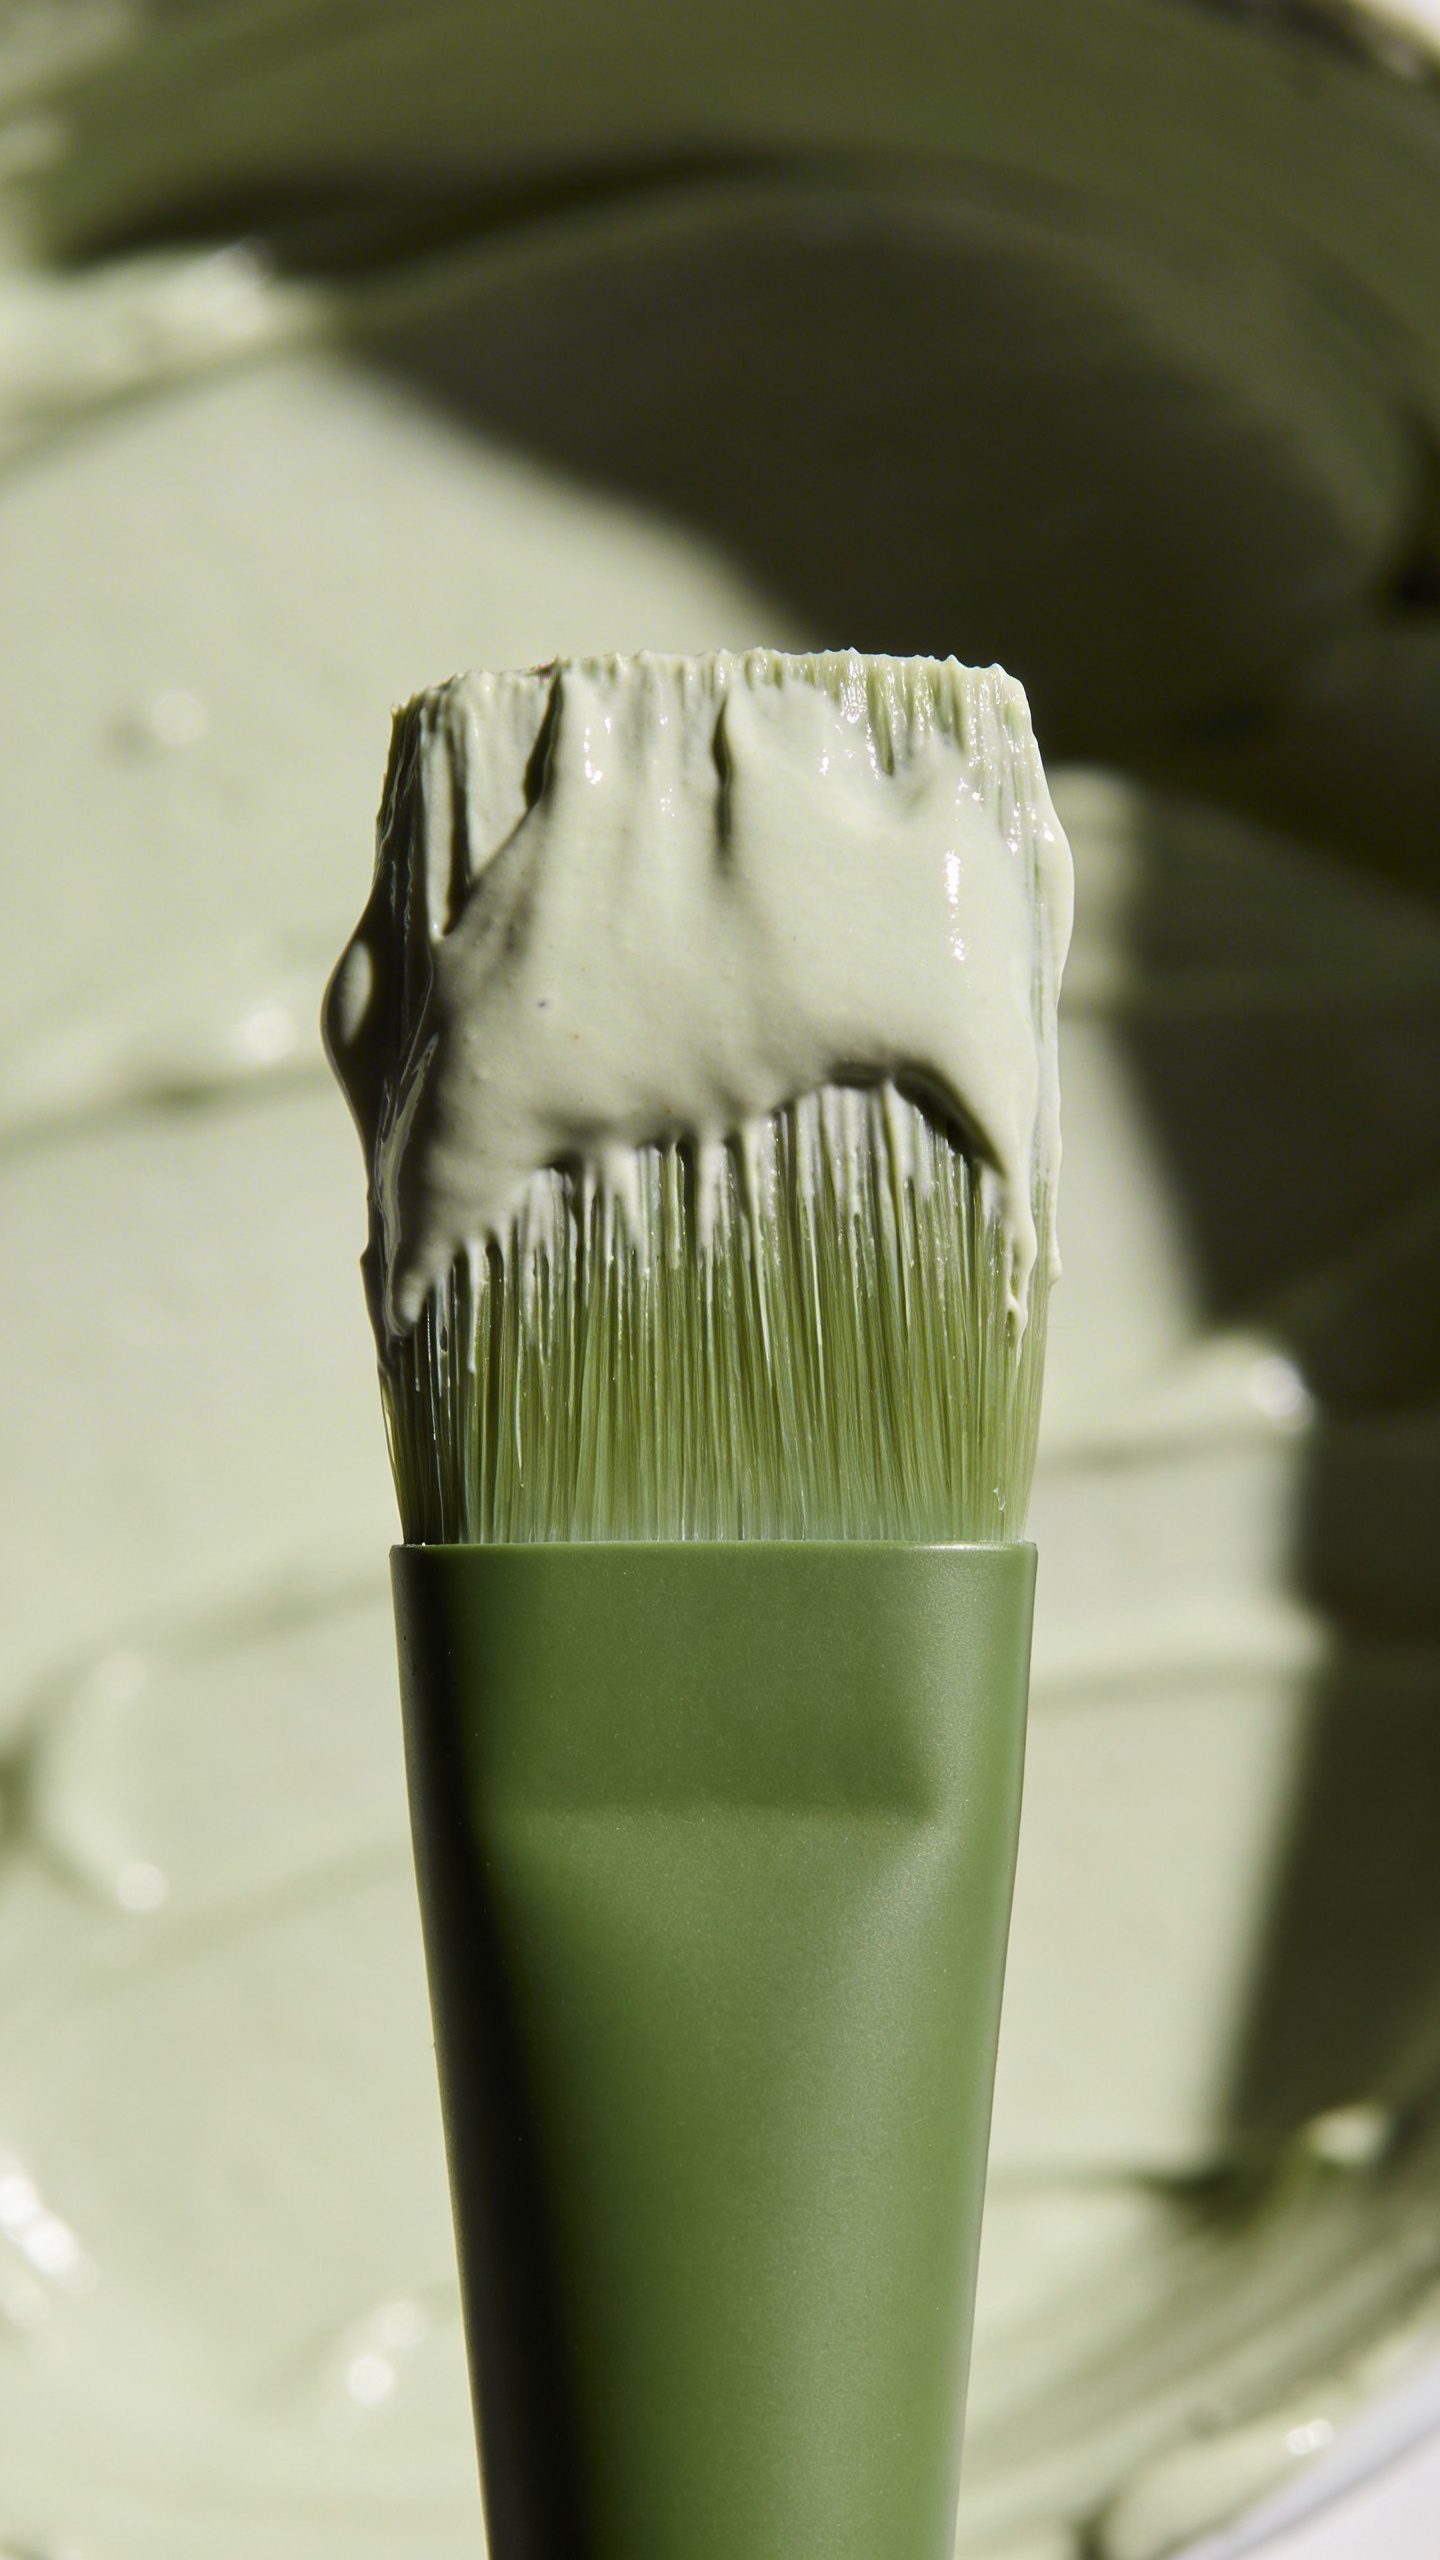
- Green tea: Antioxidants, calms redness, combats oiliness.
- Clay (kaolin/bentonite): Absorbs oil and impurities; choose gentle kaolin for sensitive skin.
- Jojoba oil: Lightweight, mimics skin’s sebum—great for balance.
- Rose water: Soothes, smells like you’ve got your life together.
Ingredients to Skip (Trust Me)
- Lemon juice: Too acidic, can burn and hyperpigment. Hard pass.
- Cinnamon: Irritating for most faces. Save it for toast.
- Baking soda: Disrupts your skin barrier. Not a cleanser.
- Essential oils (on face): Can irritate—if you insist, 1 drop max in a full bowl, IMO just skip.
DIY Masks by Skin Goal
Pick your vibe and mix. Each recipe makes one mask.
For Oily or Acne-Prone Skin: Calm + Clear Clay
You’ll need:
- 1 tbsp bentonite or kaolin clay
- 2 tsp cooled green tea
- 1 tsp honey
- Optional: 1-2 drops jojoba oil if you feel tightness
How to: Mix to a yogurt-like consistency. Apply a thin layer to clean, damp skin. Leave on 8–10 minutes—do not let it crack. Mist or pat with water if it starts drying. Rinse with lukewarm water and follow with a light moisturizer.
Why it works: Clay pulls excess oil, green tea calms, honey keeps skin from over-drying so your face doesn’t overcompensate with more oil. Smart.
For Dry or Dehydrated Skin: Avocado Glow Pudding
You’ll need:
- 2 tbsp mashed ripe avocado
- 1 tsp honey
- 1 tsp plain yogurt or aloe gel (if you’re sensitive, choose aloe)
- Optional: 2–3 drops jojoba oil
How to: Blend until smooth. Apply generously for 10–15 minutes. Rinse and pat dry. Seal with a creamy moisturizer.
Why it works: Avocado and jojoba replenish lipids, honey hydrates, yogurt/aloe soothes. Your skin will feel cushy, not greasy.
For Sensitive or Red Skin: Oatmilk Cloud
You’ll need:
- 1 tbsp finely ground oats or colloidal oatmeal
- 1 tbsp aloe vera gel
- 1 tsp honey or rose water (choose rose water if honey irritates)
How to: Mix into a soft paste. Smooth on for 10 minutes. Rinse gently or wipe off with a soft, damp cloth.
Why it works: Oats reduce itch and redness, aloe cools, and rose water adds a calming vibe. It’s basically a spa nap for your face.
For Dull or Uneven Tone: Yogurt Bright Shot
You’ll need:
- 2 tbsp plain yogurt
- 1 tsp honey
- A tiny pinch of turmeric (like, truly tiny)
How to: Stir well. Apply for 8–12 minutes. Rinse thoroughly. Follow with SPF in the daytime because exfoliation makes you more sun-sensitive.
Why it works: Lactic acid in yogurt gently sloughs dead cells, honey hydrates, turmeric adds glow. Don’t overdo turmeric unless you like chic yellow undertones.
For Combination Skin: Zone Defense Mask
You’ll need:
- 1 tbsp clay + green tea mix for T-zone
- 1 tbsp oat + aloe mix for cheeks
How to: Multi-mask like a pro: apply clay to oily areas and oats to dry zones. Sit for 8–10 minutes. Rinse together. Moisturize lightly.
Why it works: You treat each area for what it needs. Revolutionary, I know.
Masking Basics: Don’t Skip These
Prep:
- Cleanse first. Masks work better on clean skin.
- Use non-metal bowls/spoons for clay (bentonite hates metal).
- Patch test new mixes on your jawline for 24 hours.
During:
- Keep layers thin—thick doesn’t mean better.
- Don’t let clay fully dry; rehydrate with a mist to prevent dehydration.
- If it stings or burns, rinse immediately. Tingling is not a personality trait.
After:
- Rinse with lukewarm water, pat dry, then moisturize.
- Use SPF in the daytime, especially after any exfoliating mask.
How Often Should You Mask?
- Oily/acne-prone: 1–2 times weekly with clay-based masks.
- Dry/sensitive: 1–2 times weekly with oat/avocado/aloe masks.
- Brightening (yogurt/turmeric): once weekly to start.
IMO, consistency beats intensity. Gentle, regular care wins.
Level-Up Add-Ins (Optional, but Fun)
Want to tweak? Keep it minimal and thoughtful.
- Niacinamide powder (cosmetic grade): Mix a pinch into aloe or oats for oil control and barrier love.
- Hyaluronic acid serum: A pump into aloe masks for extra hydration.
- Crushed fresh strawberry: Mild vitamin C and enzymes—good in yogurt masks; patch test first.
- Rosehip oil: A few drops for brightening and post-acne marks.
FYI, avoid mixing strong actives (like retinoids or high-strength acids) into kitchen masks. That’s a recipe for regret.
Storage and Safety (AKA Don’t Grow a Science Project)
Single-use only. Fresh masks = fewer microbes. If you must store, keep in a sealed container in the fridge and use within 24 hours—except anything with fresh fruit or dairy, which I’d use immediately.
- Use clean hands or a brush to apply.
- Don’t share masks or brushes. Love your friends, not their bacteria.
- If you have active eczema, open cuts, or severe acne inflammation, keep it super gentle (oats + aloe) and check with a dermatologist first.
FAQ
Can I use these masks if I already use retinol or acids?
Yes, but space things out. Avoid exfoliating masks (like yogurt) on the same night as retinoids or AHAs/BHAs. Alternate nights to keep your barrier chill.
Will turmeric stain my skin?
A tiny pinch won’t stain most skin, but it can tint fair skin temporarily. Mix it well, keep it short (8–10 minutes), and rinse thoroughly. If you’re nervous, skip it or use it at night.
Is honey safe for acne-prone skin?
Generally yes—raw honey can help with inflammation and bacteria. If you’re allergic to bees or pollen, skip it. Also, avoid super sticky layers that are hard to rinse.
Which clay should I choose?
Bentonite sucks up more oil—great for very oily or congested skin. Kaolin runs gentler—better for sensitive or combination skin. Start with kaolin if you’re unsure.
Can I replace yogurt if I’m dairy-free?
Totally. Use aloe gel for soothing or a splash of rose water for slip. For gentle exfoliation without dairy, try mashed papaya for 5–7 minutes (patch test; enzymes can be spicy).
How soon will I see results?
You’ll notice softness and a little glow right away. For consistent clarity or brightness, give it 2–4 weeks of once- or twice-weekly masking. Skincare is a marathon, not a sprint—annoying but true.
Wrap-Up: Mix, Mask, Glow
You don’t need a 12-step routine or a platinum card to get great skin. With a few thoughtful ingredients and a chill schedule, you can treat your face exactly how it wants. Start simple, listen to your skin, and tweak as you go. And if a mask flops? Wash it off, moisturize, and try another recipe—no drama, just better skin vibes. IMO, that’s the joy of DIY.