Your invitation doesn’t need fireworks or confetti cannons to get a jaw drop. It just needs one thing: a little dimension. 3D invitations feel tactile, fun, and ridiculously memorable—without requiring a PhD in paper engineering. Ready to wow your guests before the party even starts?
Why 3D Invitations Work (And Don’t Need a Craft Room)
You give people an experience before the event.
That’s the secret. A 3D invite turns opening mail into a mini unboxing moment. It also shows effort without costing you your sanity.
Plus, you can DIY most ideas with simple tools or outsource the tricky bits to a print shop. FYI, many printers now offer short runs with die-cut and pop-up options, so you don’t need 500 units to make it happen.
Pop-Up Cards That Don’t Make You Cry
Pop-ups sound intense, but you can start simple and still look like a genius. Think one standout element that rises when your guest opens the card—cake, champagne bottle, city skyline, ring, you name it. Basics you’ll need:
- Cardstock (two contrasting colors look luxe)
- Craft knife and metal ruler
- Strong double-sided tape or tacky glue
- Template (download a free one or sketch your own)
Keep-It-Simple Pop-Up Formula
- Create a standard folded card base.
- Inside, cut two parallel slits and push the tab forward—now you’ve got a “stage.”
- Attach your main graphic to the tab.That’s it. You popped up.
Design tip: Use a minimal front with a bold message and save the surprise for the inside. The quiet outside/party inside contrast always hits.
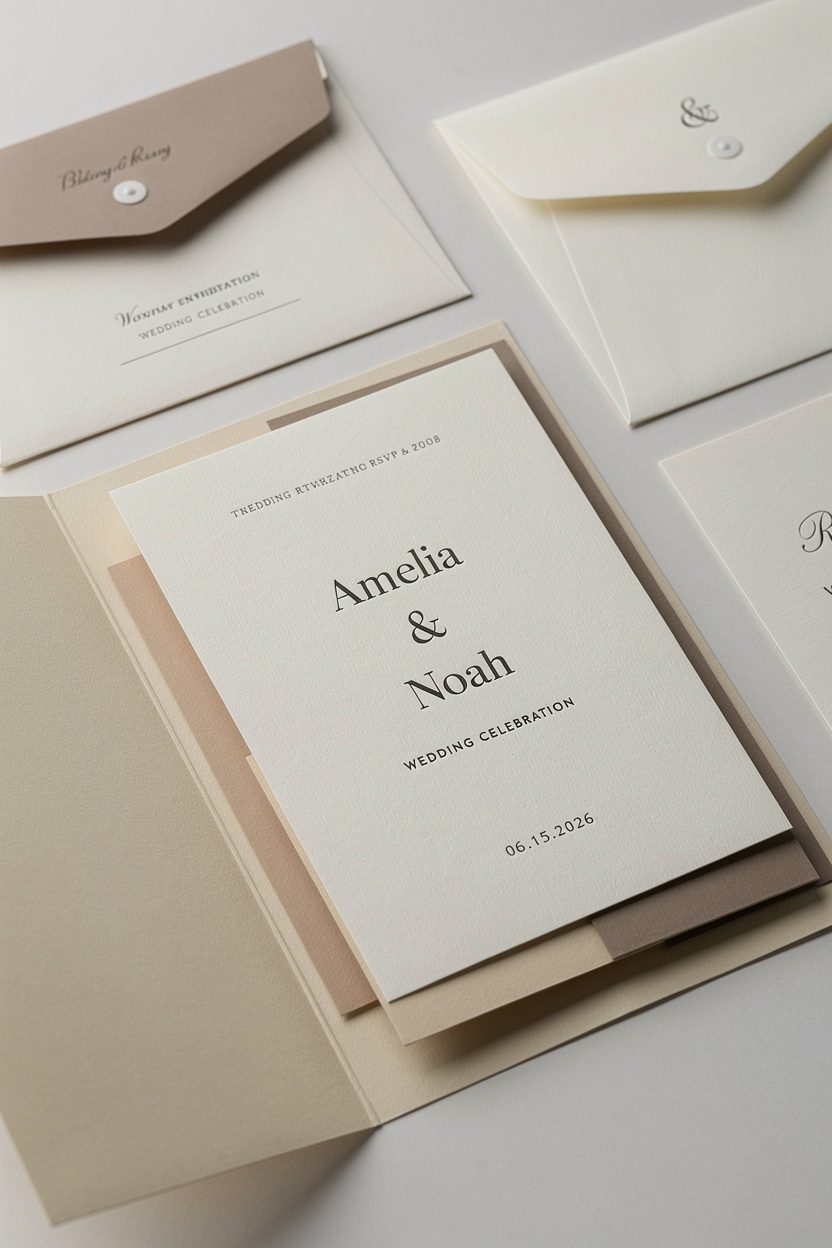
Boxed Minis: Unboxing, But Cute
A small box turns your invite into a keepsake.
It also gives you room to play with texture and layers. What to put inside:
- A folded mini card with the main details
- A tiny prop: silk flower for a wedding, matchbox with custom label for a cocktail party
- QR code to RSVP (printed on a card or sticker)
- A sprinkle of confetti (biodegradable, please, unless you hate your friends’ floors)
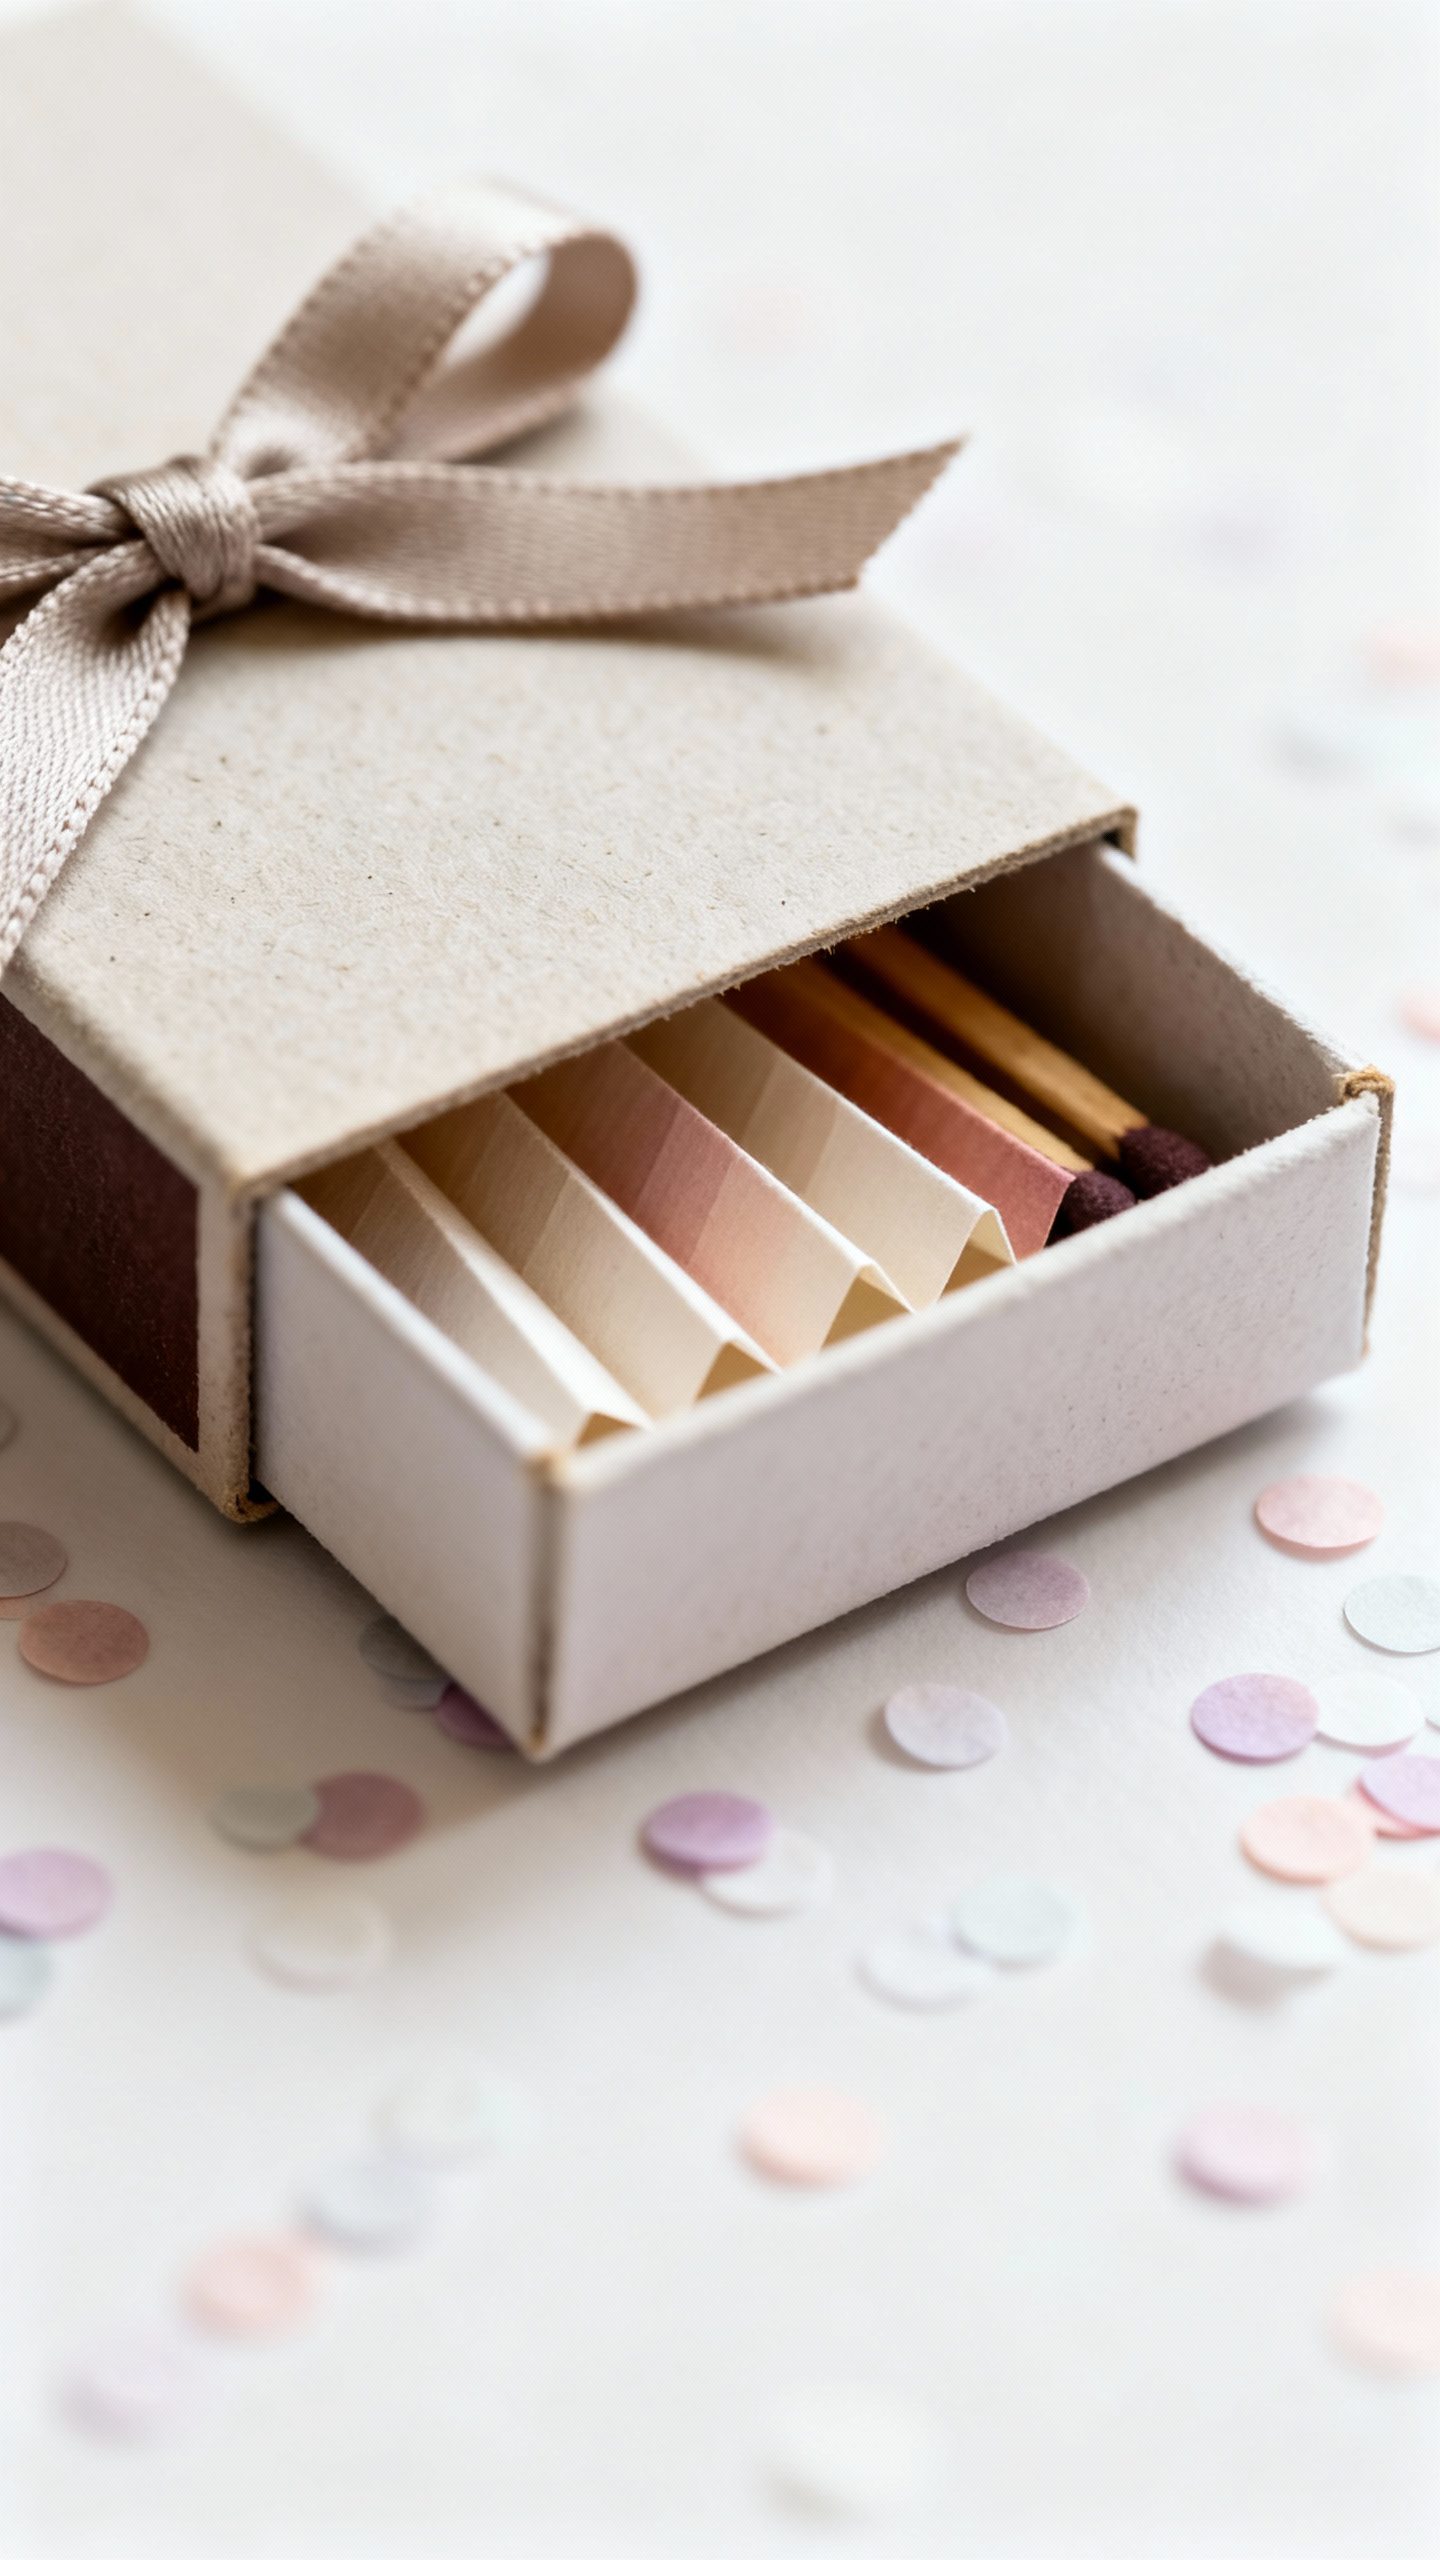
Matchbox Invites
Wrap a matchbox with custom paper, add a pull tab ribbon, and tuck a concertina-fold insert inside. It feels premium, costs little, and your guests will show it off. IMO, this is one of the highest impact-for-effort ideas.
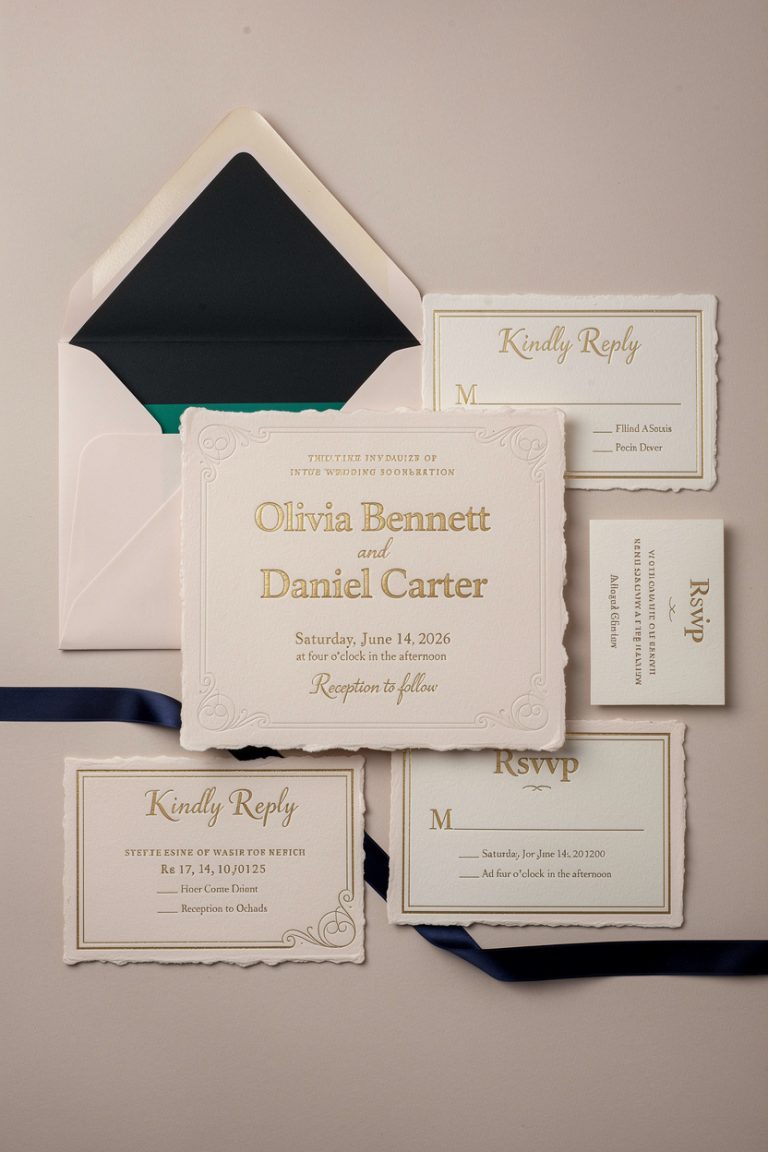
Layered Acrylic + Paper: Fancy Without Trying Too Hard
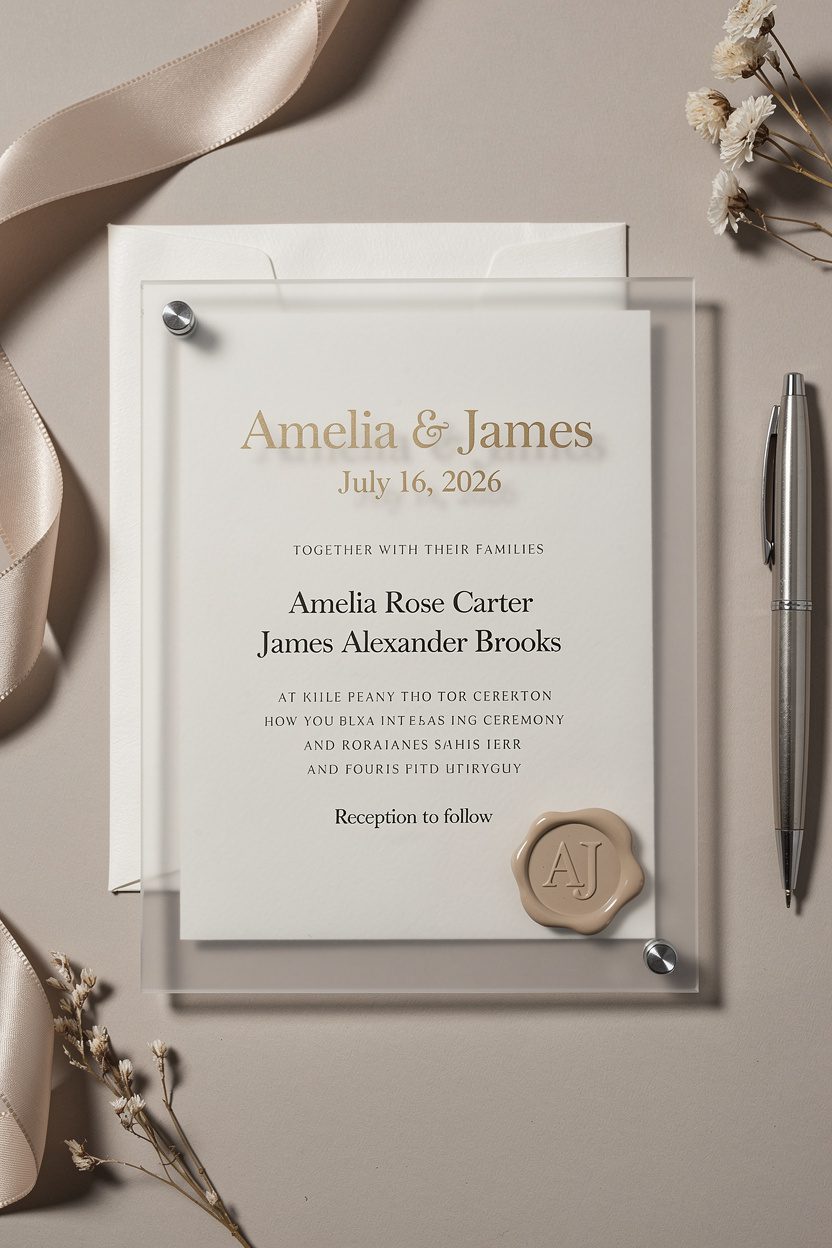
Mix materials and your invite instantly screams “special.” Acrylic sheets (clear or frosted) pair beautifully with textured paper for a sleek, modern look. How to build it:
- Front: 1–2 mm clear acrylic with white or gold-foil lettering (event name and date)
- Back: heavyweight paper with the details printed
- Connect with micro screws, Chicago screws, or wax seals
Budget version: Use transparency film (the kind for overhead projectors) instead of acrylic.
It still gives a dimensional, layered vibe without the weight.
Typography That Pops
Use a bold serif or a minimal sans. Keep the acrylic layer to 6–10 words max for clarity. Print the rest on the paper layer.
Less clutter, more drama.
Accordion Folds and Pull Tabs: Paper Engineering Lite
Not all 3D means “building a sculpture.” Accordion folds add depth and motion in seconds. Accordion Invite Ideas:
- City skyline that unfolds into the schedule
- Timeline of the event (from pre-drinks to afterparty)
- Photo strip of the couple or guest of honor
Add a pull tab mechanism and you’ll get a surprise reveal without hard labor. A sliding tab can display a hidden message, a color change, or a “Will you be there?” moment. It’s basically a magic trick but with cardstock.
Quick Pull Tab How-To
- Cut a slit in your front panel and mount foam tape to create a channel.
- Attach a strip of card (the tab) with a hidden message printed along it.
- Seal the front panel onto a base, leaving space for the tab to slide.
- Add a half-circle thumb notch and a tiny arrow.Your job here is done.
3D Elements People Can Wear or Use
When an invite doubles as a tiny accessory, guests feel instantly connected to the event. Ideas to try:
- Fabric wristband with date + initials (concert vibe, wedding fun)
- Laser-cut wooden token with the venue coordinates
- Enamel pin that matches your theme (a little pricy, but iconic)
- Letterpress coaster with raised foil—functional and pretty
Package the item in a shallow mailer with a card backing. Add a cheeky line like “Wear me to skip the line” or “Pin me for bonus hugs” to increase the fun.
Magnet-Back Invitations
Attach a small magnet to a die-cut piece (think record, surfboard, disco ball) so it lives on the fridge. Guests see it daily, RSVP faster, and you become the person who sends cool mail.
Win-win.
Nature-Inspired: Pressed Florals and Mini Terrariums
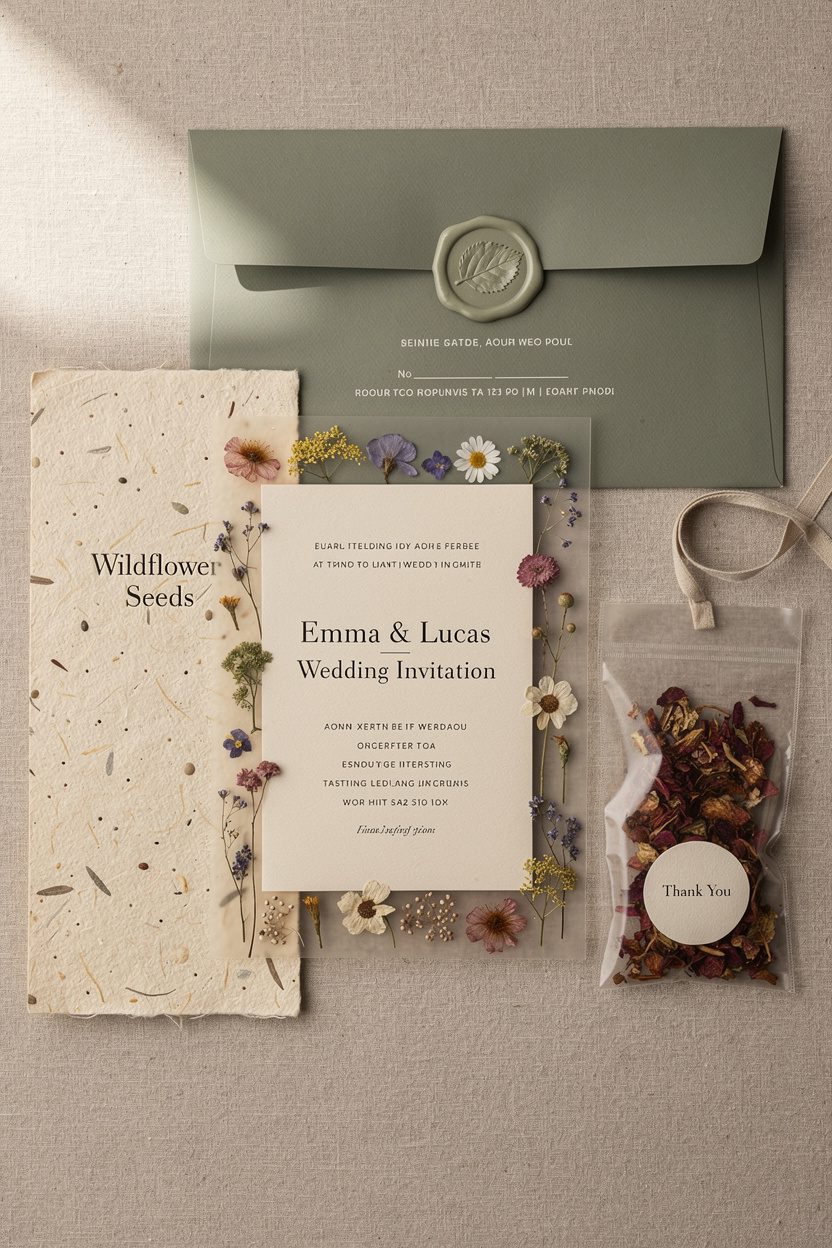
Organic textures turn a simple design into something special. Press a few wildflowers and sandwich them between two vellum sheets. It’s delicate, dimensional, and very Pinterest-core. Other nature-forward touches:
- Seed paper with embossed title—guests can plant it later
- Mini glassine bag with dried petals and a label sticker
- Wax-sealed envelope with a leaf imprint
Pro tip: Seal pressed florals with a light laminate or clear sticker sheet to stop crumbling in the mail.
Finishes That Make Everything Look Custom
You can elevate a simple 3D structure with finishing touches that feel expensive (without requiring a second mortgage). Easy upgrades:
- Foil accents on titles
- Spot UV gloss on one element (like a champagne bubble pattern)
- Edge painting in a bold color
- Dimensional foam tape between layers for subtle shadow
Color strategy: Pick one hero color and support it with two neutrals.
Too many colors can feel chaotic, and the 3D elements already bring the drama.
Printing, Mailing, and Not Crying at the Post Office
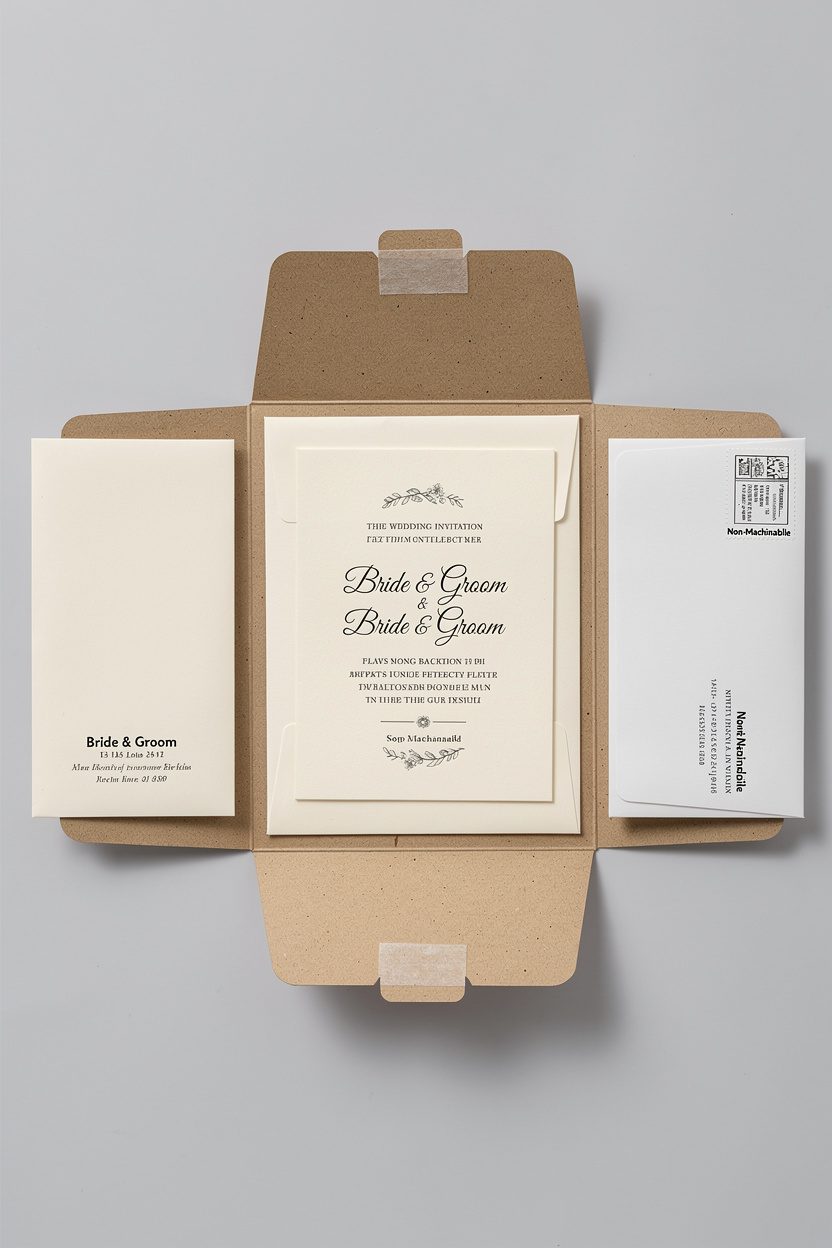
You don’t want your invitations arriving bent or costing $8 each to mail. Plan for reality. Keep it shippable:
- Stay under 1/4 inch thick for standard letter rates (varies by country)
- Use rigid mailers or chipboard backing for delicate builds
- Test mail one to yourself before sending all (seriously—do this)
- Add “Non-Machinable” surcharge if you use square envelopes or stiff elements
Short runs? Ask local printers for small-quantity options and specialty finishes. Many offer die-cut or laser-cut services for 25–100 units, which is perfect for weddings or launches, IMO.
FAQ
How do I choose the right 3D style for my event?
Match the vibe.
Casual backyard party? Go with accordion folds or a matchbox invite. Black-tie wedding?
Layered acrylic or foil-finished pop-ups. The simpler your theme, the more you can play with structure without looking chaotic.
What’s the easiest 3D invite for total beginners?
A pop-up with one tab or a matchbox invite. Both use straight cuts and basic assembly.
You’ll look crafty without accidentally glueing your fingers together (again).
Can I DIY and still make it look professional?
Yes—choose good materials and keep the design minimal. Use 100–120 lb cardstock, a fresh craft blade, and high-contrast typography. Add one premium finish (foil, wax seal, or edge paint) for polish.
How do I include lots of event info without clutter?
Layer it.
Put the essentials on the front piece and detailed info on an insert or a back layer. Include a QR code for additional details like directions and dress code. Clean design beats tiny text every time.
What’s the most budget-friendly 3D idea?
Accordion folds with a pull tab or layered paper with foam tape for depth.
You only need cardstock, tape, and a printer. Save money on materials and spend a bit on envelopes or a single foil element for impact.
Will 3D invites survive the mail?
Mostly, yes—if you protect them. Use rigid mailers, avoid ultra-delicate protrusions, and test mail.
If you include bulky items, expect a non-machinable surcharge. Consider hand-delivery for VIP or local guests.
Conclusion: Make the Moment Start at the Mailbox
A 3D invitation doesn’t need complicated engineering to dazzle. Choose one dimensional trick—pop-up, layer, box, or wearable—and keep the rest clean and bold.
Your guests will feel the effort, you’ll save your sanity, and the party hype starts before anyone steps through the door. FYI, that’s the real magic.