You’ve got a soft spot for classic invitations but also a smartphone glued to your hand. Same. The good news?
You don’t have to choose. You can honor tradition and still keep things fresh, personal, and a little cheeky. Let’s remix the best of old-school invites with modern flair—and make your guests say “wow” before they even RSVP.
Why Traditional Still Works (And How to Tweak It)
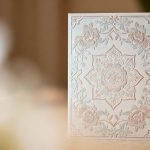
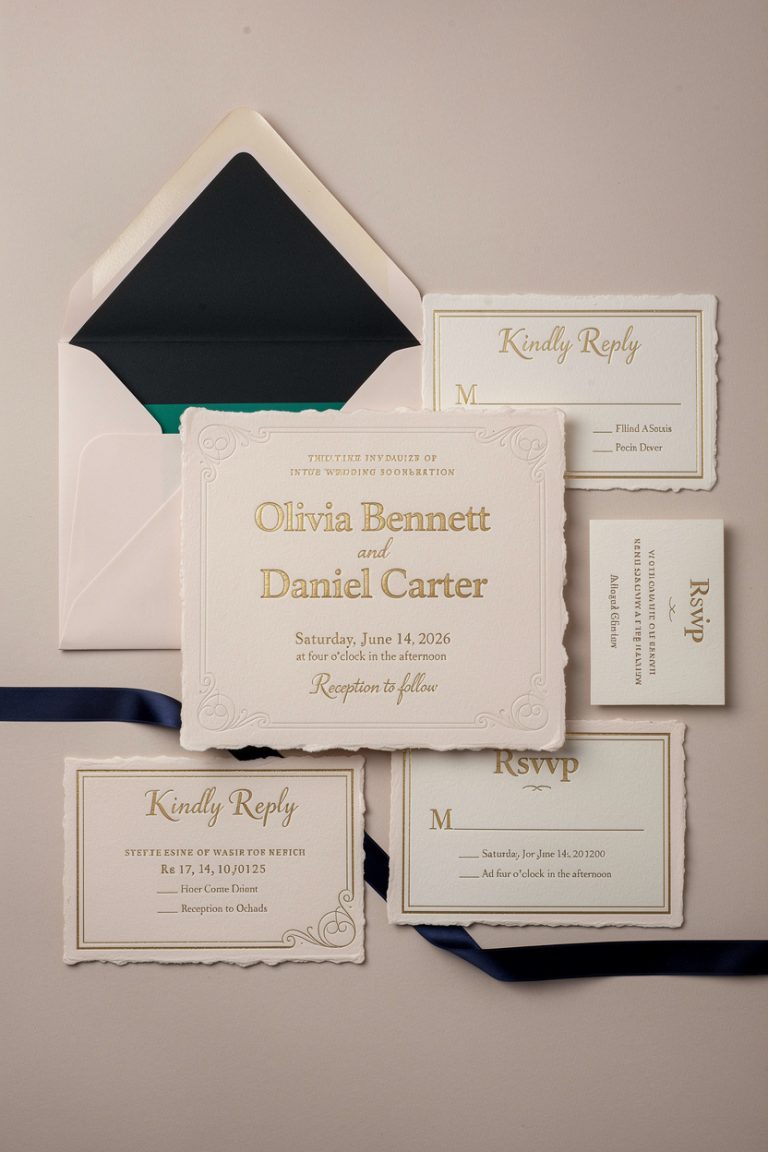
We love the romance of heavy cardstock and embossed crests.
They whisper, “This event matters.” But they can also feel stiff if you copy them straight from 1952. The fix? Keep the bones, update the details.
- Classic layouts, modern fonts: Pair a traditional layout with a clean sans-serif tagline or playful display font for names.
- Heritage motifs, fresh colorways: Use timeless borders and flourishes, but in unexpected shades like moss green or dusk blue.
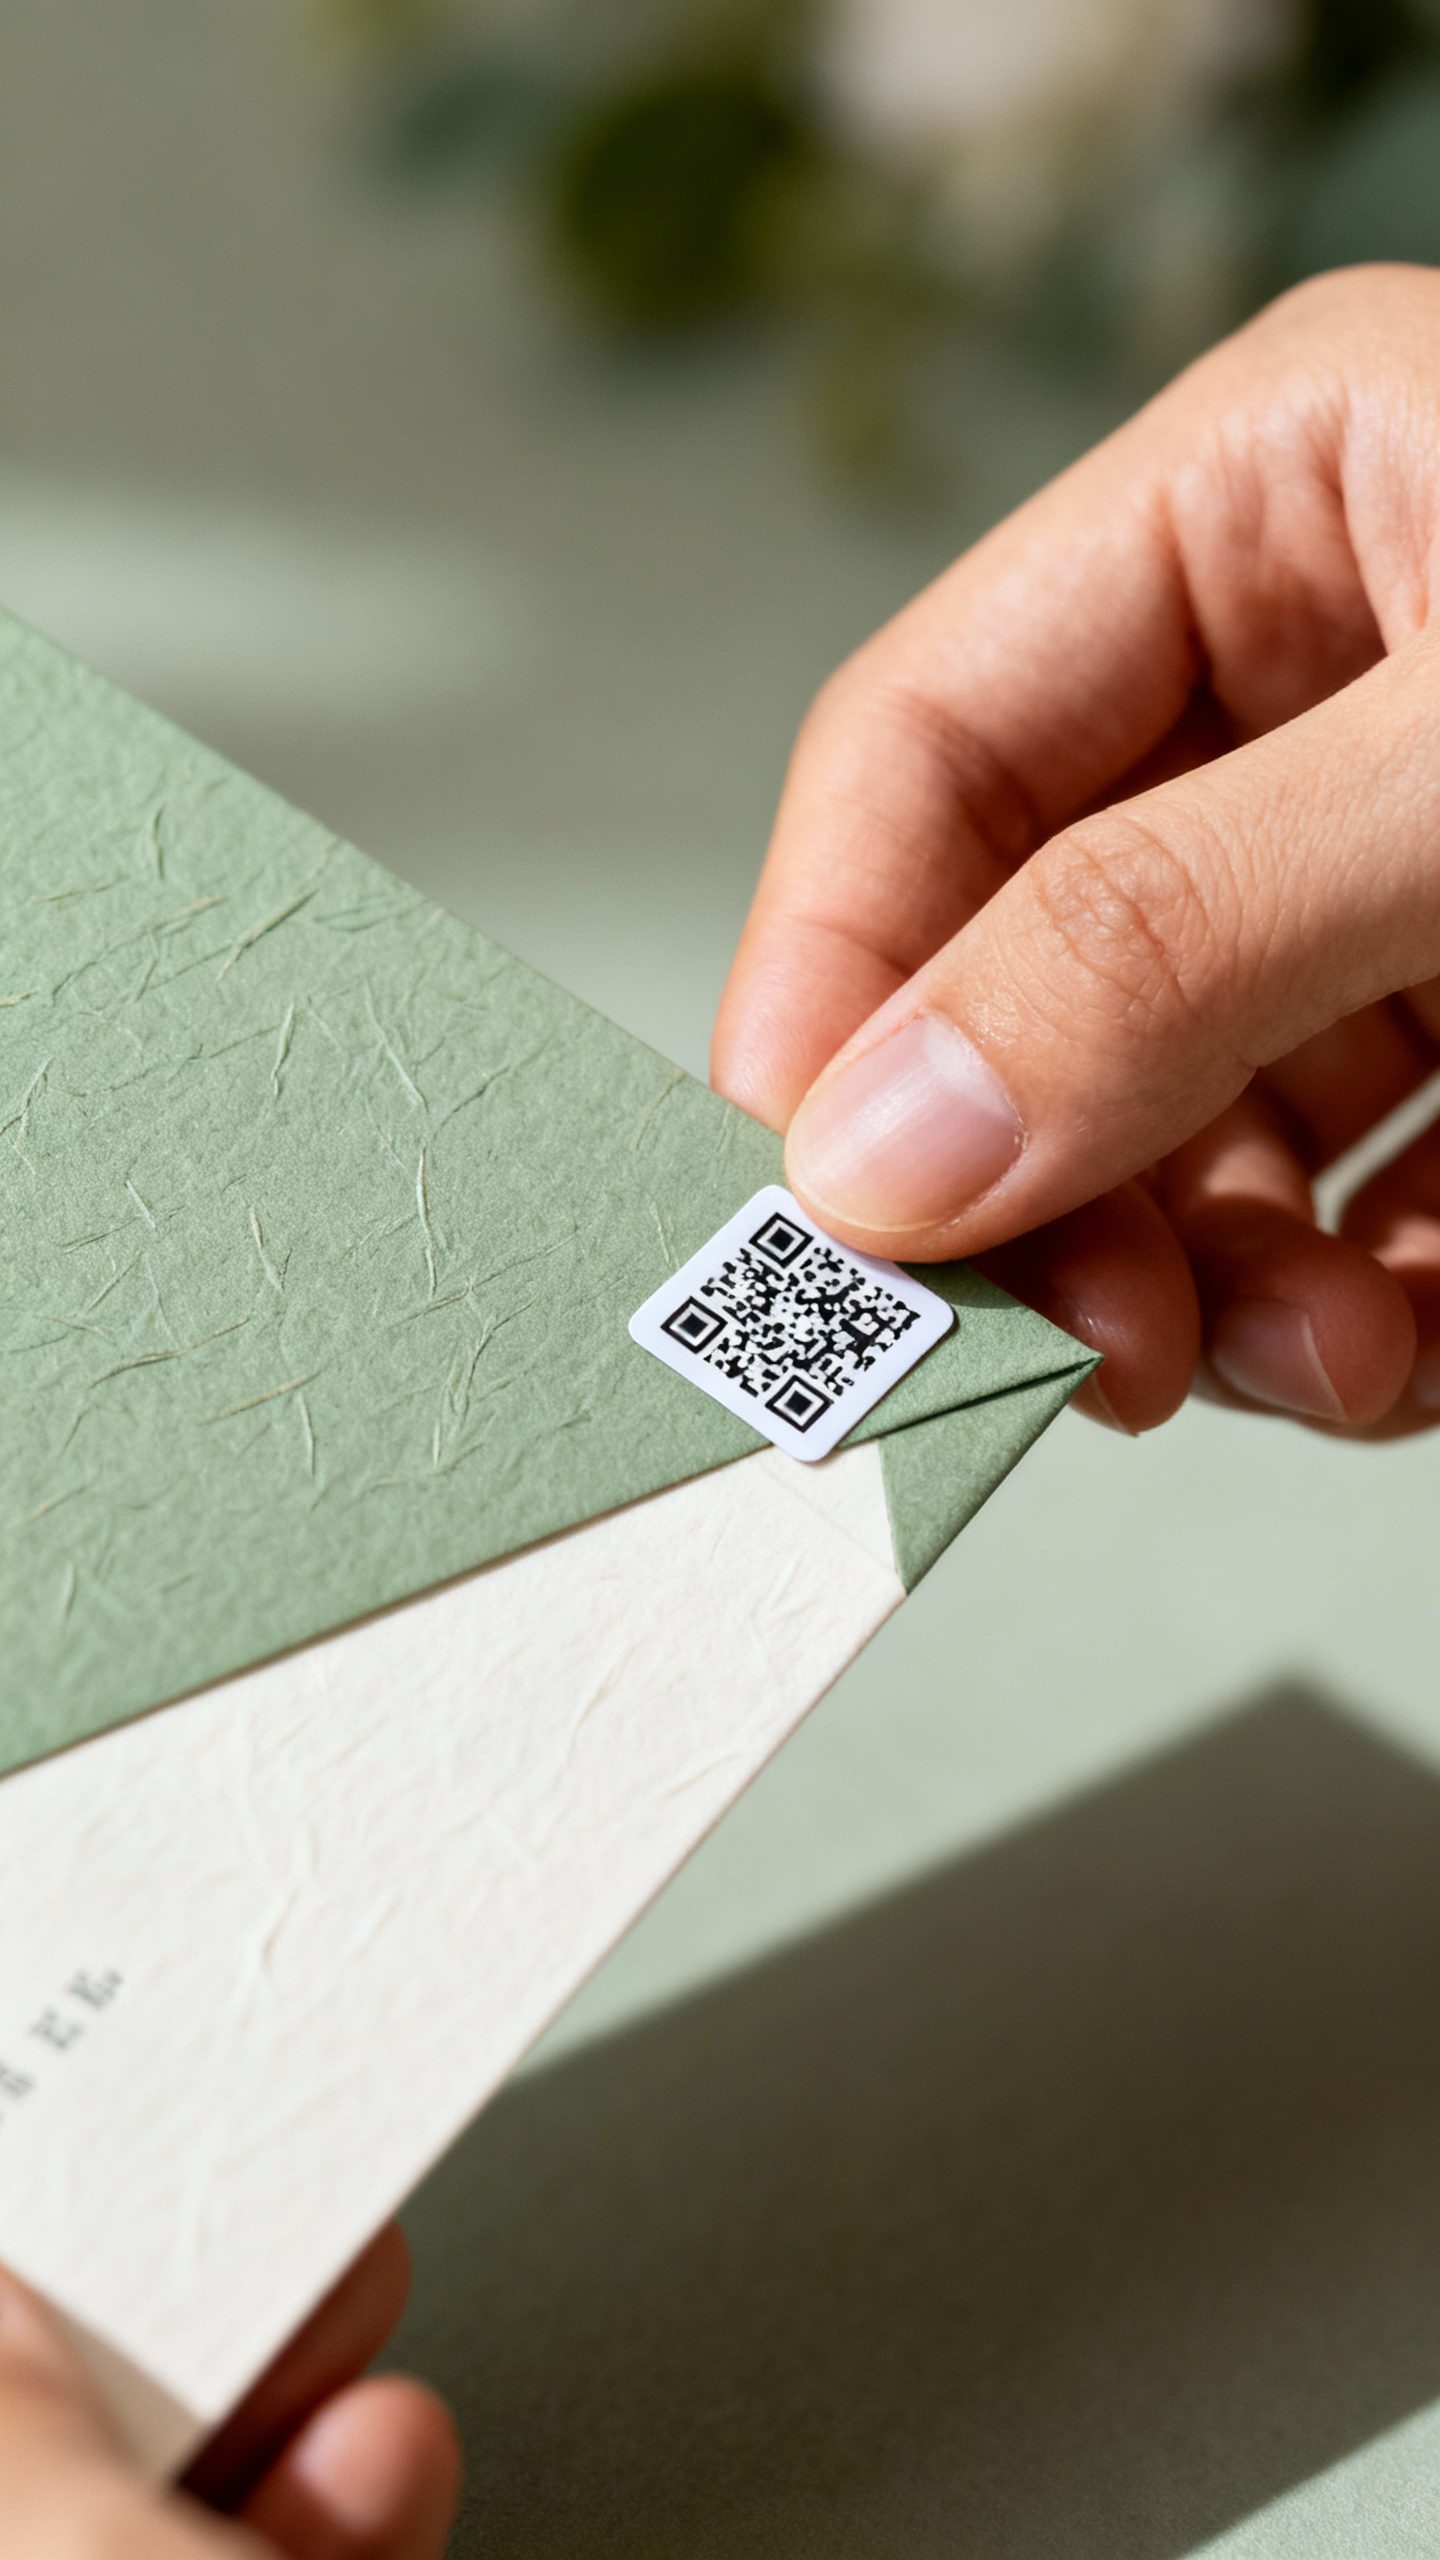
- Timeless paper, flexible add-ons: Keep the thick card but add a QR code (tastefully!) to your website or registry.
Paper That Feels Like a Handshake
The feel of the invite sets the tone before anyone reads a word. You can say “this is special” without screaming it.
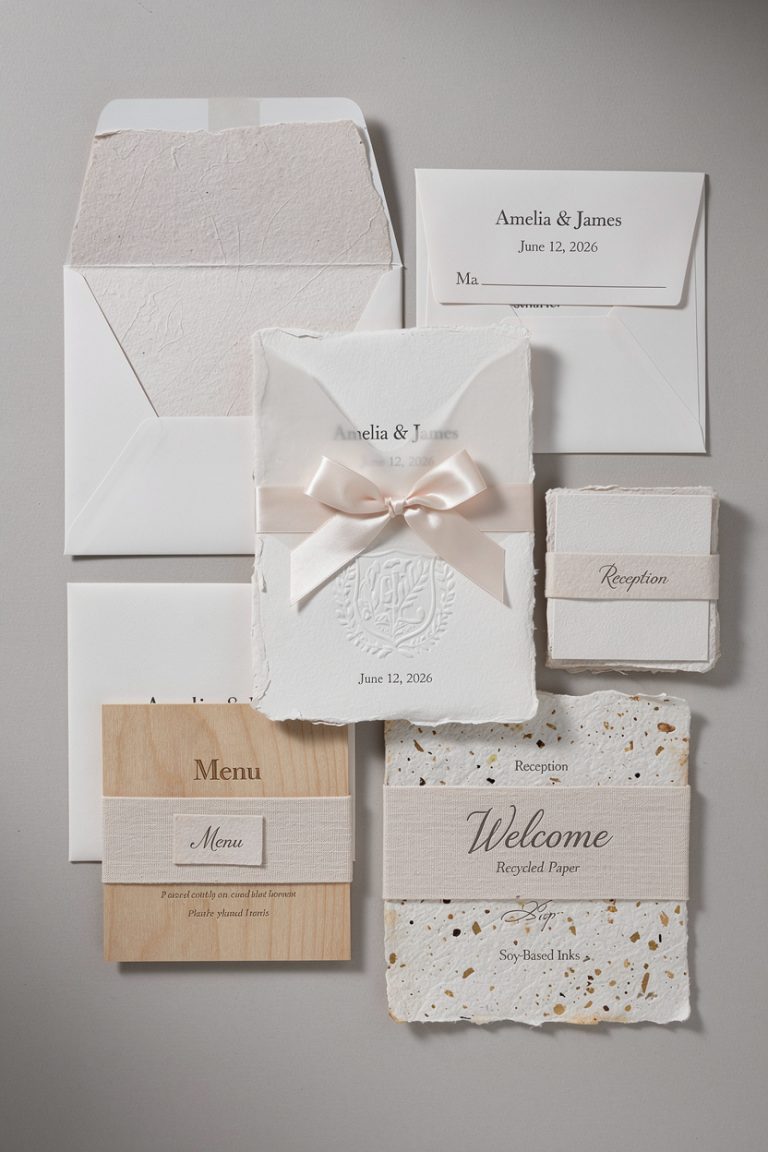
- Cotton rag: Soft, luxe, slightly textured—perfect for weddings and milestone events.
- Deckle edges: That hand-torn look gives instant romance without trying too hard.
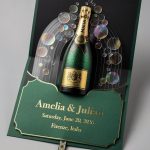
- Vellum overlays: Diaphanous and dreamy; print a monogram on the vellum and the main details underneath.
- Letterpress + digital hybrid: Press the main names; print the details digitally to save budget and time.
Pro tip: Mix finishes
Go for letterpress names, foil-stamped accents, and flat-printed details.
It reads rich but doesn’t bankrupt you. FYI, textured paper hides tiny print imperfections and looks better in photos.

Fonts: From Stuffy Script to “Hello, Gorgeous”
We’re not throwing out calligraphy—we’re just giving it a best friend. Script shines when it appears sparingly.
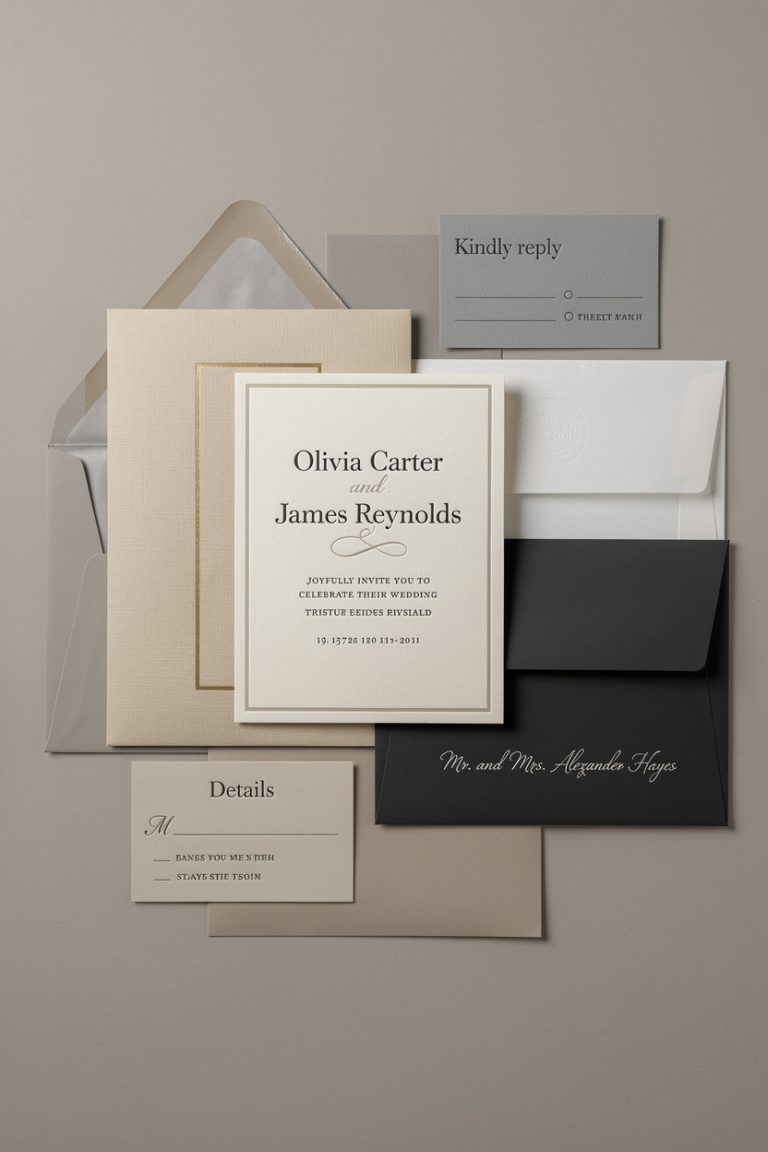
- Headline script, body sans: Put names in a flowing script; keep the rest clean and legible.
- All-caps serif for gravitas: Works beautifully for date and venue lines.
- Avoid font soup: Two, maybe three fonts max.Any more and it looks like a group project gone rogue.
Hierarchy matters
Make the eye path obvious. Names big, date and location medium, supporting details small. Your guests will thank you when they aren’t squinting for the ceremony time.
Color: Beyond Ivory and Blush
You can still keep elegance while stepping out of the beige zone. Color adds personality without killing tradition.
- Deep jewel tones: Emerald, garnet, or sapphire inks feel formal but bold.
- Monochrome palettes: Different shades of the same color look chic and intentional.
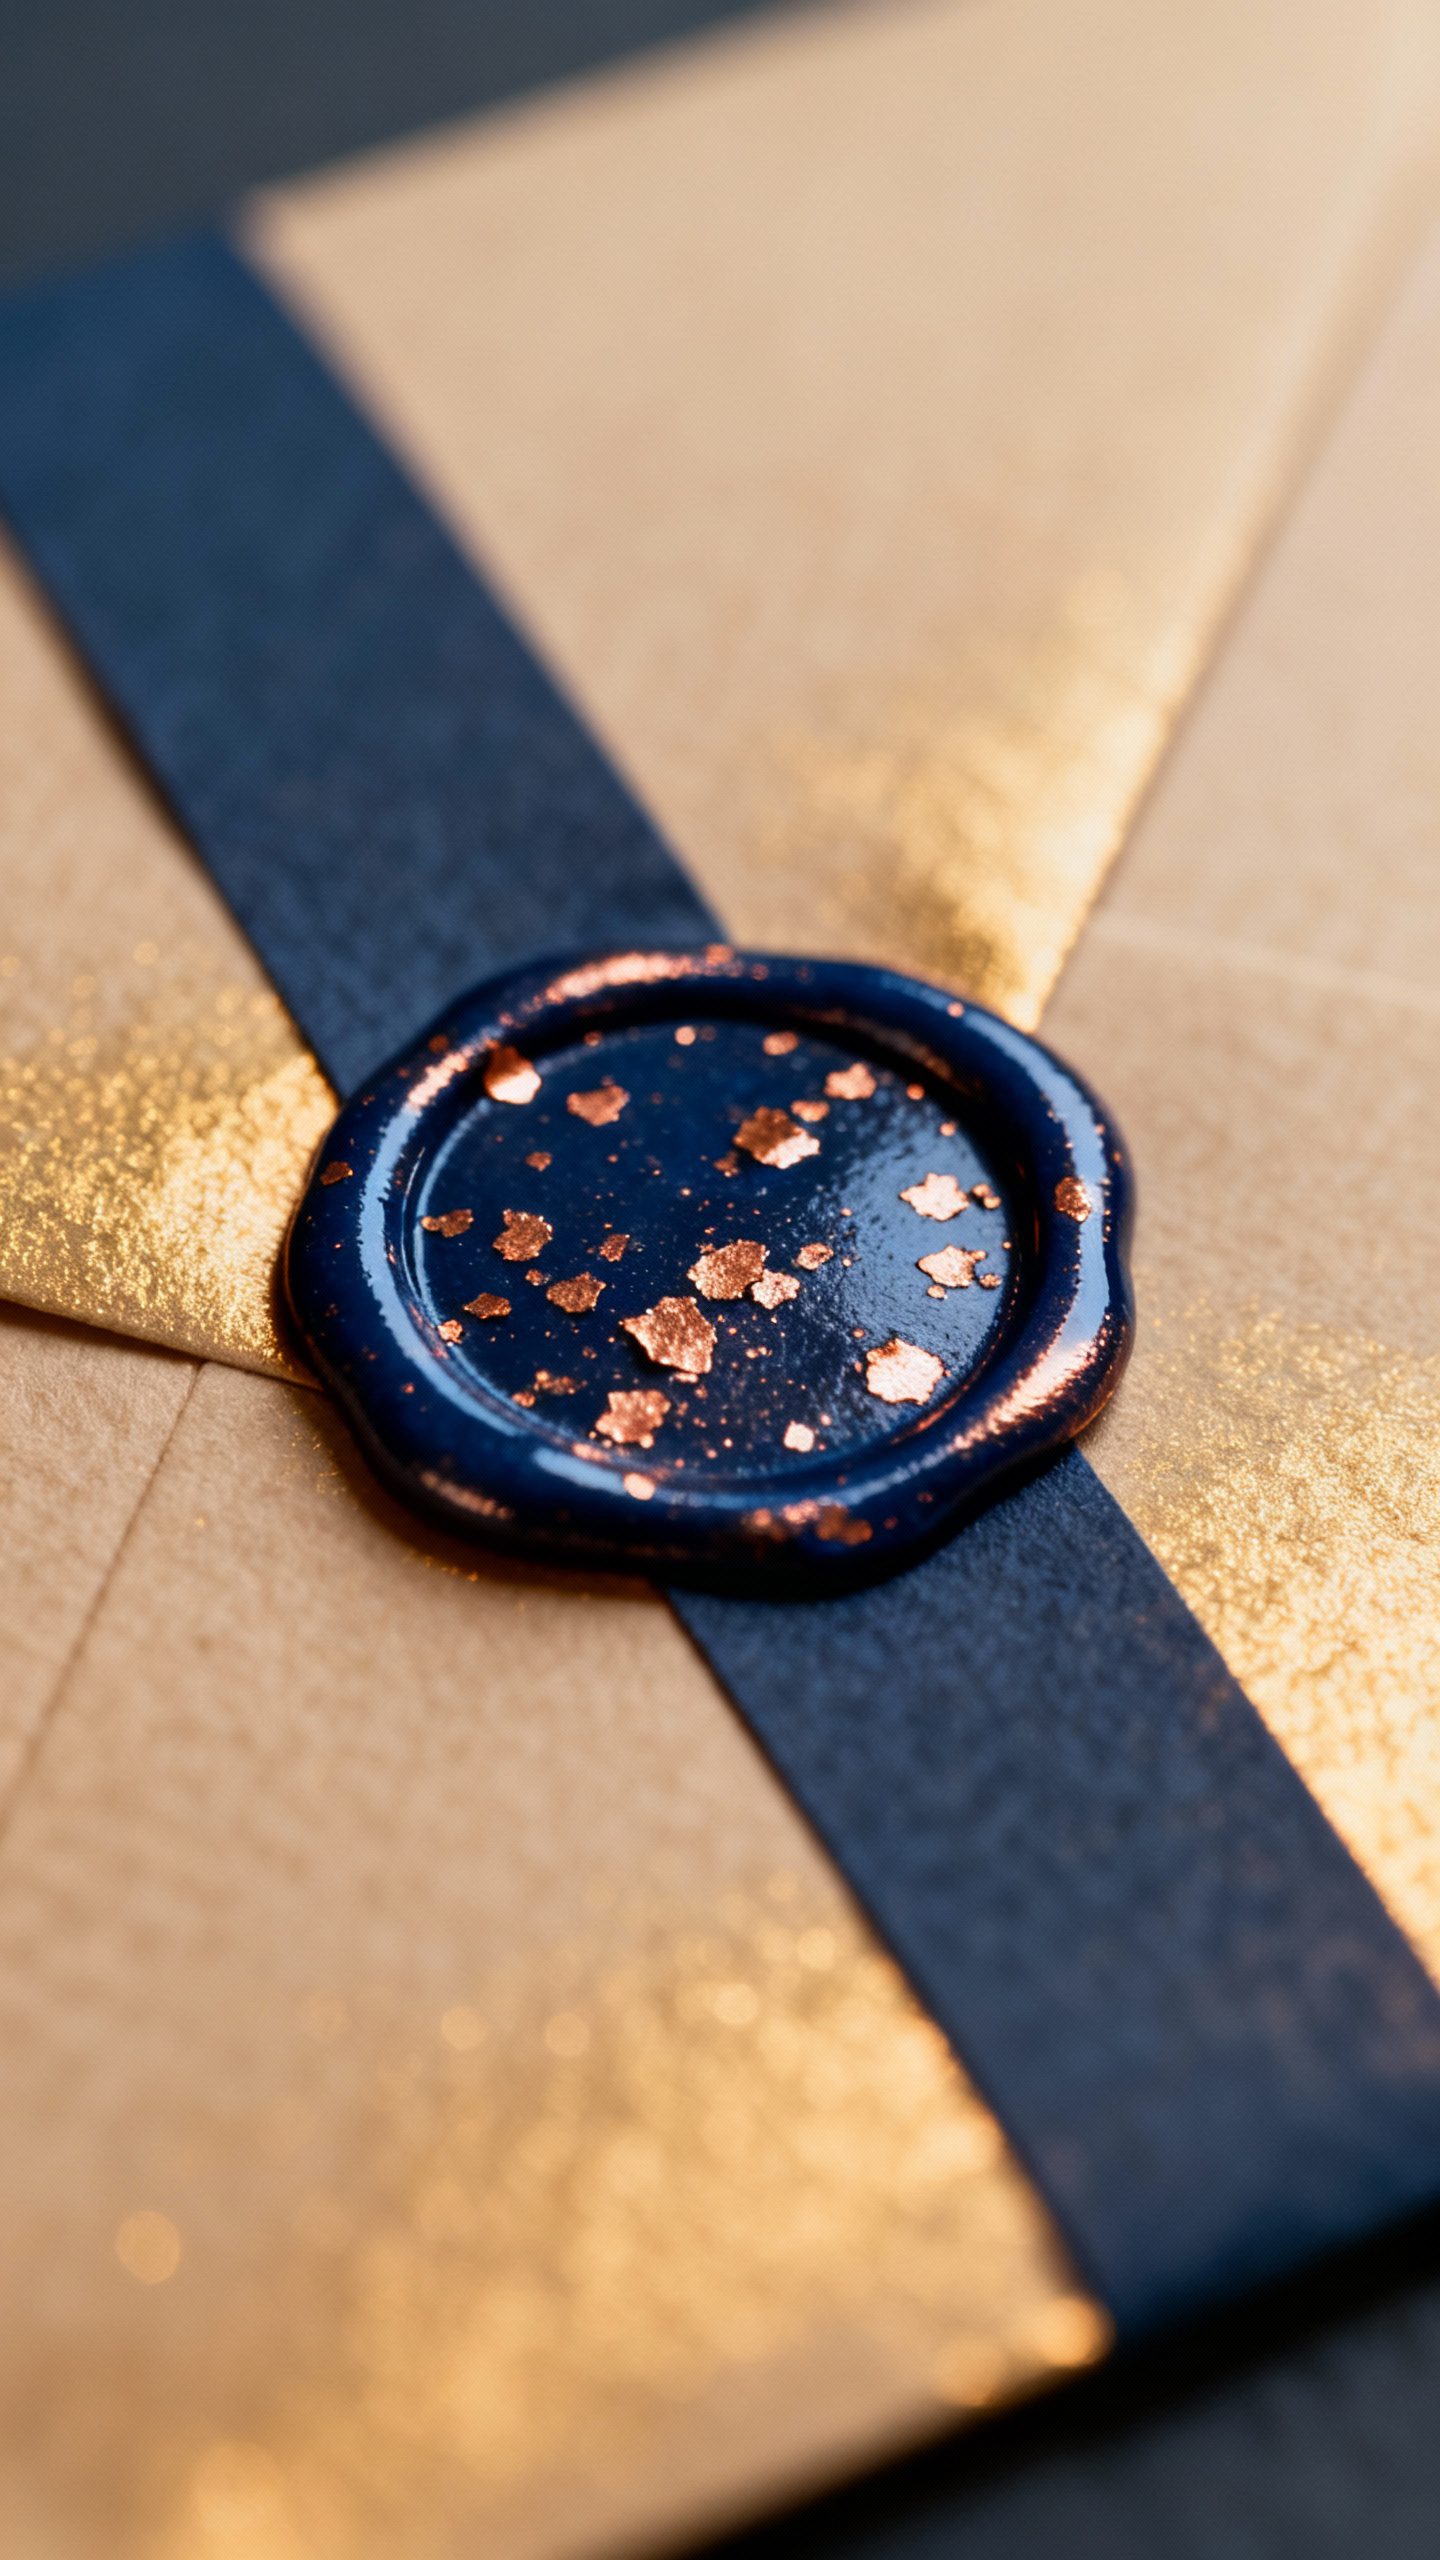
- Metallic accents: Gold or copper foil on borders or monograms?Yes. Full foil text? Overkill IMO.
- Envelope drama: Neutral card + saturated envelope liner = instant “ooh.”
Seasonal cues
Match color to time of year: terracotta and rust for fall, sage and stone for spring, navy and bone for winter.
It looks cohesive without trying too hard.
Etiquette, But Make It Functional
We can respect tradition without getting lost in it. Keep the parts that serve your guests and ditch the rest.
- Clear RSVP path: Include a QR code and a reply card. Grandma mails it; your cousin scans it.Everybody wins.
- Names matter: Address invitees clearly to avoid “Can I bring my roommate?” texts.
- Tiers of detail: Big card for essentials, insert for logistics, website for everything else.
What to keep old-school
– Order of names if tradition matters to your families. – Proper titles for formal events. – Polite phrasing—formality doesn’t mean stiff, just respectful.
Design Details That Do Heavy Lifting
Little touches can turn a basic invite into something people keep on their fridge until forever.
- Wax seals: Use them on belly bands or envelopes, not on the main card (smudges happen).
- Custom crest or monogram: Borrow from vintage styling, but weave in modern icons—pets, hobbies, a tiny landmark.
- Maps and illustrations: Hand-drawn venue sketch? Swoon. But keep it small so it doesn’t steal the spotlight.
- Die-cuts or rounded corners: Subtle shape shifts elevate without veering into gimmick land.
Typography nerd alert
– Line spacing: Give text room to breathe. – Ink density: Super fine text with light ink looks faint; bump the weight if you love airy palettes. – Margins: Generous margins feel luxe, crowded layouts feel cheap.
Digital Hybrids: The Best of Both Worlds
You want the tactile joy of paper and the convenience of tech.
Perfect combo.
- QR codes on the back or a small corner link to RSVPs, registry, travel info.
- Save-the-date email first, formal paper invite later.
- Animated e-invites that mirror your paper design—think subtle motion, not 2001 screensaver.
Accessibility wins
Include a short URL for folks who don’t love QR codes. Add alt text to your e-invites for screen readers. Bigger font sizes help more than you think.
Budget-Savvy Without Looking It
You don’t need to sell a kidney to get something beautiful.
Prioritize what guests notice first.
- Splurge on paper quality and printing method for the main card.
- Save by printing inserts digitally or consolidating them into one mini card.
- DIY assembly: Tie ribbons, apply wax seals, and add liners yourself with a podcast on.
- Standard sizes reduce postage pain and weird envelope hunting.
Quantities and extras
Order 10% more than your guest list for last-minute adds and keepsakes. And yes, you’ll remember three people you forgot right after you hit “print.” It’s a law of the universe.
Personalization That Doesn’t Feel Cringe
You want personality, not a scrapbook on a card. Keep it intentional.
- One signature element—a tiny icon, a color, a motif—repeated across pieces.
- Meaningful copy: A short line about how you met or why the date matters.
- Liners with story: Map of your city, florals from your bouquet, constellations from your first date night sky.Cute, not cutesy.
FAQ
Can I include a QR code without killing the vibe?
Absolutely. Keep it small, tuck it on the back or a corner, and match your palette so it blends. Add a short URL for backup.
It looks intentional, not techy.
Do I really need multiple inserts?
Only if they serve a purpose. One well-designed details card covers directions, attire, and website info. If your event has complex logistics (hello, shuttles), then add an extra insert.
Otherwise, less paper = cleaner look.
What’s the best timeline for ordering?
For weddings, design 4–5 months out, mail 8–10 weeks before. For other formal events, 6–8 weeks works. If you’re using specialty printing like letterpress, add a couple of weeks buffer.
Printers are fast until they’re not.
How formal should the wording be?
Match the event. Black tie? Lean formal with full names and traditional phrasing.
Garden party or cocktail affair? Aim for warm and polished. Keep details crystal clear either way—no one wants to decode vibes.
Is it okay to skip paper entirely?
If your guest list skews digital and your event vibe is relaxed, go for it.
But for milestone events, a physical invite still feels special. Hybrid is the sweet spot IMO: digital save-the-date, paper invite, online RSVPs.
What’s the biggest mistake people make?
Overcrowding. Too many fonts, too many inserts, too many words.
Edit ruthlessly. Give the design room to breathe and your invite instantly looks upscale.
Conclusion
You don’t need to choose between a vintage vibe and modern convenience. Take the classic structure, weave in smart tech, and add details that feel like you.
The result? Invitations that respect tradition, delight your guests, and still feel totally “you.” And yes—people will keep them on their fridge long after the party ends. FYI, that’s the real compliment.